

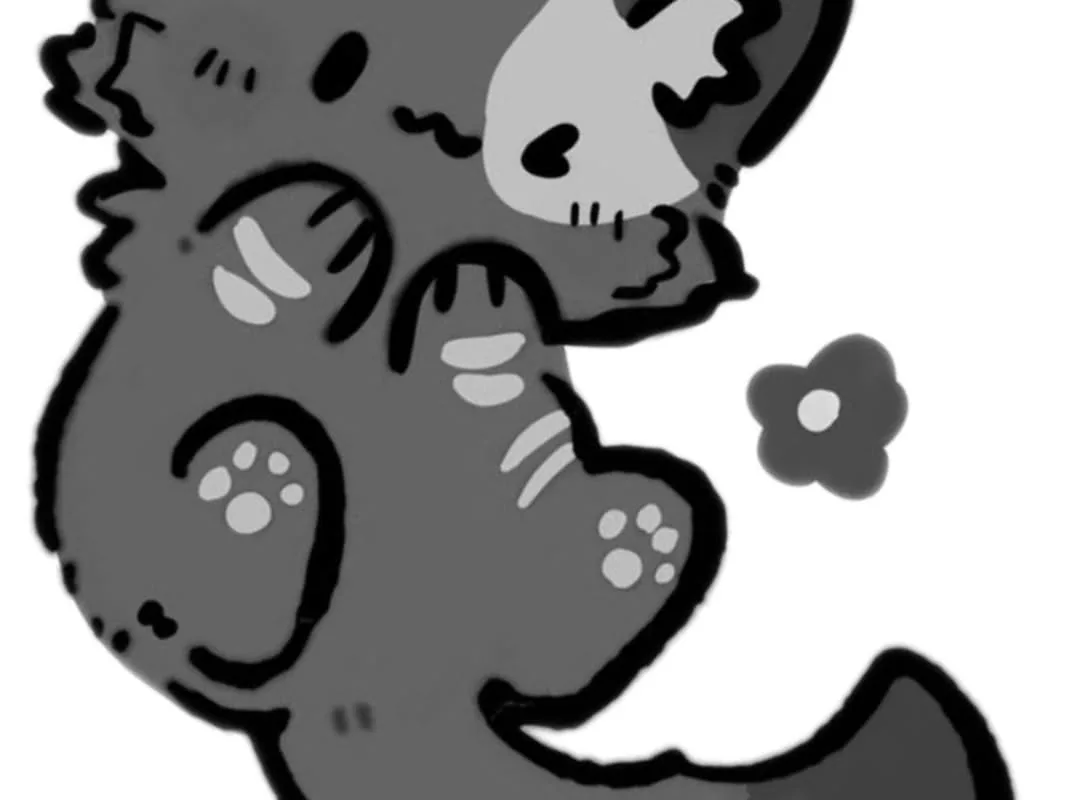
A cat with one paw lifted is one of the most charming poses you can sketch, and it's easier than it looks once you know where to start. Here's how I draw that raised-paw silhouette in black and white, plus the small fixes that make it read instantly as a cat.
Advertisements1
- Draw the raised paw before the head so the pose stays natural.
- A pear plus a circle is all you need to build the body.
- Squinting at your reference shows you exactly where the shadows go.
- Tilt the ear nearest the paw back slightly to suggest movement.
- Wait until the end for whiskers and tail so they stay crisp.
Start With the Raised Paw, Not the Head
Most people draw the head first, then realize the lifted paw has nowhere to go. Flip that order. Lightly mark where the raised paw sits on your page, then build the body around it.
When I sketch my own grey tabby, Miso, mid-swipe, I place the paw near the upper third of the page. That single mark tells me how tall the body is and how the spine curves. It also stops the arm from looking like a stiff stick.
Draw the paw as a soft oval, roughly the size of a large grape. Add four tiny toe bumps along the front edge. That's it for now. You're building a map, not a masterpiece.
Build the Body as Two Simple Shapes
A sitting cat is basically a pear plus a circle. The pear is the haunch and back, the circle is the chest and shoulders. Draw them lightly so you can move them.
For a paw-in-the-air pose, tilt the pear slightly away from the raised arm. This creates a gentle twist through the torso, which is what makes the gesture feel alive rather than pasted on.
Keep your lines loose. If your circle looks wobbly, good. Wobbly lines are easier to correct than confident wrong ones.
Use Contrast to Show the Black and White Coat
Black and white cats, often called tuxedo cats, have a natural roadmap for shading. The white chest, muzzle, and paws catch light. The dark back and head hold shadow.
Don't fill everything in. Leave the raised paw white or lightly shaded, and put your darkest tone along the back and under the chin. That contrast does the heavy lifting.
A concrete trick: squint at your reference photo. Whatever disappears into one grey blob is your shadow area. Shade only that. You'll get a cleaner drawing in half the time.
Place the Eyes and Ears to Sell the Pose
The face carries the emotion of the raised paw. Wide eyes plus slightly forward ears read as playful. Narrow eyes plus flat ears read as annoyed.
Set the eyes about one eye-width apart. Cats have large, round eyes, and getting that spacing right makes the whole face click.
For the ears, draw two triangles with a soft curve on the inner edge. Angle the ear nearest the raised paw slightly back. That tiny tilt adds motion, like the cat is mid-reach.
Add the Whiskers and Tail Last
Whiskers are the finishing touch, and they're easy to overdo. Draw six to eight per side, curving outward and slightly down. Use a light hand and taper each line at the tip.
The tail balances the composition. If the paw lifts on the left, sweep the tail to the right. A curved tail, like a question mark, suggests curiosity.
Wait until the body is solid before adding either. Whiskers drawn too early get smudged and muddy the face.
Clean Up With an Eraser, Not More Ink
Once your sketch feels right, erase the construction lines instead of drawing over them. Lift the graphite gently with a kneaded eraser. Your final lines will look intentional.
Then go back in with a darker pencil only where two shapes meet: the shoulder, the jaw, the wrist of the raised paw. Those small accents make a flat drawing pop.
This step takes about five minutes and changes everything. Try it before you decide the drawing is finished.
How to Do It, Step by Step
- 1Mark the raised paw first
Place a soft oval in the upper third of your page. This anchors the whole pose and prevents a stiff arm later. - 2Sketch a pear and a circle
Draw the pear for the back and haunch, the circle for the chest. Tilt the pear slightly away from the lifted paw for a natural twist. - 3Block in the head and ears
Add a rounded head above the chest. Angle the ear nearest the paw slightly back to suggest motion. - 4Set the eyes one width apart
Space the eyes with one eye-width between them. Wide eyes read playful, narrow eyes read annoyed. - 5Shade only the dark patches
Squint at your reference. Shade the areas that blur into one tone: the back, the top of the head, under the chin. - 6Draw whiskers and tail last
Add six to eight tapered whiskers per side and a curved tail opposite the raised paw to balance the image. - 7Erase construction lines
Lift guide lines with a kneaded eraser, then darken only the joints and overlaps for a clean finish.
The raised paw is not a detail you add at the end. It is the first decision that makes the whole drawing feel alive.
Frequently Asked Questions
How do you draw a cat with its paw up?
Start by marking the raised paw on the page, then build the body around it. This keeps the arm from looking stiff and gives the pose a natural sense of motion.
What is a black and white cat called?
A black and white cat is commonly called a tuxedo cat. The name comes from the coat pattern, which often looks like a formal suit with a white chest and dark back.
How do you shade a black and white cat drawing?
Shade only the areas that blur into one tone when you squint at your reference. Leave the white chest, muzzle, and raised paw mostly clear to create contrast.
Why does my cat drawing look stiff?
Stiff drawings usually come from drawing the head first and fitting the body to it. Try marking the raised paw and the tail first, then let the body curve between them.
How many whiskers should I draw on a cat?
Six to eight whiskers per side is plenty for a sketch. Taper each line at the tip and curve it slightly downward for a natural look.

Maya writes about sustainable living and zero-waste swaps for busy families. She focuses on small, actionable changes that fit into real life without judgment or guilt.


