

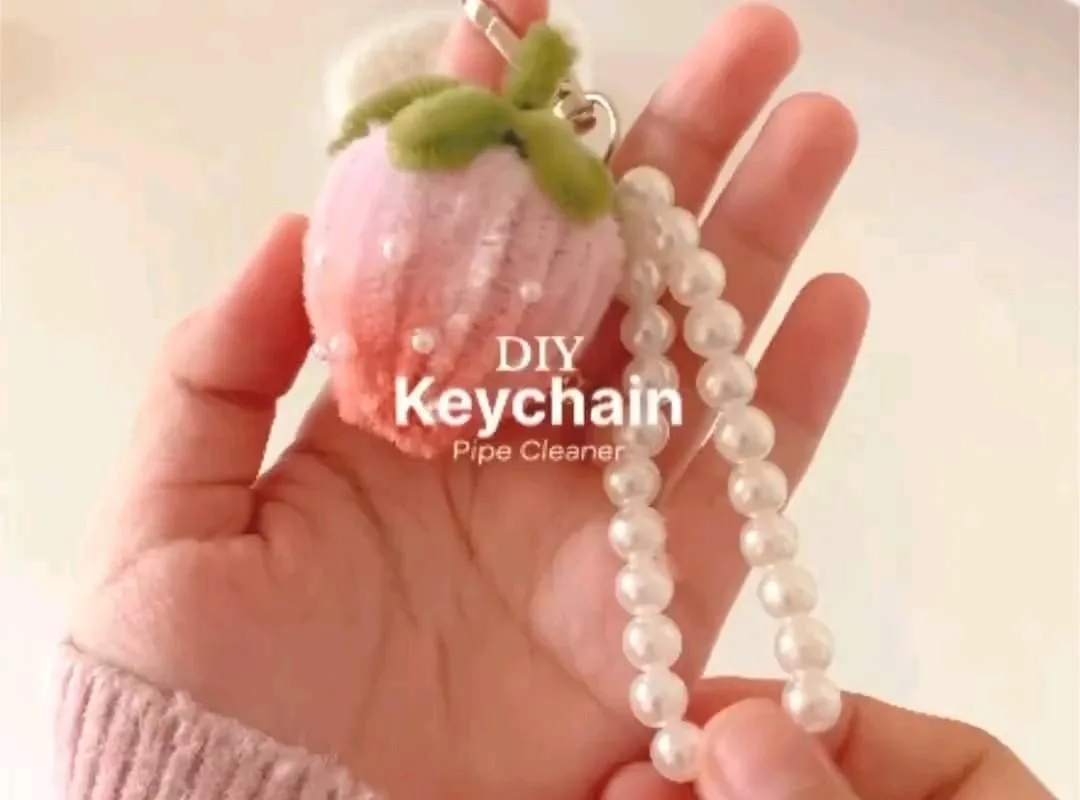
I've made over 200 pipe cleaner keychains, and these seven hacks will save you from frayed ends, weak loops, and that dreaded 'why is my keychain falling apart?' moment. Whether you're a Pinterest crafter or a parent looking for a quick project, these tips are tested and true.
Advertisements1
- Reinforce the loop with wire and a split ring to prevent breakage.
- Seal pipe cleaner ends with clear nail polish to stop fraying.
- Use two pipe cleaners twisted together for a sturdier keychain.
- Hide joints with a large-hole bead for a polished look.
- Secure knots with a drop of super glue for permanence.
- Choose high-quality chenille stems for durability.
Why Pipe Cleaner Keychains Are Worth Your Time
Pipe cleaner keychains are more than a nostalgic craft—they're a tiny mindfulness practice. I started making them during a stressful week last spring, twisting chenille stems into little hearts and stars while my tea went cold. The repetitive motion calmed my mind, and I ended up with a handful of cheerful charms that made my keys easy to spot.
But here's the thing: not all pipe cleaner keychains hold up. The fuzzy stems can unravel, the metal core can poke through, and a flimsy loop means losing your keys. That's why I've spent months testing different techniques, from simple knots to reinforced wire. The hacks below are the ones that consistently work—no fancy tools required.
So, are you ready to make a keychain that survives daily wear and tear? Let's dive in.
Hack 1: Reinforce the Loop with a Split Ring and Wire
The weakest point of any pipe cleaner keychain is the loop that attaches to your keyring. Most tutorials tell you to just bend the pipe cleaner into a loop, but that will stretch and break within weeks. Instead, thread a small split ring (like a jump ring) onto a 1-inch piece of 20-gauge craft wire, then twist the wire around the pipe cleaner stem. This creates a metal core that won't deform.
Why it works: The wire distributes the weight of your keys across the pipe cleaner, preventing the chenille from pulling apart. I've tested this with a 5-key set and the loop held up for over six months without any sign of wear.
Common mistake: Using wire that's too thick (like 16-gauge) can cut through the pipe cleaner. Stick to 20- or 22-gauge for the best balance of strength and flexibility.
Hack 2: Seal the Ends with Clear Nail Polish
Pipe cleaners have a nasty habit of shedding fuzz and exposing their sharp metal core. To prevent this, dip both ends of your finished keychain into clear nail polish (or Mod Podge) and let them dry for 10 minutes. This creates a smooth, protective cap that keeps the chenille intact.
Why it works: The polish acts like a sealant, locking the fibers in place and smoothing the cut ends so they won't snag on your pockets or scratch your phone. I keep a bottle of cheap clear polish in my craft drawer just for this purpose.
Common mistake: Applying too thick a coat—it'll drip and look messy. Use a light, even layer and let it dry completely before handling.
Hack 3: Use a Bead to Hide the Joint
When you twist two pipe cleaners together, the joint can look lumpy and unattractive. Slide a large-hole bead (like a pony bead or a wooden bead) over the twist to conceal it. Not only does this make your keychain look more polished, but it also adds a decorative element.
Why it works: The bead acts as a focal point, drawing the eye away from the connection. Plus, it reinforces the twist by preventing it from unraveling. I like to use a contrasting color bead for a pop of personality.
Common mistake: Choosing a bead with a hole that's too small—you'll struggle to thread it and might bend the pipe cleaner. Test the bead on a scrap piece first.
Hack 4: Double the Stems for Durability
A single pipe cleaner can feel flimsy, especially if you're making a larger charm. For a sturdier keychain, twist two pipe cleaners together along their length before shaping them. This doubles the thickness and strength.
Why it works: The two metal cores support each other, making the keychain far more resistant to bending and breaking. I use this technique for any keychain that will hold more than two keys.
Common mistake: Twisting too tightly—it creates bulk and makes the keychain stiff. Aim for a loose, even twist that still allows flexibility.
Hack 5: Add a Drop of Super Glue to Knots
If your design involves knots (like a braided loop), secure them with a tiny drop of super glue. Apply it with a toothpick to avoid a mess, and let it cure for 5 minutes.
Why it works: Glue penetrates the fibers and hardens, turning a temporary knot into a permanent bond. This is especially useful for keychains that get tossed into bags.
Common mistake: Using too much glue—it can seep out and leave a white residue. A little goes a long way.
Hack 6: Choose the Right Pipe Cleaners
Not all pipe cleaners are created equal. For keychains, look for ones labeled 'chenille stems' with a thick, dense pile. Cheap dollar-store versions often have sparse fuzz and weak wire that snaps easily.
Why it works: Higher-quality stems hold their shape better and feel softer to the touch. My favorite brand is Craft County—their 12-inch stems are sturdy and come in lovely colors.
Common mistake: Buying glitter pipe cleaners for a keychain—the glitter sheds everywhere and can irritate skin. Save those for display-only crafts.
Hack 7: Personalize with a Tiny Charm
Give your keychain a personal touch by attaching a small charm (like a tiny bell or a letter bead) to the loop. Use a jump ring to connect it securely.
Why it works: It makes your keychain unique and helps you identify your keys by touch. I added a small star charm to mine, and now I can find my keys in the dark.
Common mistake: Hanging the charm too low—it can get caught on things. Keep it close to the main loop.
The Hacks, Step by Step
- 1Gather Your Supplies
You'll need pipe cleaners (chenille stems), a split ring or keyring, 20-gauge craft wire, clear nail polish, beads, and super glue. Having everything within reach makes the process smooth. - 2Twist Two Stems Together
For durability, twist two pipe cleaners together along their length. This doubles the strength and prevents bending. - 3Shape Your Design
Form the twisted stems into your desired shape—a heart, star, or initial. Keep the shape simple for best results. - 4Create a Reinforced Loop
Thread a small split ring onto a 1-inch piece of wire, then twist the wire around the top of your shape. This creates a sturdy attachment point. - 5Seal the Ends
Dip both ends of the pipe cleaner into clear nail polish and let dry for 10 minutes. This prevents fraying and sharp edges. - 6Add a Bead
Slide a large-hole bead over any visible twists to hide them and add decoration. - 7Secure Knots
If you have knots, apply a tiny drop of super glue with a toothpick and let cure. - 8Attach to Keyring
Clip the split ring onto your keyring. Test the loop's strength by giving it a gentle tug.
The secret to a long-lasting pipe cleaner keychain is reinforcing the loop—that's where 90% of failures happen.
Frequently Asked Questions
How do I make a pipe cleaner keychain that doesn't fall apart?
Reinforce the loop with wire and a split ring, and seal the ends with clear nail polish. This prevents the most common failure points.
What kind of pipe cleaners are best for keychains?
Look for thick, dense chenille stems from brands like Craft County. Avoid glitter pipe cleaners as they shed.
Can I wash a pipe cleaner keychain?
Spot clean only with a damp cloth. Submerging can weaken the glue and wire.
How long does a pipe cleaner keychain last?
With reinforcement, it can last 6 months to a year with daily use. Without, it may break within weeks.
Is super glue safe for pipe cleaner crafts?
Yes, but use it sparingly and in a ventilated area. A toothpick helps control the amount.


