

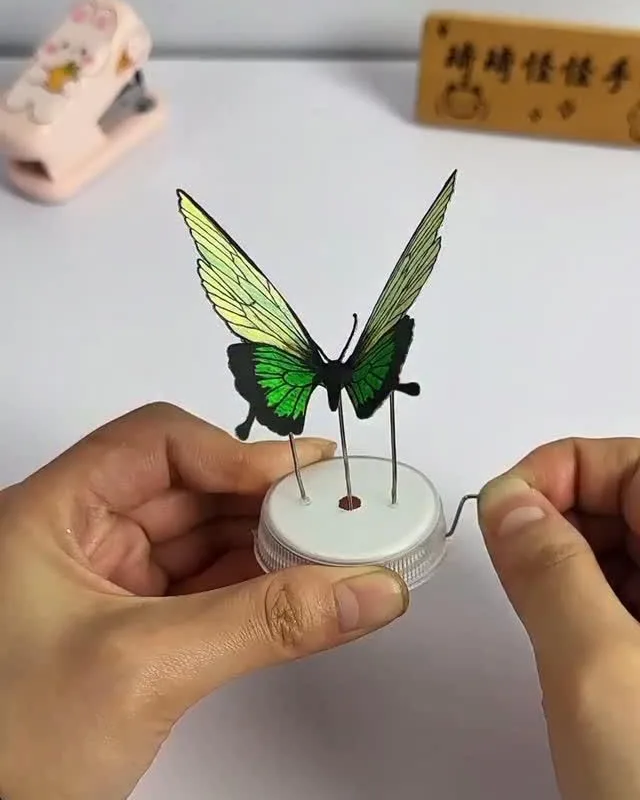
Stop letting your paper projects look like flat printouts. With a few cheap tools and precise tweaks, you can add depth, texture, and light that make paper look alive. Here are seven hacks I use daily.
Advertisements1
- Scoring on the outside of the fold with a bone folder prevents cracking and gives a professional finish.
- Foam squares create real shadows that make elements appear to float—use them sparingly near edges.
- Gray ink blended along edges mimics natural shadows; avoid harsh black.
- Vellum diffuses light and adds depth—adhere with mini glue dots to hide adhesive.
- Distressing edges before assembly avoids damaging other layers and adds tactile appeal.
- Sewing on paper with a sharp needle adds texture—always test on scrap first.
Hack 1: Score Folds with a Bone Folder and a Ruler
A crisp fold isn't about pressure; it's about compressing fibers along a line. Place a metal ruler where you want the fold, then run a bone folder along the edge with firm, even pressure. This crushes the paper's coating and fibers, so when you fold, the paper bends exactly where you scored—no cracking or ragged edges. I use a 12-inch stainless ruler and a genuine bone folder (not plastic; it drags). For 80 lb cardstock, one pass is enough; for 110 lb, do two passes. The result is a fold that looks factory-made.
The common mistake: scoring on the wrong side. Always score on the outside of the fold. If you score on the inside, the paper will crack along the fold line when you close it. Test on a scrap first—every paper brand behaves differently.
Hack 2: Add Dimension with Adhesive Foam Squares
Flat layers look dead. Adhesive foam squares (like 3M Scotch 3D foam squares) lift elements off the page by 1/16 to 1/8 inch, creating real shadows that change as light moves. I use them for titles, die-cut shapes, and photos. The trick is to place them near the edges of the element, not just the center—this prevents sagging and keeps the lift even. For heavier pieces, use two layers of foam squares stacked for extra height.
Why it works: the human eye reads shadows as depth. Even a tiny lift creates a shadow line that makes the element appear to float. The mistake? Using too many foam squares. If you cover the entire back, the element won't sit flat and may warp. Use four to six squares for a 3×4 inch piece.
Hack 3: Emboss with a Light Source, Not Just Heat
Heat embossing is standard, but you can also create raised designs with light. Use a stencil and a light box: place your paper over a stencil on a light box, then gently rub the paper with a stylus to emboss the pattern. The light shows you exactly where the lines are, so you can apply even pressure. This works best with 60-80 lb paper; heavier stock requires more pressure and may tear. I use a Cricut BrightPad on the highest setting.
For heat embossing, the mistake is moving the heat gun. Hold it 2-3 inches away and keep it moving in small circles until the powder melts and turns shiny—about 10-15 seconds. If you hold it still, the paper scorches. Also, use an anti-static pouch before stamping to avoid stray powder.
Hack 4: Create Realistic Shadows with Ink Blending
Shadows make paper look three-dimensional. Use a blending brush and a gray ink (like Distress Oxide in Hickory Smoke) to add a soft shadow along one edge of a die-cut or stamped image. Apply in small circular motions, building slowly. The key is to choose a light source direction and stick to it—shadows on the right if light comes from the left. This mimics how real objects cast shadows.
The mistake: using black ink. Black is too harsh and looks like a smear. Use a warm gray or cool gray depending on your color palette. Also, don't blend on glossy paper—it won't stick. Matte cardstock is best.
Hack 5: Use Vellum to Diffuse and Layer
Vellum (translucent paper) is a secret weapon for adding depth without bulk. Layer a piece of vellum over a busy pattern to soften it, or stamp on vellum and tear the edges for a vintage look. Vellum also takes embossing powder beautifully—it stays raised and glossy. I use 48 lb vellum and adhere it with tiny glue dots hidden under embellishments, because liquid glue shows through.
Why it works: vellum diffuses light, creating a hazy, ethereal effect that makes the layers behind it recede. The mistake: using too much adhesive. Even double-sided tape can show as a shiny line. Use a tape runner designed for vellum, or attach only at the corners with mini glue dots.
Hack 6: Distress Edges for a Worn, Tactile Look
A pristine edge screams 'printed.' To make paper look handled and real, distress the edges with a tool like the Tim Holtz Tonic Studios Paper Distresser. Run it along the edge at a 45-degree angle to shave off fibers, then ink the edge with a brown or gray ink pad. This creates a worn, vintage appearance that invites touch. For a softer look, use sandpaper (220 grit) and lightly sand the edges.
The mistake: over-distressing. If you tear too much, the paper weakens and may rip when handled. Practice on scraps. Also, always distress before assembling—otherwise you'll damage adjacent layers.
Hack 7: Incorporate Real Textures with Fabric and Thread
Paper alone can feel sterile. Add a strip of fabric, a few stitches, or a piece of twine to introduce tactile contrast. I sew a zigzag stitch along a paper edge using a sewing machine with a universal needle—it perforates the paper cleanly. Or hand-stitch with embroidery floss for a rustic touch. Fabric adds softness and breaks up the flatness.
The mistake: using a dull needle. A sharp needle (size 80/12) prevents tearing. Also, don't sew too close to the edge—leave at least 1/4 inch to avoid tearing out. Test on a scrap first. This hack is perfect for journal covers and mixed-media pieces.
The Hacks, Step by Step
- 1Gather Essential Tools
You need a bone folder, metal ruler, foam squares, blending brush, gray ink, vellum, distresser, and a sewing machine or needle. These are inexpensive and last for years. - 2Score Before Folding
Always score on the outside of the fold with a bone folder and ruler. This prevents cracking and ensures a clean edge. - 3Add Dimension with Foam Squares
Place foam squares near the edges of the element you want to lift. Use 4-6 squares for a 3×4 inch piece to avoid sagging. - 4Create Shadows with Ink
Use a blending brush and gray ink to add soft shadows along one edge. Keep light source consistent. - 5Layer with Vellum
Adhere vellum with mini glue dots at the corners to avoid visible adhesive. Stamp and emboss on vellum for a raised effect. - 6Distress Edges
Use a distresser tool or sandpaper to roughen edges, then ink them. Do this before assembling to avoid damage. - 7Sew on Paper
Use a sharp needle and stitch slowly. Leave a 1/4 inch margin to prevent tearing.
Paper doesn't have to be flat; with the right techniques, it can cast shadows, catch light, and invite touch.
Frequently Asked Questions
How do I prevent paper from cracking when folding?
Score the fold line first with a bone folder and ruler on the outside of the fold. This compresses fibers and ensures a clean bend without cracking.
What adhesive works best for vellum?
Use mini glue dots or a tape runner designed for vellum. Liquid glue and standard tape show through the translucent paper.
Can I use a heat gun on vellum?
Yes, but keep the heat gun moving and hold it 2-3 inches away. Vellum can scorch quickly, so emboss in short bursts.
How do I add shadows to paper without ink?
Use foam squares to lift elements and create natural shadows. Alternatively, layer torn paper edges to cast subtle shadows.
What's the best way to distress paper edges?
Use a paper distresser tool or 220-grit sandpaper. Work along the edge at a 45-degree angle, then ink the edge for a worn look.


