

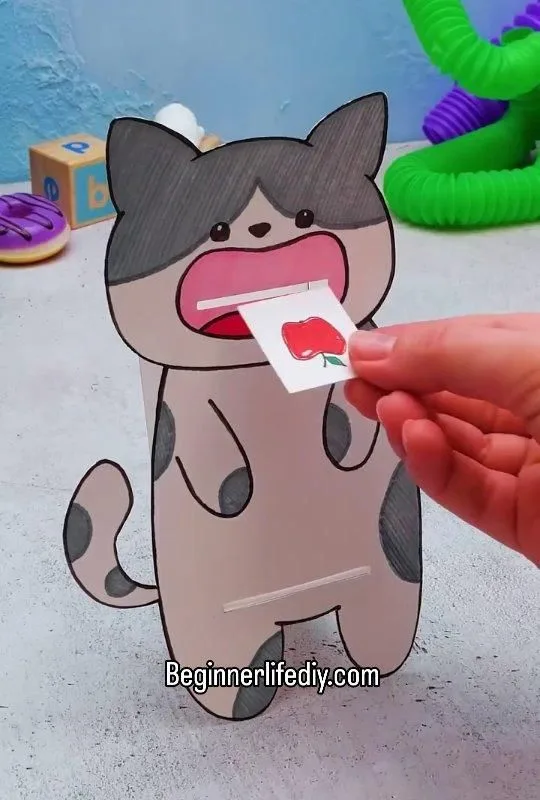
Ever stared at a blank sheet of paper and felt a spark of possibility? You're not alone. These seven easy paper craft hacks will turn that spark into stunning, frame-worthy creations—no fancy tools required.
Advertisements1
- Accordion folds create springy, dimensional shapes with zero special tools.
- Quilling can be done with a toothpick—just keep tension steady and use 65 lb. paper.
- Paper bag stars cost pennies and look like boutique decorations.
- The origami crane takes 5 minutes once you memorize the sequence; sharp creases are key.
- Magazine paper beads are durable and colorful—seal them with Mod Podge.
- Coffee filter flowers never wilt and are forgiving for beginners.
Hack 1: The Accordion Fold That Makes Paper Bloom
Imagine turning a plain sheet into a springy, three-dimensional flower in under two minutes. The secret is the accordion fold—also called a fan fold. Start with a rectangle of paper (any size works, but 3×6 inches is a sweet spot). Fold a small flap, flip the paper over, fold another flap the same width, and repeat until you reach the end. This back-and-forth motion creates a zigzag stack that acts like a spring. Pinch the center with a pipe cleaner or a twist tie, then fan out the folds to form a full circle. Glue the ends together for a rosette, or leave it open for a delicate bloom. Why it works: the alternating folds distribute tension evenly, so the paper holds its shape without tearing. Common mistake: folding the same direction every time—that just makes a wad, not a fan. Always flip the paper between folds.
Hack 2: Quilling Without a Quilling Tool
Quilling—the art of rolling thin strips of paper into coils—usually calls for a special slotted tool. But you can get the same effect with a toothpick and a dab of glue. Tear or cut a strip of paper about 1/8 inch wide and 6 inches long. Dampen your fingertips slightly (not wet, just barely tacky) to grip the paper. Wrap one end around the toothpick and roll tightly, keeping the edges aligned. Slide the coil off, let it relax into a loose spiral, then glue the tail. Pinch the coil into shapes: a teardrop, a heart, a leaf. Why it works: the toothpick creates a small, consistent core, and the paper's natural memory holds the curl. Common mistake: rolling too loosely—your coil will unravel. Keep tension steady, like winding a clock spring.
Hack 3: The Paper Bag Star That Costs Pennies
Here's a party decoration that looks like it came from a boutique: the paper bag star. You need eight small paper bags (the kind you'd use for a lunch sack), a glue stick, and a pair of scissors. Flatten each bag and glue them in a stack, alternating the direction of the open ends. Cut a notch on the closed end—a V shape—then cut a curve on the open end to create points. Open the stack into a circle and glue the first and last bags together. Why it works: the layered bags create a sturdy, dimensional star that folds flat for storage. Common mistake: using bags that are too large—they become floppy. Stick to bags no bigger than 6 inches tall.
Hack 4: Origami Crane in 5 Minutes Flat
The origami crane is a classic for a reason: it's elegant, symbolic, and surprisingly simple once you know the sequence. Start with a square of paper, colored side up. Fold it in half diagonally both ways, then unfold. Flip it over and fold in half horizontally and vertically, then unfold. Collapse the paper into a smaller square using the creases—this is the 'preliminary base.' From there, fold the side corners to the center line, unfold, and reverse-fold them up to form the 'bird base.' Fold the sides to the center again, then fold the top triangle down. Reverse-fold the legs, shape the head, and blow into the hole to inflate the body. Why it works: the crease pattern acts as a map, guiding each fold into place. Common mistake: rushing the preliminary base—if the creases aren't sharp, the crane won't hold its shape. Use your fingernail to press each fold.
Hack 5: Paper Beads from Magazine Pages
Turn glossy magazine pages into colorful, lightweight beads. Cut long, skinny triangles—about 1/2 inch at the base and 4 inches long. Starting at the wide end, roll the paper around a skewer or toothpick, keeping it tight. Glue the pointed tip down to secure. Slide the bead off and let it dry. Why it works: the glossy paper holds color and takes a sealant well, and the triangular shape creates a tapered bead that's easy to string. Common mistake: rolling too loosely—your bead will slide around on the string. Keep firm pressure as you roll.
Hack 6: The 3D Paper Star That Hangs Flat
This star is made from a single sheet of paper and a few strategic cuts. Fold a square in half diagonally, then in half again. Cut slits parallel to the folded edge, stopping short of the center. Unfold, then bring the innermost strips together and glue—they form a tube. Flip the paper over and glue the next set of strips, alternating sides. Continue until all strips are glued. Why it works: the alternating glue pattern creates tension that pulls the star into a three-dimensional shape. Common mistake: cutting the slits too close to the center—the star will fall apart. Leave at least a half-inch margin.
Hack 7: Paper Flowers That Never Wilting
Create a bouquet that lasts forever using coffee filters and watercolor. Stack 8-10 coffee filters, fold them into quarters, and cut the outer edge into a scalloped shape. Unfold, then paint with diluted watercolor or food coloring. Let dry, then layer the filters and poke a hole in the center. Thread a pipe cleaner through and twist to secure. Fluff the layers to form a rose or peony. Why it works: coffee filters are absorbent and hold color beautifully, and the layers create a full, realistic bloom. Common mistake: skipping the drying step—wet filters tear when you fluff them. Patience pays off.
The Hacks, Step by Step
- 1Gather Your Basic Kit
You don't need much: a glue stick, scissors, a bone folder (or your fingernail), and a variety of paper weights. Keep it in a shoebox so you can craft anytime. - 2Start with a Single Sheet
Don't overwhelm yourself. Pick one hack from this list and make it with a single sheet of paper. The goal is to finish, not to hoard supplies. - 3Fold with Precision
Sharp creases are the foundation of every paper craft. Run your fingernail along each fold to make it crisp. This small step makes a big difference. - 4Embrace the Mess
Your first attempt might look like a crumpled ball. That's fine. The second will be better. The tenth will be stunning. Keep going. - 5Play with Color and Texture
Mix patterns, try metallic paper, or paint your own. The more you experiment, the more you'll develop your unique style. - 6Share Your Creation
Give your paper craft to a friend, display it on a shelf, or post it online. Sharing completes the creative cycle and inspires others.
Paper craft isn't about perfection—it's about the joy of making something beautiful from a simple sheet.
Frequently Asked Questions
What is the easiest paper craft for beginners?
The accordion-fold flower is the easiest because it requires only folding and a pipe cleaner. It's nearly impossible to mess up, and the result looks impressive.
How do I make paper crafts without special tools?
You can use everyday items like toothpicks, fingernails, and glue sticks. For example, a toothpick replaces a quilling tool, and a fingernail works as a bone folder.
What kind of paper is best for paper crafts?
It depends on the project: 65 lb. text weight is great for quilling, cardstock for 3D stars, and coffee filters for flowers. Start with what you have.
How can I make paper crafts look professional?
Focus on sharp creases, clean cuts, and a cohesive color palette. Sealing with Mod Podge or clear spray also adds a polished finish.
Are paper crafts expensive?
No—most projects use scrap paper, magazine pages, or coffee filters. You can create beautiful decor for pennies.


