

You don't need a woodshop to make a photo frame that looks store-bought. These 7 hacks use items you probably already have, and each one takes under an hour. I've tested them all—here's what works and what to avoid.
Advertisements1
- Use double-wall cardboard for sturdy fabric frames—flimsy cardboard warps.
- Spray paint thrifted frames with thin coats for a smooth finish.
- Washi tape is a damage-free way to frame photos on any wall.
- Pressed flowers must be completely dry to avoid mold.
- Acrylic sheets are safer and lighter than glass for floating frames.
- Clip frames let you swap photos in seconds—perfect for renters.
Hack 1: The Cardboard & Fabric Frame That Looks Like a Million Bucks
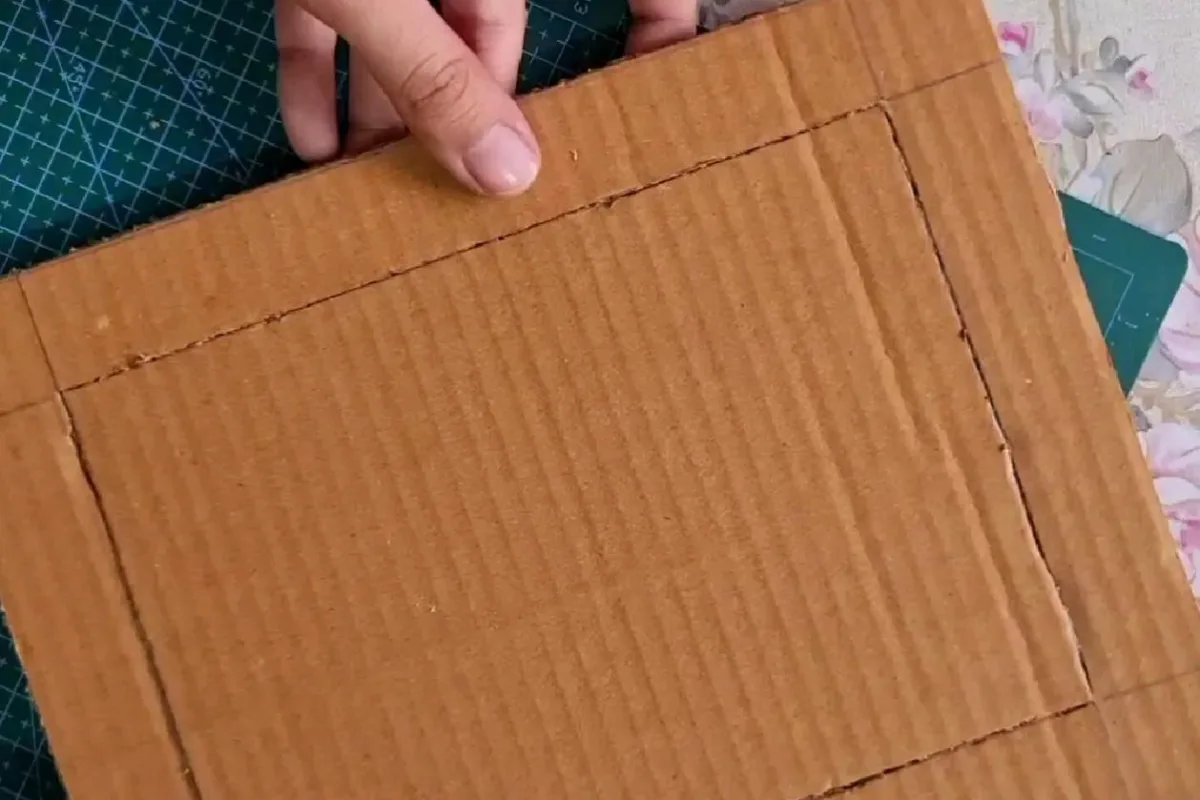
Grab a sturdy cardboard box (shipping boxes work great). Cut two rectangles: one for the frame front and one for the back. On the front piece, cut a smaller rectangle in the center for your photo—leave at least a 2-inch border. Wrap the front piece with fabric (cotton or linen works best) using a hot glue gun, pulling tight around the edges. Glue the back piece to the front, leaving the top open to slide in your photo. This works because fabric hides imperfections and adds texture. Common mistake: using flimsy cardboard that warps. Use double-wall cardboard for rigidity.
Hack 2: Turn a Thrifted Frame into a Modern Masterpiece with Spray Paint
Buy any ugly frame from a thrift store for $1–$3. Remove the glass and backing. Sand lightly with 220-grit sandpaper, then wipe with a damp cloth. Spray with 2–3 thin coats of matte black or metallic gold spray paint, waiting 10 minutes between coats. Let cure for 24 hours. This works because paint bonds to the original finish and gives a uniform look. Mistake: spraying too thick—it drips. Keep the can 8–10 inches away and use light passes.
Hack 3: The Washi Tape Frame for Instant Gallery Walls
No frame? No problem. Use washi tape to create a border directly on your wall around a photo. Measure your photo, then mark the tape lines with a pencil and a level. Apply tape, pressing firmly. For a 4×6 photo, use a 1-inch border. This works because washi tape is low-tack and won't damage paint. Mistake: using cheap tape that peels. Spend a little more on quality washi tape—it'll last for years.
Hack 4: Upcycle a Old Window Frame into a Rustic Photo Display
Find an old window frame at a flea market or salvage yard ($10–$20). Clean it with a 50/50 vinegar-water solution. Remove any loose paint with a wire brush. Attach small clips (binder clips work) to the back of each pane using super glue. Clip your photos to the clips. This works because the multiple panes create a natural grid. Mistake: not sealing chipping paint—use a clear matte sealer to prevent lead dust if the frame is old.
Hack 5: The Floating Frame Illusion with Two Pieces of Glass
Buy two pieces of glass cut to size at a hardware store (about $5 each for 5×7). Sandwich your photo between them. Wrap the edges with thin strips of double-sided tape, then cover with a thin ribbon or metal clips. Hang with a clear adhesive hook. This works because the glass creates a floating effect. Mistake: using regular glass—ask for tempered or acrylic to avoid sharp edges. Acrylic is safer and lighter.
Hack 6: Make a Pressed-Flower Frame That Doubles as Art
Press flowers between two sheets of parchment paper under heavy books for 2–3 weeks. Arrange them on acid-free paper, then place in a frame with a white mat. Use a dab of craft glue to hold flowers in place. This works because pressed flowers add a personal, organic touch. Mistake: using fresh flowers—they'll mold. Ensure they're completely dry before framing.
Hack 7: The $5 Clip Frame for Quick Changes
Buy a 8×10 clear acrylic sheet ($3) and two binder clips ($1). Lay your photo on the acrylic, then clip the photo to the acrylic at the top corners. Hang with a nail or adhesive strip. This works because it's minimal and lets you swap photos in seconds. Mistake: using heavy clips that dent the photo—use small clips and add a piece of felt between the clip and photo.
The Hacks, Step by Step
- 1Gather Your Materials
Collect everything before you start: frame base (cardboard, thrifted frame, etc.), adhesive (hot glue, spray paint, tape), and your photo. This saves trips to the store. - 2Measure Twice, Cut Once
Use a ruler and pencil to mark your cuts. For cardboard, use a craft knife on a cutting mat. Accurate cuts mean a professional look. - 3Prep Your Surface
Clean and sand if needed. For painting, wipe with a damp cloth to remove dust. This ensures paint and glue stick. - 4Assemble with Care
Work on a flat surface. Apply adhesive evenly. Press firmly for 30 seconds. Let dry per instructions. - 5Add Hanging Hardware
Attach a sawtooth hanger or use adhesive strips. For lightweight frames, 3M Command strips work great. - 6Display and Adjust
Hang at eye level (57 inches from floor to center). Step back and check alignment.
The best DIY frames are the ones that hide their humble origins—nobody needs to know it started as a cardboard box.
Frequently Asked Questions
What can I use instead of a frame?
You can use washi tape, binder clips with acrylic, or even a clothes hanger with clips. These methods are cheap and renter-friendly.
How do I make a DIY photo frame without glass?
Use acrylic sheets, clear plastic from packaging, or no cover at all. Acrylic is safer and lighter than glass.
What glue works best for DIY frames?
Hot glue for fabric and cardboard, E6000 for mixed materials, and double-sided tape for paper. Avoid white school glue—it's not strong enough.
How can I make a frame look expensive?
Use matte spray paint in black or gold, add a white mat board, and ensure your photo is centered. Small details make a big difference.
Can I use cardboard for a photo frame?
Yes, but use double-wall cardboard for rigidity. Single-wall will bend and look cheap.


