

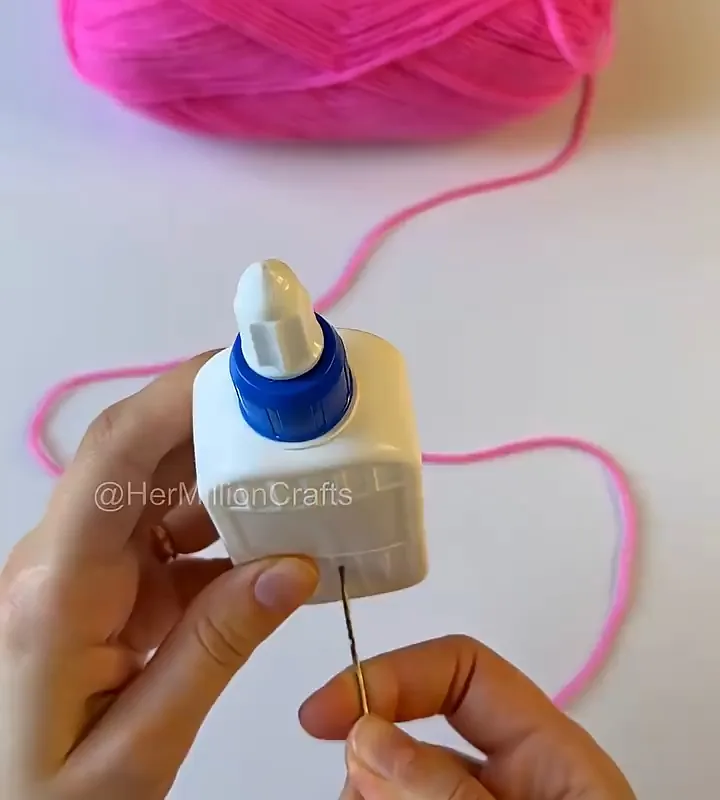
Stop scrolling past those dreamy Pinterest light balls—they're not as hard as they look. I've made dozens, and I'm sharing the exact hacks that separate a glowing masterpiece from a saggy mess. You'll get specific steps, pro tips, and the mistakes that ruin 90% of first attempts.
Advertisements1
- Use a 2:1 glue-to-water ratio for the perfect coating consistency.
- Cotton yarn outperforms acrylic or wool for rigidity and glue absorption.
- Dry for at least 48 hours—rushing leads to collapse.
- Always apply petroleum jelly to the balloon for easy removal.
- LED lights only; incandescent bulbs are a fire hazard.
- Reinforce the hanging point with extra glued yarn to prevent tearing.
Why Most DIY Light Ball Lamps Fail (And How to Fix It)
Most tutorials skip the chemistry. Glue consistency is everything. If your glue is too thick, the yarn won't saturate; too thin, and it won't hold shape. I mix white school glue with water in a 2:1 ratio—that's 2 parts glue to 1 part water. This gives a syrupy texture that coats each strand evenly. Why? Because the glue needs to penetrate the yarn fibers, not just sit on top. A common mistake is dunking the yarn directly into the glue bottle. Don't. You'll get clumps and uneven drying. Instead, pour the mixture into a shallow bowl and run the yarn through your fingers to squeeze out excess. You want it wet but not dripping. Think of it like wringing out a sponge—you need moisture, not a puddle. This single adjustment cuts drying time by hours and prevents sagging.
The Yarn Choice That Makes or Breaks Your Lamp
Not all yarn is equal. I've tested cotton, acrylic, and wool. Cotton is the winner. It absorbs glue deeply, dries rigid, and doesn't fuzz. Acrylic repels glue and stays squishy—your lamp will feel like a deflated basketball. Wool is too expensive and sheds. Use a medium-weight (worsted) cotton yarn, like Lily Sugar'n Cream. One 2.5 oz skein makes about two 8-inch lamps. Why cotton? Its natural fibers have tiny scales that lock together when coated with glue, creating a sturdy shell. Plus, it takes dye well if you want custom colors. Avoid anything labeled 'soft' or 'baby'—those are treated with conditioners that prevent glue adhesion. A common mistake is grabbing the cheapest yarn at the craft store. You'll save $2 and end up with a droopy mess. Spend the extra dollar.
The Drying Process: Where Patience Pays Off
You can't rush drying. I don't care what the label says—24 hours is the minimum. I let mine sit for 48 hours in a well-ventilated room. Why so long? Because the glue needs to fully cure, not just feel dry to the touch. If you pop the balloon too early, the yarn will still be flexible and your lamp will sag. Here's my setup: I hang the balloon from a string over a bucket to catch drips. A fan on low speed circulates air without causing the balloon to swing. Temperature matters too—aim for 70-75°F. Cold slows curing; heat can make the balloon expand and crack the yarn. A common mistake is using a hair dryer to speed things up. That creates a hard outer shell while the inside stays wet, leading to mold and a collapsed lamp. Patience is your friend.
Popping the Balloon: The Moment of Truth
This is where amateurs panic. The balloon will stick to the yarn if you didn't prep it. Before wrapping, I rub a thin layer of petroleum jelly on the balloon. That creates a barrier so the balloon releases cleanly. When it's fully dry, I use a sharp pin to puncture the balloon near the knot. Slowly, the balloon deflates and pulls away from the yarn. If it sticks, don't yank—gently work your fingers between the balloon and the yarn. Why petroleum jelly? It's non-toxic, cheap, and doesn't leave a residue that affects the glue. A common mistake is using oil or cooking spray. Oil can seep into the yarn and prevent the glue from curing properly. Stick with petroleum jelly.
Lighting It Up: Safe and Stunning
Never use a real candle or incandescent bulb inside a yarn lamp. That's a fire hazard. I use LED fairy lights or a battery-operated LED puck light. Why LED? They stay cool, use minimal power, and come in warm white for that cozy glow. I thread a string of 20 micro LEDs through the holes in the yarn. For a more polished look, I place a small LED puck at the bottom and let the light diffuse through the yarn. The cotton acts as a diffuser, softening the light. A common mistake is using a high-wattage bulb. It'll melt the glue and could ignite the yarn. Stick with LEDs under 5 watts. Also, keep the lamp away from curtains and other flammable materials.
Finishing Touches: Hanging and Displaying
How you hang your lamp affects its longevity. I use clear fishing line for a floating effect. Thread it through the top of the lamp and secure with a knot and a drop of glue. Why fishing line? It's strong, invisible, and won't stretch. For a table lamp, I set it on a small LED base or a wooden coaster. If you want a pendant light, buy a cheap cord kit with a ceramic socket and use an LED bulb. A common mistake is hanging from a single point without reinforcement. The yarn can tear under weight. I reinforce the top with a small circle of extra yarn coated in glue. Let that dry before hanging. Also, avoid direct sunlight—UV rays can yellow the glue over time.
The Hacks, Step by Step
- 1Mix the Glue Solution
Combine 2 parts white school glue with 1 part water in a bowl. Stir until smooth and slightly thick. Why: This ratio ensures the yarn absorbs enough glue without becoming too runny. - 2Prep the Balloon
Inflate a 12-inch balloon to 8 inches diameter. Tie the knot and apply a thin layer of petroleum jelly. Why: The jelly prevents the balloon from sticking to the yarn, making removal easy. - 3Wrap the Yarn
Dip a long strand of cotton yarn into the glue mixture, squeeze excess, and wrap randomly around the balloon, leaving 1-2 inch gaps. Why: Random wrapping creates a sturdy, even structure; gaps let light through. - 4Dry Thoroughly
Hang the balloon and let it dry for 48 hours in a ventilated area at 70-75°F. Why: Full curing prevents sagging and ensures a rigid shell. - 5Pop and Remove Balloon
Puncture the balloon near the knot and gently pull it out. Why: The petroleum jelly allows the balloon to release without damaging the yarn. - 6Insert Lights
Thread LED fairy lights or place a battery-operated LED puck inside. Why: LEDs are cool to the touch and safe for yarn. - 7Hang or Display
Use fishing line to hang from the ceiling or set on a base. Reinforce the top with extra glued yarn if hanging. Why: This ensures the lamp stays secure and looks professional.
The difference between a Pinterest fail and a glowing masterpiece is 48 hours of patience and the right glue ratio.
Frequently Asked Questions
How do I make a light ball lamp without a balloon?
You can use a large bowl as a mold, but it's trickier. Inflate a balloon—it's the easiest and most reliable method. The balloon gives you a perfect sphere and releases easily with petroleum jelly.
What kind of glue is best for yarn lamps?
White school glue mixed with water (2:1) is ideal. It dries clear, is non-toxic, and holds shape well. Avoid hot glue or epoxy—they dry too fast and are messy.
How long does it take for a yarn lamp to dry?
At least 48 hours in a well-ventilated room at 70-75°F. If it's humid, wait 72 hours. Rushing causes sagging and mold.
Can I use LED string lights inside a yarn lamp?
Yes, LED fairy lights or battery-operated puck lights are safe. They emit minimal heat. Never use incandescent bulbs—they can melt the glue and start a fire.
How do I prevent my yarn lamp from sagging?
Use the right glue ratio, wrap evenly, and dry completely. Also, avoid over-wetting the yarn; squeeze out excess glue before wrapping.


