

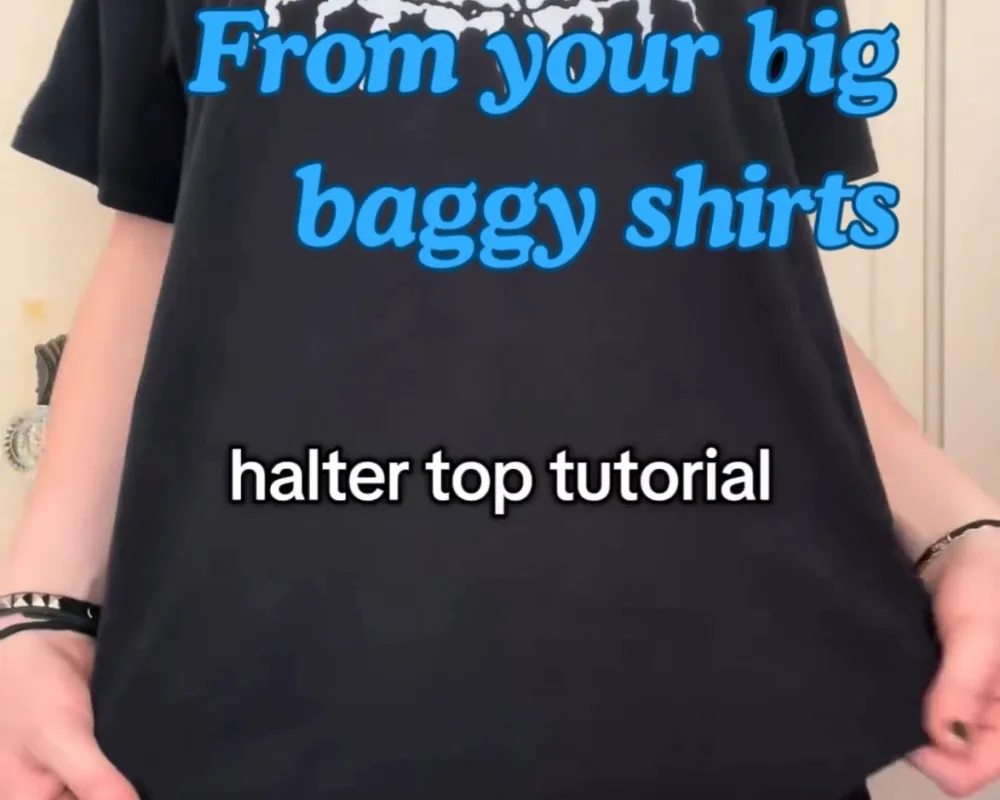
That oversized shirt hiding in your drawer is about 45 minutes away from becoming a halter top you'll actually wear. Here are seven hacks I've tested on everything from stiff thrifted button-downs to soft cotton tees, each with the exact reason it works and the mistake that ruins it.
Advertisements1
- A men's large cotton button-down is the easiest shirt to upcycle into a halter because the placket gives you a straight measuring line.
- Measure your halter strap length with string before cutting — most people land between 14 and 18 inches.
- Always cut the back neckline first and keep a 3-inch buffer on the front so you never cut too deep.
- Sleeve offcuts make perfectly matched neck ties and cost nothing extra.
- A double-fold hem adds roughly a year of wear for about 8 minutes of work.
- A back waist tie keeps the halter from sliding and lets you fine-tune the fit.
Pick the Right Shirt Before You Pick Up Scissors
Not every baggy shirt makes a good halter. You want a woven cotton, a linen blend, or a mid-weight knit that holds a shape when you cut it. Hold the fabric up to a window: if you can see your hand clearly through it, it's too thin and your neck ties will stretch out after one wash.
A men's large button-down in cotton poplin is the easiest starting point because the button placket gives you a built-in straight edge to measure from. I made my first halter from a $3 thrift-store Oxford and it held up through 20-plus wears.
Avoid heavy denim and stiff canvas for your first attempt. They fray fast and won't drape around your neck comfortably.
Measure Your Halter Depth With a Piece of String
Before any cutting, drape a piece of string from the point where you want the halter to sit on your chest, up over your shoulder, and to the back of your neck. Mark that length. This is your halter strap length, and it's the number most tutorials skip.
For most people this lands between 14 and 18 inches. Write your number down. Every cut you make afterward references it.
Why it works: halters fail when the neckline sits too low or the straps dig in. Measuring first means you cut once instead of patching a too-deep V with scrap fabric.
Cut the Back First, the Front Second
Turn the shirt inside out and mark a shallow U-shape across the back, starting about 2 inches below the collar. Cut that first. Then flip it right-side out and mark your front neckline, keeping it at least 3 inches higher than you think you want.
There's a reason for the order. The back cut is forgiving and easy to adjust. The front cut is permanent and visible. Doing the low-stakes cut first lets you see how the fabric behaves before you commit.
Common mistake: cutting the front neckline too deep on the first pass. You can always remove more fabric, but you can't put it back. I keep a 3-inch buffer on every first cut.
Use the Sleeve Offcuts as Your Halter Straps
When you remove the sleeves, don't toss them. Cut each sleeve into a 2-inch-wide strip along its length. These become your neck ties, and they match perfectly because they're the same fabric and dye lot.
Fold each strip in half lengthwise, wrong sides together, and sew a quarter-inch seam. Turn it right-side out with a safety pin. You now have two finished ties that won't fray.
Why it works: store-bought bias tape never quite matches, and raw strips shred in the wash. Reusing the sleeve gives you a seamless look with zero extra shopping.
Finish Raw Edges With a Double-Fold Hem
Raw armholes and necklines will fray within two washes on woven cotton. Fold the edge under a quarter inch, press it with an iron, fold again, and stitch. This is a double-fold hem and it's the single biggest difference between a top that lasts and one that falls apart.
If you don't sew, use fusible hem tape: press a half-inch strip along the fold for 10 seconds per section. It holds through gentle cycles.
My rule of thumb: 8 minutes of hemming adds roughly a year of wear. Skip it and you'll be re-cutting the same shirt next month.
Add a Back Tie So It Actually Stays Put
A halter with only neck ties will slide around all day. Cut two 12-inch strips from your remaining fabric and attach them at the mid-back, just below your shoulder blades. Tie them snugly at your natural waist.
This anchors the top so the neckline stays where you placed it. It also lets you adjust fit if you cut slightly too loose.
One reader told me she wore her halter to a picnic and never once had to re-tie it. That back tie is why.
Test the Fit Before You Sew Anything Permanent
Pin everything. Put the top on. Raise your arms, sit down, bend forward. If the neckline gaps or the armholes dig in, adjust the pins now.
I pin-baste with safety pins every 2 inches, which takes about 90 seconds and has saved me from unpicking seams more times than I can count.
Only after a full movement test do you commit to the machine. This one habit is the difference between a wearable top and a pile of fabric on your floor.
The Hacks, Step by Step
- 1Wash and dry the shirt first
Fabric shrinks, and you want that to happen before you cut. Pre-washing prevents a top that fits today from fitting weirdly after its first laundry day. - 2Mark your halter depth with string
Drape string from chest to shoulder to nape and note the length. This is your strap measurement and your guide for every cut. - 3Cut the back neckline first
Turn the shirt inside out and cut a shallow U about 2 inches below the collar. The back is forgiving, so it's the safe place to start. - 4Cut the front neckline with a 3-inch buffer
Flip right-side out and cut higher than your target. You can always trim more, but you can't add fabric back. - 5Remove sleeves and save the fabric
Cut along the shoulder seam. Keep the sleeves — they become your neck ties in step 6. - 6Make ties from the sleeve strips
Cut each sleeve into 2-inch strips, fold lengthwise, sew a quarter-inch seam, and turn right-side out with a safety pin. - 7Double-fold hem every raw edge
Press a quarter inch under, fold again, and stitch. Or use fusible hem tape if you don't sew. - 8Pin, wear-test, then sew
Safety-pin the whole top, put it on, and move around. Adjust before you commit to permanent stitches.
The single habit that separates a wearable upcycled top from a pile of fabric on the floor is a full pin-and-move fit test before you sew a single permanent stitch.
Frequently Asked Questions
Can I make a halter top from a baggy shirt without sewing?
Yes. Use fusible hem tape on all raw edges and fabric glue for the strap seams, then let everything cure for 24 hours before wearing. It won't last as long as a stitched version, but it holds through several gentle washes.
What kind of shirt works best for a DIY halter top?
A mid-weight woven cotton like a men's large button-down is the best choice because it holds shape and the placket gives you a straight edge. Avoid thin knits and heavy denim for a first attempt.
How much fabric do I need to leave for the halter straps?
Each strap should be about 2 inches wide and 14 to 18 inches long, which is exactly what one sleeve offcut provides. Cut along the length of the sleeve, not across it.
Will a DIY halter top fray in the wash?
It will if you leave raw edges. Double-fold hem every opening and wash on gentle in a mesh bag. Properly finished edges hold up for a year or more of regular wear.
How long does this upcycling project take?
Plan on 45 to 60 minutes for a first attempt, including measuring, cutting, hemming, and a fit test. Experienced sewists finish in about 25 minutes.


