

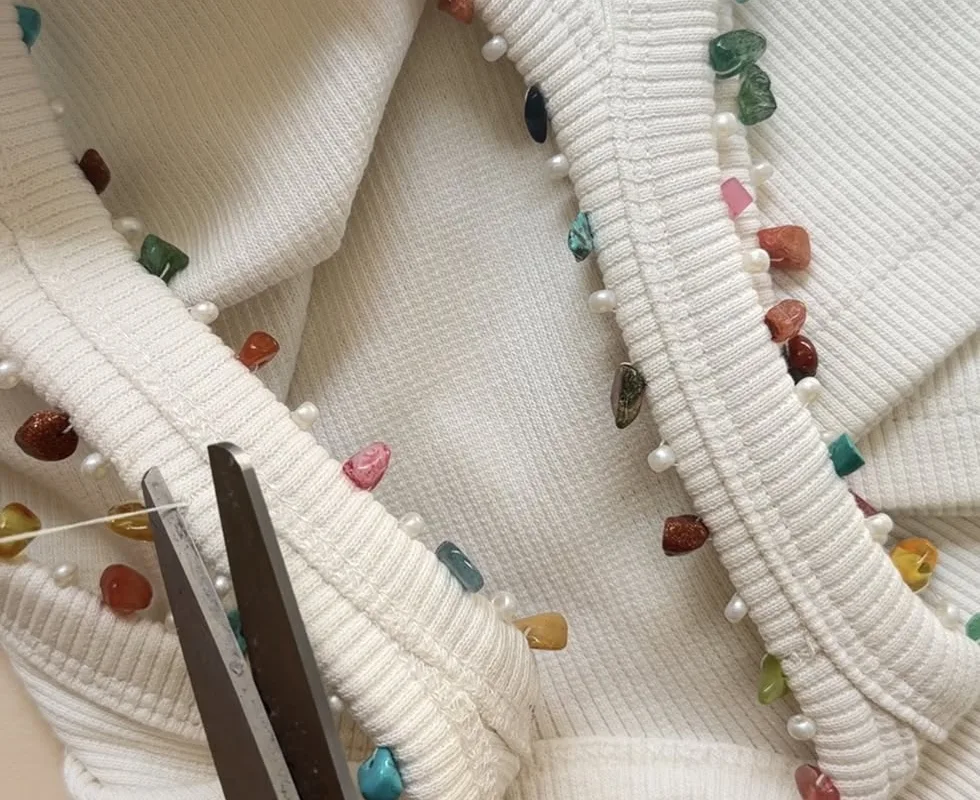
Transform a plain tank top into a dazzling gemstone masterpiece with these 7 practical hacks. Get ready to sparkle all summer long with easy, step-by-step techniques.
Advertisements1
- Use flexible, waterproof fabric glue like E6000 for a secure hold that survives washing.
- Plan your design with a fabric marker to avoid uneven patterns and wasted gems.
- Mix gem sizes for a dimensional, professional look that catches the light.
- Seal your design with a fabric sealant to protect against water and friction.
- Hand wash only—machine washing will dislodge gems, even with strong glue.
- Upcycle old tank tops by covering stains with gem clusters for a sustainable makeover.
Hack 1: The Fabric Glue That Actually Holds
Not all fabric glues are created equal. For gemstones, you need a flexible, waterproof adhesive like E6000 or Gem-Tac. These glues dry clear and withstand washing, unlike hot glue which becomes brittle and pops off. Apply a small dot to the back of each gem, press firmly for 30 seconds, and let cure for 24 hours before wearing. A common mistake is using too much glue—it oozes around the edges and looks messy. Less is more; a thin layer is all you need.
Hack 2: Map Your Design Before You Glue
Before committing to a layout, arrange your gemstones on the tank top while it's on a flat surface or dress form. Use a fabric marker or chalk to lightly trace the outline of your design. This prevents the dreaded 'gemstone drift' where your pattern becomes lopsided. For symmetry, fold the tank in half and mirror your design. A common mistake is skipping this step and ending up with an uneven, chaotic pattern. Trust me, a little planning saves a lot of frustration.
Hack 3: Mix Gem Sizes for Dimension
Using only one size of gemstone can look flat and uninspired. Mix small (2-3mm), medium (4-5mm), and large (6-8mm) rhinestones to create depth and catch light from different angles. Cluster larger gems at the center of your design and scatter smaller ones around the edges for a gradient effect. Avoid overcrowding—leave some fabric visible so the gems can breathe. This technique mimics the natural variation of real gemstones and adds a professional touch.
Hack 4: Seal with a Fabric Sealant for Longevity
After your gems are glued and cured, apply a thin layer of fabric sealant like Mod Podge Fabric or a clear acrylic spray. This adds a protective barrier against water, sweat, and friction, extending the life of your tank top. Spray from 12 inches away in a well-ventilated area and let dry for 2 hours. A common mistake is applying too much sealant, which can dull the sparkle. A light mist is sufficient.
Hack 5: Wash with Care (or Not at All)
Hand wash your gemstone tank top in cold water with a gentle detergent, then lay flat to dry. Never put it in the washing machine or dryer—the agitation will dislodge even the most securely glued gems. If you must machine wash, turn the tank inside out and use a mesh laundry bag on a delicate cycle. But honestly, spot cleaning is your best bet. A common mistake is tossing it in with regular laundry and losing half your gems in the lint trap.
Hack 6: Use a Gemstone Applicator for Precision
For intricate designs, a wax-tipped pick-up tool or a gemstone applicator pen is a game-changer. It lets you place tiny gems exactly where you want them without getting glue on your fingers. Dip the tip in wax, touch the gem, and transfer it to the glue dot. This is especially useful for small rhinestones that are hard to handle. A common mistake is using fingers, which can smudge glue and misplace gems. Precision tools make all the difference.
Hack 7: Upcycle an Old Tank with a Gemstone Remix
Don't toss that stretched-out or stained tank top—give it a gemstone makeover! Cover stains with a cluster of gems or create an all-over pattern to hide imperfections. This is a sustainable and budget-friendly way to refresh your wardrobe. Use a color palette that complements the existing fabric. A common mistake is trying to cover a large stain with too few gems, which looks patchy. Go bold and cover generously.
The Hacks, Step by Step
- 1Gather Your Supplies
You'll need a tank top, gemstones (assorted sizes), fabric glue (E6000 or Gem-Tac), tweezers or applicator, fabric marker, and sealant. Choose a cotton or cotton-blend tank for best adhesion. - 2Prep and Plan
Wash and dry your tank to remove sizing. Iron if needed. Lay flat and arrange gems to finalize your design. Mark placement with a fabric marker. - 3Glue Gems in Place
Apply a small dot of glue to the back of each gem and press onto the fabric. Work in sections to avoid smudging. Use tweezers for small gems. - 4Cure and Seal
Let the glue cure for 24 hours. Then apply a thin layer of fabric sealant and let dry for 2 hours. This protects the gems and extends wear. - 5Wear and Care
Hand wash in cold water and lay flat to dry. Avoid machine washing and drying. Store flat or hang to prevent gems from snagging.
The secret to a gemstone tank that lasts isn't just the glue—it's the planning and sealing that make it truly wearable art.
Frequently Asked Questions
What kind of glue works best for gemstones on fabric?
E6000 or Gem-Tac are the best choices because they dry clear, remain flexible, and are waterproof. Hot glue is not recommended as it becomes brittle and pops off.
Can I wash a DIY gemstone tank top in the washing machine?
It's not advisable. Hand washing in cold water and laying flat to dry is the safest method. If you must machine wash, turn it inside out and use a mesh bag on a delicate cycle.
How do I prevent gemstones from falling off?
Use a high-quality fabric glue, apply a thin layer of sealant after curing, and avoid machine washing. Also, ensure the fabric is clean and dry before gluing.
What size gemstones should I use for a tank top?
A mix of sizes—small (2-3mm), medium (4-5mm), and large (6-8mm)—creates the most dimensional and eye-catching design. Use larger gems as focal points and smaller ones for fill.


