

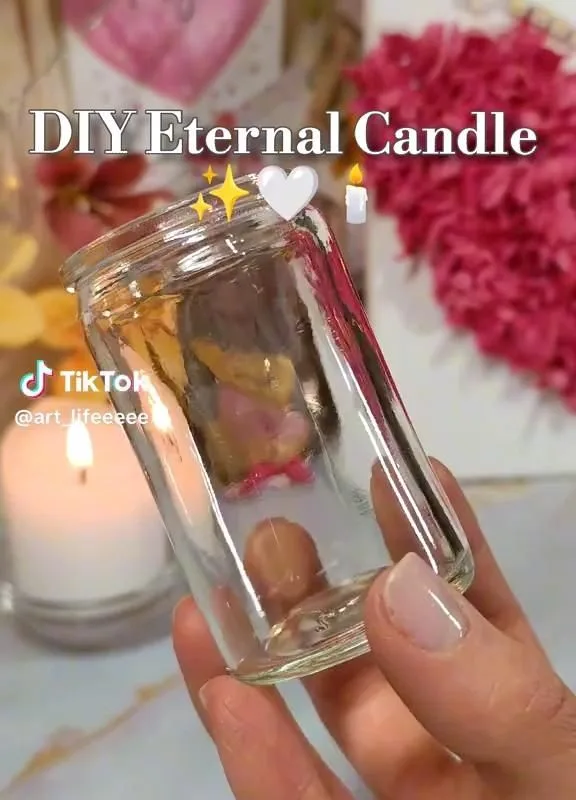
Ever wish you could keep a candle glowing without the worry of a flame? I've been making DIY eternal candles for years, and I've got seven hacks that actually work. You'll save money, add cozy ambiance, and never worry about burning your house down.
Advertisements1
- Coating LED candles with real wax makes them look and feel authentic.
- A flickering LED or Arduino circuit mimics a real flame's movement.
- Hidden diffusers or scent pads add fragrance without fire.
- Upcycled jars and melted tops add vintage charm and realism.
- Timer switches extend battery life and automate your ambiance.
- Grouping candles creates a dramatic, cozy display.
Why Eternal Candles Are a Game-Changer
I still remember the night my cat knocked over a lit candle and singed my favorite table runner. That was the moment I decided to find a safer alternative. Eternal candles—also called flameless or LED candles—give you the warm glow without the fire hazard. They're perfect for homes with pets, kids, or just forgetful folks like me who leave the room mid-burn.
But store-bought versions can be pricey and often look fake. That's why I started making my own. With a few simple materials, you can create a candle that looks incredibly realistic and lasts for months on a single set of batteries. Plus, you can customize the size, color, and even the flicker pattern.
The best part? You don't need to be a craft wizard. I'm a mom of two with a full-time job, and if I can do this during nap time, so can you. Let's dive into the hacks that took my candle game from meh to magical.
Hack 1: Use Real Wax for a Realistic Look
The biggest giveaway of a fake candle is the material. Plastic shells look shiny and cheap. Instead, use real paraffin or soy wax to coat your LED candle. I melt leftover candle stubs in a double boiler, then dip a white LED pillar candle into the wax. It gives that matte, slightly uneven texture of a real candle.
Why it works: Real wax diffuses light softly and feels authentic to the touch. It also allows you to add scent if you want. I like to add a few drops of vanilla essential oil to the melted wax for a subtle fragrance.
Common mistake: Don't use too much wax or it will crack when it cools. Aim for a thin, even coat. Also, never submerge the battery compartment—wax and electronics don't mix. I learned that the hard way when my first attempt shorted out.
Hack 2: Create a Flicker Effect with a Simple Circuit
A steady LED light looks artificial. Real flames flicker. You can mimic this with a flickering LED bulb, which you can buy online for a few dollars. But if you want to DIY it, use a small microcontroller like an Arduino Nano to program a random flicker pattern. I'm not a tech expert, but there are plenty of tutorials online.
Why it works: Random flickering mimics the natural movement of a flame, tricking the eye into seeing a real candle. I set mine to flicker at varying intervals—some quick, some slow—for a more organic feel.
Common mistake: Overdoing the flicker. If it's too erratic, it looks like a strobe light. Aim for subtle variations. Also, make sure your wiring is secure; a loose connection can cause frustrating flickers or no light at all.
Hack 3: Add a Scent with a Hidden Diffuser
One of the joys of real candles is the scent. To get that with an eternal candle, I hide a small essential oil diffuser or a scent pad inside the candle base. I use a USB diffuser that fits in the hollow part of a pillar candle. A few drops of lavender oil, and my living room smells like a spa.
Why it works: The heat from the LED (minimal) or a small warming element can help disperse the scent. Even without heat, a fan-powered diffuser works. I place it near the top so the scent wafts out.
Common mistake: Using too much oil can make the scent overpowering and cause headaches. Start with 2-3 drops and adjust. Also, don't let oil leak onto the electronics—it can damage them. I line the compartment with a small piece of plastic wrap to be safe.
Hack 4: Upcycle Old Candle Jars for a Vintage Vibe
I love the look of vintage candle jars, but they can be expensive. Instead, I upcycle empty jars from thrift stores or my own recycling bin. Clean them thoroughly to remove any wax residue, then place your LED candle inside. For an extra touch, I wrap twine around the rim or add a lace doily.
Why it works: The glass amplifies the glow and adds a cozy, rustic charm. It also protects the LED from dust. I have a collection of jars in different sizes on my mantel, and guests always think they're real.
Common mistake: Not cleaning the jar properly. Any leftover wax or label residue will look messy. Use rubbing alcohol to remove stubborn glue. Also, be careful with thin glass—it can crack if you drop the LED in too hard.
Hack 5: Extend Battery Life with a Timer Switch
Nothing kills the mood like a candle that dies after a few hours. I use a simple plug-in timer or a built-in timer module for my LED candles. Most LED candles have a timer function, but if yours doesn't, you can buy an inline timer for a few bucks. I set mine to turn on at dusk and off at bedtime.
Why it works: It conserves battery power and gives you automatic ambiance. I use rechargeable batteries to be eco-friendly and save money in the long run. A set of good rechargeable batteries can last for years.
Common mistake: Forgetting to set the timer correctly, so the candle turns on during the day. Also, cheap timers can be noisy—look for silent ones. I made the mistake of buying a loud ticking timer once; it drove me crazy.
Hack 6: Make It Look Used with a Melted Top
A brand-new LED candle looks too perfect. To make it look like a real, used candle, I use a heat gun or a hair dryer to slightly melt the top edge of the wax coating. It creates that uneven, drippy look. I also carve a small 'wick' hole in the center and place a blackened piece of string or a tiny LED filament to mimic a wick.
Why it works: Real candles have imperfections—melted edges, a blackened wick. These details sell the illusion. I even add a few drops of wax on the sides to look like drips.
Common mistake: Melting too much and ruining the shape. Work in short bursts and keep the heat moving. Also, don't use a real flame—you'll melt the whole thing. I almost set off my smoke alarm the first time I tried this with a match.
Hack 7: Group Candles for a Dramatic Display
One candle is nice, but a cluster of eternal candles in varying heights creates a stunning centerpiece. I group three to five candles on a tray with some faux greenery or pinecones. I use remote-controlled candles so I can turn them all on at once. It's a showstopper for dinner parties.
Why it works: Grouping creates depth and visual interest. It also makes the light appear warmer and more inviting. I mix flickering and steady candles for a dynamic look.
Common mistake: Placing them too close together—they can look cluttered. Leave some space between each candle. Also, make sure remotes don't interfere with each other; some cheap ones share frequencies. I label my remotes to avoid confusion.
The Hacks, Step by Step
- 1Gather Your Materials
You'll need LED candles (pillar or votive), real wax (paraffin or soy), a double boiler, essential oils (optional), a flickering LED bulb or Arduino, a small diffuser, upcycled jars, a timer switch, a heat gun, and remote-controlled candles. I get most of these from craft stores or online. - 2Coat LED Candles with Wax
Melt wax in a double boiler. Dip your LED candle quickly, or brush on a thin layer. Let it cool on parchment paper. This gives a realistic matte finish. Avoid getting wax in the battery compartment. - 3Install a Flicker Circuit
If your LED doesn't flicker, replace the bulb with a flickering LED, or program an Arduino to control the flicker. Solder connections securely. Test before assembling. - 4Add Scent
Place a few drops of essential oil on a cotton pad and tuck it inside the candle base near the light. Or use a mini diffuser. Don't overdo it—start with 2-3 drops. - 5Upcycle a Jar
Clean a glass jar with rubbing alcohol. Place your LED candle inside. Decorate with twine or lace. This adds a vintage touch and protects the candle. - 6Set Up a Timer
Use a plug-in timer or the candle's built-in timer to automate on/off times. This saves battery and gives you consistent ambiance. Set it to turn on at dusk. - 7Create a Melted Look
Use a heat gun on low to slightly melt the top edge of the wax. Carve a wick hole and insert a blackened string. Work carefully to avoid over-melting. - 8Arrange a Group
Place multiple candles of different heights on a tray. Use remote-controlled candles for easy operation. Add greenery or pinecones for a seasonal touch.
The secret to a convincing eternal candle is layering small details—wax texture, flicker, and scent—to fool the eye and nose.
Frequently Asked Questions
How long do DIY eternal candles last?
With regular use, batteries can last 1-3 months, but using a timer extends that to 6 months or more. The LED itself can last for years.
Are eternal candles safe for pets and kids?
Yes, they are much safer than real candles because there's no open flame. However, keep small parts like batteries out of reach.
Can I use real candle wax for coating?
Yes, you can melt leftover candle wax. Just ensure it's clean and free of debris. Soy wax is easier to work with.
Do I need special tools to make a flicker effect?
Not necessarily. You can buy flickering LED bulbs. For a custom effect, an Arduino is optional but fun.
How do I clean wax off LED candles if I make a mistake?
Let the wax harden, then gently scrape it off with a plastic card. Avoid using water on electronics.


