

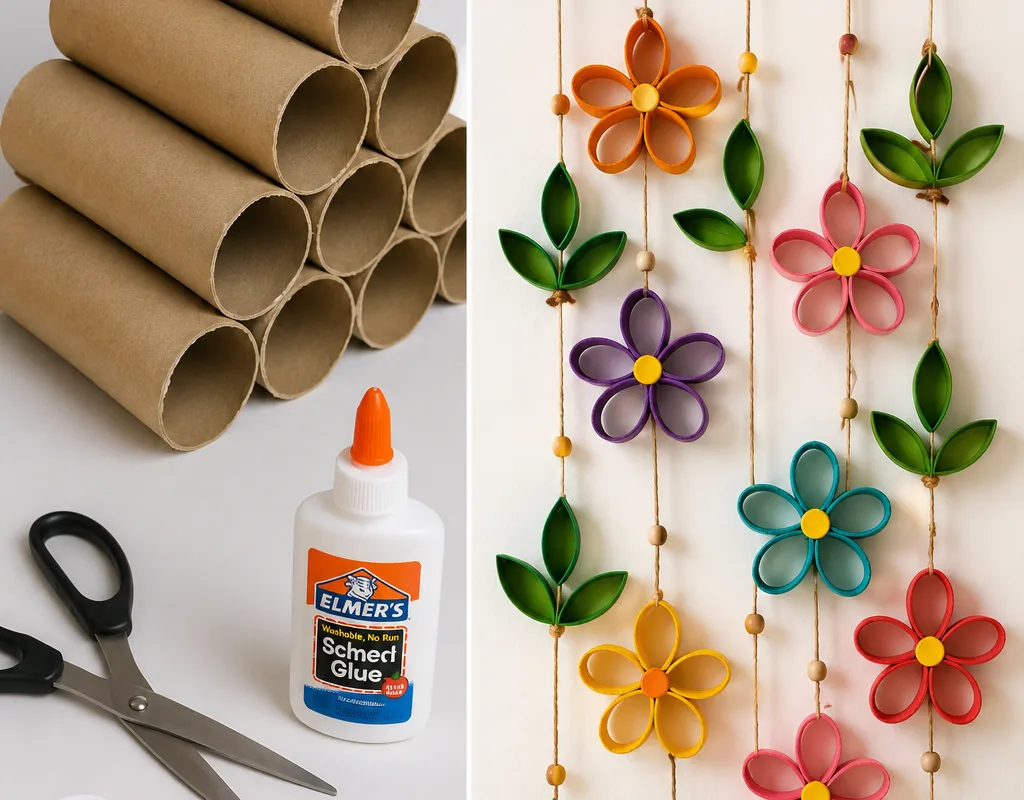
Turn trash into treasure with these egg carton flowers that look like you bought them from a boutique. I've made dozens, and I'll show you exactly how to get that high-end look without spending a dime.
Advertisements1
- Paper pulp egg cartons are the best material for realistic, expensive-looking flowers.
- Shaping petals while slightly damp helps them hold their form.
- Dry brushing paint creates natural depth and highlights.
- Assemble with floral wire and hot glue for durable, poseable stems.
- Display in simple vases and mix sizes for a boutique look.
Why Egg Carton Flowers Look Surprisingly Expensive
Egg cartons have a secret weapon: their molded pulp texture. When painted and shaped, that texture mimics the veining and subtle imperfections of real petals. I've fooled guests into thinking my egg carton roses were made of clay. The key is in the finishing touches—layering, shading, and a matte sealant. Plus, the material is free, so you can experiment without guilt. I once made a bouquet of 12 roses for a friend's birthday; she still displays them. The trick is to treat each petal like a tiny canvas. Use acrylic paint in muted tones like blush, sage, and cream for a sophisticated palette. Avoid bright, glossy colors that scream 'craft project'. Matte finishes read as more expensive. And don't skip the wire stems—they allow you to shape the flowers naturally, just like real blooms.
Choosing the Right Egg Cartons (Not All Are Equal)
Not all egg cartons are created equal. I've tested paper pulp, molded fiber, and styrofoam. Paper pulp (the kind that looks like recycled newspaper) is the clear winner. It's porous, takes paint beautifully, and has a natural organic texture. Styrofoam cartons are too smooth and shiny—they look cheap even after painting. Molded fiber (often gray) is a close second, but it can be brittle. Avoid plastic cartons entirely. For best results, use cartons labeled '100% recycled paper pulp'. I get mine from a local farm stand; they're happy to give them away. If you're buying eggs, choose brands with paper cartons. One carton yields about 12 large petals or 24 small ones. So two cartons make a full bouquet. Also, check for cleanliness: rinse and dry thoroughly before crafting to avoid any egg residue.
The 5-Minute Petal Shaping Technique
Shaping petals is where the magic happens. Start by cutting the individual cups from the carton. Then, use your thumbs to gently press the center of each cup outward, creating a shallow bowl. Next, pinch the edges to create a ruffled look—this mimics natural petal curves. For a rose, curl the edges outward; for a daisy, keep them flat. I learned this from a florist friend: the secret is to work the pulp while it's slightly damp. Lightly mist the cups with water before shaping; they'll hold their form better. Let them dry completely before painting. If you're making a large flower, stack two or three cups together for depth. This technique takes practice, but after five minutes, you'll have a pile of realistic petals. Don't rush; each petal's unique shape adds to the realism.
Painting That Mimics Nature (No Artistic Skill Needed)
You don't need to be a painter to get realistic colors. Use a dry brush technique: dip your brush in paint, then wipe most of it off on a paper towel. Lightly brush over the petal, focusing on the edges and ridges. This creates depth and highlights. For roses, start with a base of light pink, then add a darker shade of rose to the center. For daisies, use white with a touch of yellow in the middle. I recommend acrylic craft paint in matte finish. Add a tiny bit of water to create a wash for blending. Let each layer dry before adding the next. A common mistake is overpainting—stop when you see the texture still showing through. Finally, seal with a matte varnish to protect and give a professional finish. I use Mod Podge Matte; it's affordable and works great.
Assembling Your Flowers for a High-End Look
Assembly is where your flowers come to life. For stems, use 18-gauge floral wire. Poke a small hole in the center of each petal and thread the wire through. For a rose, start with a tight bud (a small piece of carton rolled up) and wrap petals around it, securing with a dab of hot glue. For a daisy, glue petals around a center made from a small circle of carton painted yellow. I like to add leaves cut from the flat parts of the carton, painted green. Arrange your flowers in a vase or wrap them in kraft paper for a bouquet. The key to an expensive look is variety: mix sizes and shapes. I often make three rose sizes: small, medium, and large. Group them in odd numbers for a natural arrangement. Let the glue dry completely before handling.
Styling and Display Tips for a Boutique Vibe
How you display your flowers matters as much as how they're made. Use a simple, elegant vase—think ceramic or clear glass. Avoid busy patterns. For a modern look, place a single stem in a bud vase. For a lush bouquet, use a wide-mouth vase and fill it with your egg carton flowers mixed with real greenery. I often add eucalyptus or dried lavender for contrast. Another trick: lightly spritz with perfume or essential oils to give a subtle scent. If you're giving them as a gift, wrap the stems in brown paper and tie with twine. Add a handwritten note. These small touches elevate the perceived value. And remember, dust them gently with a soft brush; they'll last for years if cared for.
The Hacks, Step by Step
- 1Gather and Clean Cartons
Collect paper pulp egg cartons. Rinse with water and let dry completely to remove any egg residue. This ensures paint adheres well. - 2Cut Individual Cups
Use sharp scissors to cut the cups apart. Trim any rough edges. You'll need about 12 cups for a small bouquet. - 3Shape Petals
Lightly mist cups with water. Press centers outward and pinch edges to create ruffles. Let dry. This step gives realistic curves. - 4Paint with Dry Brush
Apply acrylic paint using a dry brush technique: dip, wipe off excess, then brush lightly. Build color in layers. Seal with matte varnish. - 5Assemble Flowers
Thread floral wire through petal centers. Glue petals around a central bud for roses, or around a yellow center for daisies. Add leaves. - 6Arrange and Display
Arrange in odd-numbered groups in a simple vase. Mix sizes for variety. Add real greenery for contrast. Spritz with essential oil for scent.
The secret to expensive-looking egg carton flowers is in the layering and matte finish—treat each petal like a tiny work of art.
Frequently Asked Questions
What kind of paint works best on egg carton flowers?
Matte acrylic craft paint works best because it adheres well and gives a sophisticated finish. Avoid glossy paints, which can make the flowers look cheap.
How do I make egg carton flowers look realistic?
Focus on shaping petals with natural curves and using dry brush painting for depth. Adding wire stems and leaves also increases realism.
Can I use styrofoam egg cartons instead of paper?
No, styrofoam cartons are too smooth and shiny; they don't take paint well and look artificial. Always use paper pulp cartons.
How long do egg carton flowers last?
With proper sealing and gentle handling, they can last for years. Keep them away from direct sunlight and dust them occasionally.
What's the best way to arrange egg carton flowers for a bouquet?
Arrange them in odd numbers, mixing different sizes and colors. Add real or dried greenery to fill out the bouquet and create contrast.


