

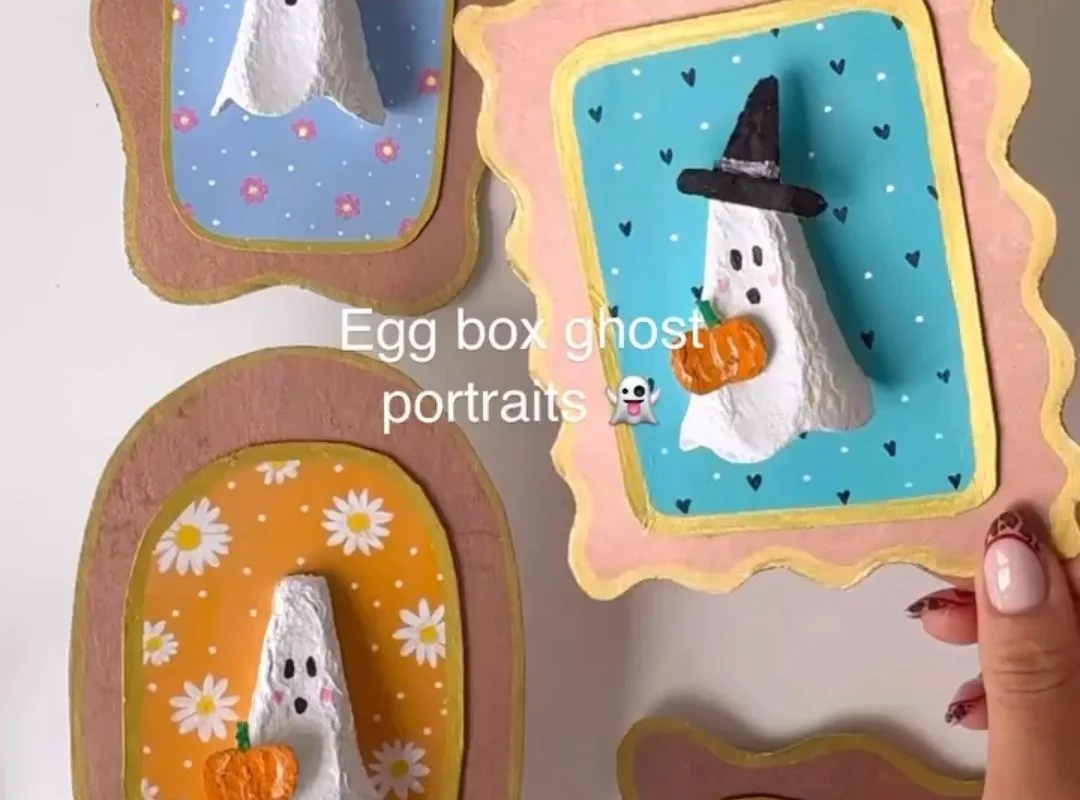
Most Halloween crafts for kids are a mess waiting to happen—glitter everywhere, tears, and a Pinterest-perfect photo that took three adults to stage. I've tested dozens with my own kids and in classrooms, and only a handful are worth your time. Here are seven that deliver real results with minimal fuss.
Advertisements1
- Skip the expensive kits—most are overpriced and frustrating. Basic supplies like toilet paper rolls, coffee filters, and mason jars work better.
- Acrylic paint is worth the extra cost for durability. Washable paint fades and flakes.
- Choose crafts that kids can do 80% themselves. If you're doing most of the work, it's not their craft.
- Safety first: use battery-operated lights, not real candles, and avoid small parts for kids under 3.
- The best crafts are quick (under 15 minutes) and produce something display-worthy.
- Let go of perfection. A crooked googly eye is part of the charm.
Why Most Halloween Crafts Fail (and How to Pick Winners)
Walk into any craft store in October and you'll see aisles of kits promising 'easy' and 'fun for all ages.' Here's the dirty secret: 80% of them are designed for photo ops, not for actual kids. The glue doesn't hold, the pieces are too small for little hands, and the finished product falls apart before Halloween. I've watched a $25 kit turn into a 20-minute meltdown.
The winners share three traits: they use materials you probably already have, they have a low failure rate (meaning even a 4-year-old can't really mess them up), and they produce something that looks good enough to display. That last point matters—kids want to show off their work. If it looks like trash, they know it.
So before you buy another kit, ask: Can my child do 80% of this themselves? Will it survive being carried around the house? Does it require a hot glue gun? If the answer to that last one is yes, put it back. You'll be the one using it, not them.
1. Toilet Paper Roll Bats (10 Minutes, Zero Mess)
This is the craft I recommend to every parent who says they're not crafty. You need empty toilet paper rolls, black paint (acrylic or tempera), googly eyes, and glue dots. That's it. No glitter, no tiny pieces to choke on, no expensive specialty supplies.
Here's why it works: the roll gives the bat a 3D body, so it stands up on a shelf or hangs from a string. Kids paint the roll black, glue on eyes, and cut out simple wings from black construction paper. The whole thing takes about 10 minutes per bat, and even a 3-year-old can paint a tube. The mess is contained because the paint is on the tube, not on your table.
Common mistake: using washable paint. It looks great wet, then flakes off as it dries. Spend the extra dollar on acrylic paint—it adheres to the cardboard and won't rub off on little hands. Also, don't skip the glue dots; liquid glue will slide down the painted surface and make a mess.
2. Mason Jar Mummy Lanterns (Battery-Powered, Kid-Safe)
Take a clean mason jar (any size), wrap it with white gauze or crepe paper strips, and glue on two googly eyes. Drop in a battery-operated tea light, and you've got a spooky-cute lantern that won't burn your house down. The gauze creates a textured, mummy-like effect that looks surprisingly professional.
The magic here is the layering. Don't wrap the gauze tightly—let it bunch and overlap. That's what makes it look like bandages. Use a hot glue gun for the gauze (adults only) or double-sided tape for kids. The eyes should be placed about one-third from the top, slightly uneven for a goofy expression.
Mistake to avoid: using real candles. I've seen too many Pinterest posts showing real tea lights inside these. That's a fire hazard, especially with gauze. Battery-operated lights are cheap and safe. Also, don't use Mod Podge to seal it—it makes the gauze stiff and yellow over time. Just leave it natural.
3. Paper Plate Ghosts with Hidden Surprises
This one is a hit with the 4-7 crowd because it has a reveal. Take a white paper plate, glue on two black paper eyes and a mouth, then tape a short piece of string to the back with a small treat (like a sticker or a piece of candy) attached to the other end. Hang it from a doorway or ceiling, and when kids walk by, they can pull the string to make the ghost 'drop' a surprise.
Why it works: it combines a craft with a game. Kids make it, then play with it. The paper plate is sturdy enough to hold up, and the string mechanism is simple enough that they can assemble it with minimal help. Use a hole punch to make the hole for the string—it prevents tearing.
Common mistake: using too long a string. If it's longer than 12 inches, the ghost will drag on the floor and get stepped on. Also, don't use tape that's too weak—masking tape works, but washi tape looks prettier and holds well. And skip the glitter glue; it takes forever to dry and will smear when they pull the string.
4. Coffee Filter Bats and Ghosts (The $2 Craft)
Coffee filters are a secret weapon for Halloween crafts. They're cheap, absorbent, and take color beautifully. For bats: flatten a filter, paint it black with watercolor or food coloring, let it dry, then cut out wing shapes. For ghosts: leave it white, drape it over a crumpled ball of newspaper, and tie with a rubber band to make a head. Add eyes with a marker.
The reason this works is the texture. Coffee filters have a slightly crinkled surface that looks organic, not plastic. When you paint them with watercolor, the color bleeds and creates a tie-dye effect. Kids love watching the color spread. It's also a great way to use up leftover filters from that coffee maker you never use.
Mistake: using too much water. If the filter is soaked, it'll tear when you try to shape it. Dip your brush lightly. Also, don't use markers directly on the filter—they bleed through and stain your table. Watercolor or food coloring mixed with a little water is the way to go.
5. Popsicle Stick Spider Webs (Fine Motor Skills Bonus)
Grab a handful of popsicle sticks, some white yarn, and a glue stick. Arrange the sticks in a star shape (like a snowflake) and glue them at the center. Once dry, let kids wrap the yarn around the sticks in a random pattern to create the web. Add a plastic spider ring or a pom-pom spider on top. This one is excellent for developing fine motor skills—wrapping yarn requires focus and dexterity.
The web looks impressive because the yarn creates a 3D effect. The key is to not overthink the pattern. Random wrapping looks better than a perfect grid. Use a glue dot to secure the yarn end when finished. This craft is also great for a group because each kid can make their own web and you can hang them together as a garland.
Common mistake: using too much glue at the center. A big blob will take hours to dry and might not hold. Use a small dot and press the sticks together for 30 seconds. Also, don't use thin thread—it tangles. Worsted weight yarn is easier for small hands to manage.
6. Egg Carton Bats (Upcycled and Adorable)
Cut individual cups from a cardboard egg carton, paint them black, and glue on googly eyes. Then cut small triangles from the lid for ears and glue them on top. Poke a hole in the top, thread a string, and you have a hanging bat. The egg carton cup gives it a rounded body that looks surprisingly bat-like.
This craft is a win because it's upcycled, cheap, and the result is genuinely cute. The cardboard takes paint well, and the cups are sturdy. You can also use the same method to make spiders by adding eight pipe cleaner legs. It's a versatile base.
Mistake: not priming the cardboard. Egg cartons have a waxy coating that repels paint. Give them a quick coat of white acrylic paint first, let it dry, then paint black. Otherwise, the black will look patchy. Also, use tacky glue, not school glue, for the ears—they need to stay on.
7. Handprint Spider (Keepsake That Lasts)
Paint your child's hand (excluding the thumb) with black acrylic paint and press it onto a piece of orange or white cardstock. The four fingers become four legs on each side. Add two googly eyes on the palm area. Write the date and their age on the back. This is a classic for a reason: it's a snapshot of their little hand that you'll treasure forever.
The reason it works is simplicity. It takes two minutes, and the result is frame-worthy. Use a foam brush to apply the paint—it's less ticklish than a bristle brush. Press the hand firmly and lift straight up to avoid smudging. Wash hands immediately with soap and warm water.
Common mistake: using washable paint. It will fade within weeks. Acrylic paint is permanent on paper and won't rub off. Also, don't use too much paint—a thin, even coat is best. If you get a smudge, don't panic; you can turn it into a spider web with a white paint pen.
The Hacks, Step by Step
- 1Gather Your Supplies
Before starting any craft, lay out everything on a washable tablecloth. Use a tray to contain small items like googly eyes. This prevents the 'where's the glue?' meltdown. - 2Set Up a Dedicated Craft Zone
Clear a table and cover it with newspaper or a plastic tablecloth. Have wet wipes and a trash bowl nearby. This makes cleanup a breeze and keeps kids focused. - 3Do a Quick Demo
Show your child how to do the first step, then let them try. Don't do it for them. The goal is their creation, not perfection. - 4Embrace the Imperfections
If the eyes are crooked or the paint is smudged, leave it. That's what makes it theirs. Resist the urge to fix it. - 5Let It Dry Completely
Acrylic paint takes 20-30 minutes to dry to the touch. Set a timer. Moving it too soon will ruin the craft and cause tears. - 6Display Proudly
Hang it on the fridge, string it on a garland, or set it on a shelf. Kids need to see their work valued. Take a photo with them holding it.
The best Halloween crafts aren't about the end product—they're about the 10 minutes of focused, mess-contained joy your kid gets from making something themselves.
Frequently Asked Questions
What are easy Halloween crafts for toddlers?
Handprint spiders and paper plate ghosts are ideal for toddlers because they require minimal fine motor skills and no sharp tools. Stick to large pieces, washable paint (though acrylic is better for keepsakes), and adult supervision.
How do I make Halloween decorations with kids without a mess?
Use a plastic tablecloth or newspaper, contain supplies on a tray, and choose low-mess crafts like toilet paper roll bats or coffee filter ghosts. Avoid glitter and loose sequins. Have wet wipes ready.
What Halloween crafts can kids make with household items?
Toilet paper rolls, egg cartons, coffee filters, mason jars, and paper plates are all you need. These items are free and versatile. Paint, glue, and googly eyes are the only extras.
How can I make Halloween crafts educational?
Focus on fine motor skills (wrapping yarn, cutting), color mixing (painting), and storytelling (asking kids to name their creation). Counting legs on spiders or eyes on ghosts also reinforces math.
What's the best paint for kids' Halloween crafts?
Acrylic paint is best for durability on paper, cardboard, and glass. It's not washable, so use a smock and cover your table. For very young kids who might put hands in mouths, use non-toxic tempera paint, but know it may fade.


