

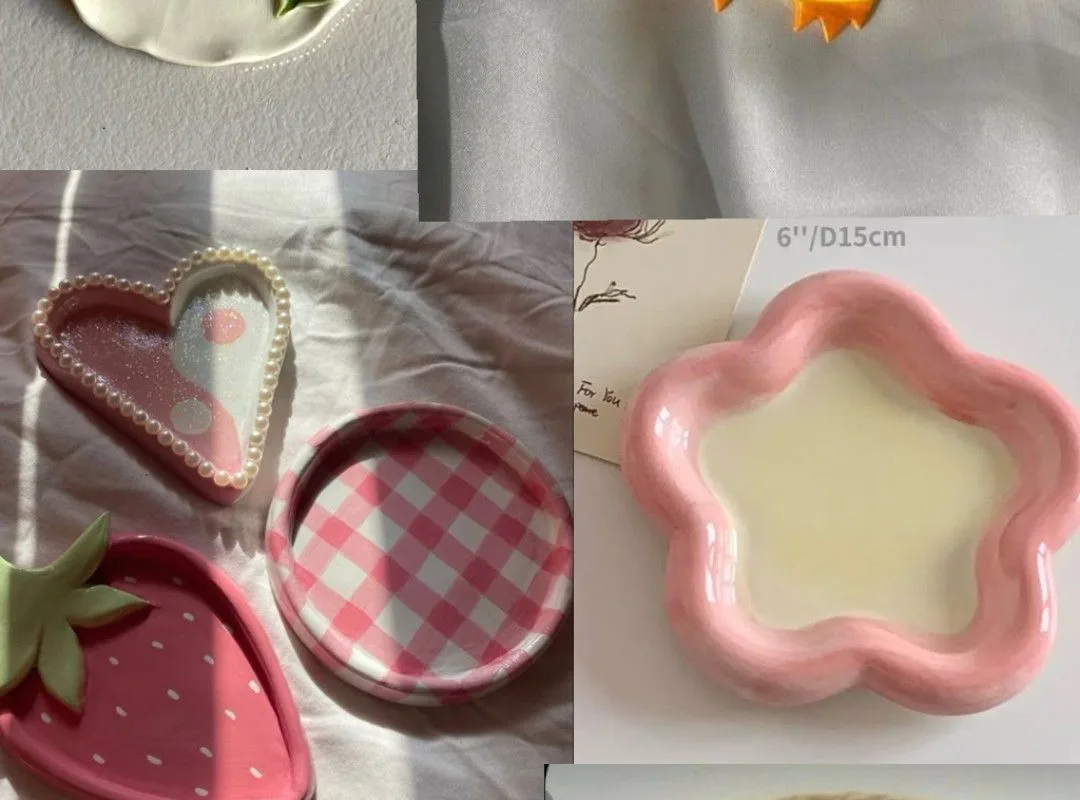
These seven clay DIY hacks come straight from a workbench scattered with cracked bowls, lopsided earrings, and one very smug-looking pinch pot. Each one is specific, dirt cheap, and fixes a problem you've probably already hit — plus the one mistake that quietly wrecks the result.
Advertisements1
- Condition polymer clay for 2 to 3 minutes before shaping — it's the difference between flexible and brittle results.
- Even slab thickness prevents warping; two craft sticks and a rolling pin get you there for pennies.
- Air-dry clay cracks when it dries too fast, so aim for 24 to 72 hours of slow, even curing.
- Score, slip, and wiggle every join to stop seams from splitting during drying or baking.
- Seal air-dry pieces only after they're bone dry, and store each polymer color wrapped separately.
- Test texture and thickness on scrap clay first — 30 seconds of testing saves a whole re-roll.
Why Clay DIY Rewards Prep Over Talent
Here's the truth after six years of teaching beginner clay workshops: the people who make beautiful pieces aren't more gifted — they prep better. Air-dry clay needs 24 to 72 hours to cure depending on thickness, polymer clay needs conditioning before it behaves, and both hate being rushed. Ten minutes of setup buys you hours of clean work.
Gather your station before you open a single pack: a non-stick craft mat or parchment paper, a spray bottle of water, a silicone or wooden clay tool, a rolling pin you don't cook with, and a damp cloth. Keep a bowl of water for smoothing and a dry towel for drying your hands — wet hands on polymer clay turn it tacky and leave fingerprints you can't buff out.
Work in a room between 65 and 75°F. Cold clay crumbles and hot clay slumps, and neither is a fun surprise halfway through a project.
Hack 1: Condition Polymer Clay Until It's Supple, Not Sweaty
Polymer clay straight from the pack is stiff and prone to cracking. Slice it thin, then knead it in your palms for 2 to 3 minutes until it's pliable like warm cookie dough. For a full 2-ounce block, that's usually 4 to 5 minutes of kneading, or 30 seconds through a pasta machine on the widest setting, folded and repeated three times.
Why it works: conditioning aligns the clay particles and distributes the plasticizer evenly, which means fewer cracks after baking and colors that blend cleanly instead of streaking.
The common mistake? Overheating it. If the clay gets shiny and sticky, you've pushed it too far — let it rest on parchment for 10 minutes before continuing. And never condition on bare wood; the oils soak in and stain.
Hack 2: Use the Toothpick Test Before You Bake
Before polymer clay goes in the oven at 275°F (135°C), press a toothpick gently into a hidden spot. If it sinks easily with no resistance, your piece is too warm and will slump; chill it in the fridge for 10 minutes first. If the toothpick leaves a clean, firm dent, you're ready.
Bake thin pieces (under 1/4 inch) for 20 to 30 minutes and thicker pieces for 45 to 60. Always bake on a ceramic tile or cardstock inside a foil tent — the tent keeps the surface from scorching while letting heat circulate.
Mistake to avoid: cranking up the temperature to speed things along. Polymer clay that hits 350°F can release irritating fumes and turn brittle. Slow and steady at the right temp gives you clay that flexes instead of snapping.
Hack 3: Smooth Air-Dry Clay With a Wet Finger and a Little Patience
Air-dry clay cracks because it shrinks as water evaporates. The fix is simple: keep the surface damp while you work. Dip your finger in water and gently smooth seams and fingerprints in small circles — no puddles, just a light sheen. For stubborn cracks, mix a pinch of clay dust with a drop of water into a paste and press it into the gap.
Dry your piece slowly. A thin ornament might be ready in 24 hours, but a 1-inch-thick sculpture needs 48 to 72 hours, turning every 12 hours so all sides dry evenly. Skip the oven and the hair dryer — fast drying is the number one cause of cracking.
One more thing: don't seal air-dry clay until it's completely dry. Sealing a damp piece traps moisture and you'll get mold or a chalky bloom within a week.
Hack 4: Roll Consistent Slabs With Two Popsicle Sticks
Forget buying a slab roller. Tape two craft sticks (about 1/8 inch thick) to your work surface on either side of your clay, then roll your rolling pin across them. The pin rides the sticks and stops at exactly that thickness every time.
Why it works: even thickness means even drying and even baking, which is the single biggest factor in pieces that don't warp or crack. It also makes pairs — earrings, coasters, tiles — actually match.
Common mistake: rolling back and forth in one spot. Roll in one direction, lift, rotate the clay 90 degrees, and roll again. That keeps the slab from stretching unevenly and trapping air bubbles that blister during baking.
Hack 5: Texture With Things Already in Your Kitchen
You don't need fancy texture stamps. Press a lace doily, a rubber-banded rolling pin, a fork, or the bottom of a patterned glass into soft clay and lift straight up — wiggling smears the impression. Dust the tool with cornstarch first so it releases cleanly.
Why it works: shallow textures read beautifully after painting because the recesses catch pigment and create instant depth. A simple wash of thinned acrylic, wiped off the high spots with a damp cloth, makes even a beginner's piece look intentional.
Mistake to avoid: pressing too hard. You want a 1/16-inch impression, not a hole. Test on a scrap ball first — 30 seconds of testing saves you re-rolling an entire slab.
Hack 6: Join Pieces With Score, Slip, and a Little Wiggle
Two clay pieces stuck together without prep will pop apart every time. Score both surfaces with a fork or needle tool (crosshatch, about 1/8 inch deep), brush on slip — a paste of clay and water the consistency of heavy cream — then press together and wiggle slightly to release trapped air.
Why it works: the scoring gives the slip something to grip, and the slip acts as glue that fuses into one solid piece as it dries. This is the same technique potters have used for centuries, and it works on air-dry and polymer clay alike.
Common mistake: skipping the wiggle. Pressing straight down traps an air pocket that expands during drying or baking and splits the seam. A gentle side-to-side motion seats the pieces without the bubble.
Hack 7: Seal and Store Like You Mean It
Air-dry clay needs a sealant — two thin coats of matte acrylic varnish or a 50/50 mix of water and white glue, applied 24 hours apart once the piece is fully dry. Polymer clay is waterproof on its own but benefits from a coat of matte varnish to protect painted details.
Store leftover clay properly and it'll last months. Wrap polymer clay tightly in plastic wrap, then seal it in a zip-top bag with the air pressed out. Air-dry clay goes in an airtight container with a damp paper towel — not soaking, just damp — and it'll stay workable for weeks.
Mistake to avoid: storing different colors touching each other. Polymer clay migrates color over time, and your white will pick up a pink smudge you can't remove. Wrap each color separately, and label the bags with a marker.
The Hacks, Step by Step
- 1Set up your station first
Lay out a non-stick mat, water spray, damp cloth, and tools before opening any clay — a dry, prepped surface prevents fingerprints and rushed fixes. - 2Condition every batch
Knead polymer clay 2 to 3 minutes or run it through a pasta machine three times so it's pliable and won't crack in the oven. - 3Roll to an even thickness
Tape craft sticks on either side of your clay and roll across them so every slab is uniform — even thickness means even drying. - 4Score and slip every join
Crosshatch both surfaces, brush on clay-and-water paste, press together, and wiggle gently to release trapped air. - 5Dry air-dry clay slowly
Let pieces cure 24 to 72 hours depending on thickness, turning every 12 hours, and never seal until fully dry. - 6Bake polymer clay low and tented
Bake at 275°F (135°C) for 20 to 60 minutes under a foil tent; skip the temptation to raise the heat. - 7Seal and store separately
Apply two thin coats of matte varnish 24 hours apart, and wrap each clay color individually before bagging.
Clay doesn't reward talent as much as it rewards patience — prep your station, condition your clay, and dry it slowly, and the piece does the rest.
Frequently Asked Questions
How long does air-dry clay take to dry?
Plan on 24 hours for thin pieces like ornaments and 48 to 72 hours for anything over half an inch thick. Turn the piece every 12 hours so all sides dry evenly, and never speed it up with heat or a hair dryer.
Can you bake polymer clay in a regular oven?
Yes — bake it at 275°F (135°C) in a home oven, ideally under a foil tent on a ceramic tile. Keep the temperature steady and avoid going above 300°F, which can release irritating fumes and make the clay brittle.
Why does my air-dry clay keep cracking?
Cracking almost always comes from drying too fast or from uneven thickness. Keep the surface damp while you work, roll slabs to a consistent thickness, and let the piece cure slowly at room temperature.
How do you join two pieces of clay so they stay together?
Score both surfaces with a fork, brush on slip made from clay and water, press together, and wiggle slightly to release trapped air. This fuses the pieces into one solid unit as they dry.
How should I store leftover clay?
Wrap polymer clay tightly in plastic wrap and seal it in a zip-top bag, keeping each color separate. Store air-dry clay in an airtight container with a damp paper towel so it stays workable for weeks.


