

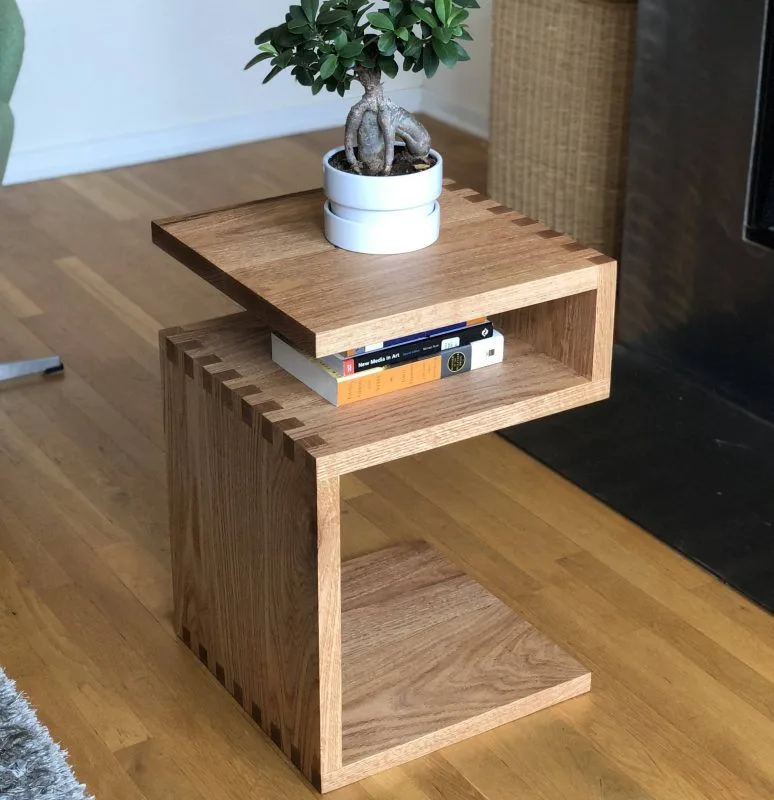
Ever looked at that sad, empty corner next to your sofa and thought, 'It needs a little something-something'? You're in luck—we've rounded up 16 DIY side table projects that are as fun to make as they are functional. From upcycled crates to concrete stunners, these ideas will have you reaching for your toolkit and your paintbrush in no time.
Advertisements1
- DIY side tables can be made from upcycled materials like crates, pallets, and books, saving money and reducing waste.
- Simple projects like hairpin legs and a slab can be completed in under 30 minutes with minimal tools.
- Always sand and seal your materials to ensure a professional finish and prevent damage.
- Measure your space and existing furniture to ensure your DIY table fits perfectly.
- Don't be afraid to experiment with different materials and finishes to match your personal style.
Why DIY Side Tables Are the Secret Sauce of Home Decor
Let's face it: side tables are like the little black dress of furniture—they can dress up any space, but they don't have to cost a fortune. DIY side tables give you the freedom to customize size, color, and style to fit your exact needs. Plus, there's a special kind of pride that comes from saying, 'Oh, that? I made it.'
But here's the thing: not all DIY projects are created equal. Some require a full workshop, while others can be done on your kitchen counter with minimal tools. The key is to pick a project that matches your skill level and available time. Whether you're a seasoned woodworker or a total newbie, there's a side table project out there for you.
And let's not forget the sustainability angle. Upcycling old furniture or using reclaimed wood not only saves money but also keeps perfectly good materials out of landfills. It's a win-win for your home and the planet.
1. Crate Expectations: Upcycled Wooden Crate Side Table
Got an old wooden crate lying around? Turn it into a rustic side table in under an hour. Simply sand it down, give it a coat of paint or stain, and attach four hairpin legs (available at any hardware store). The crate's slatted design adds texture, and the interior provides handy storage for magazines or remote controls.
Why it works: The crate's sturdy construction can handle weight, and the open design keeps the table from feeling bulky. It's perfect for small spaces where you need both style and function.
Common mistake: Skipping the sanding step. Rough edges can snag fabrics and give you splinters. Always sand before painting.
2. Concrete Jungle: DIY Concrete Side Table
Concrete isn't just for driveways anymore. A simple concrete side table adds an industrial-chic vibe to any room. Mix quick-setting concrete according to package instructions, pour it into a mold (a plastic bucket or cardboard box works), and insert a threaded rod for legs. Once cured, attach metal legs and seal the surface.
Why it works: Concrete is incredibly durable and heat-resistant, making it perfect for holding hot drinks. Its neutral gray color pairs well with almost any decor.
Common mistake: Not sealing the concrete. Unsealed concrete is porous and can stain easily. A concrete sealer will protect it from spills and moisture.
3. Hairpin Legs and a Slab: The 15-Minute Side Table
If you can drill four screws, you can make this table. Buy a pre-cut wood slab (or a round cutting board) and four hairpin legs. Screw the legs into the underside of the slab, and voilà—instant side table. For a more finished look, sand and stain the wood before attaching the legs.
Why it works: Hairpin legs are minimalist and sturdy, and they come in various heights and finishes. The slab can be any size, so you can customize it to fit your space perfectly.
Common mistake: Using legs that are too short or too tall. Measure the height of your sofa or chair arm to ensure the table will be at a comfortable level.
4. Stacked Books Side Table: A Novel Idea
Love the look of stacked books but don't want to damage your favorites? Head to a thrift store and pick up a few hardcover books you don't mind gluing together. Stack them in a sturdy pile, apply wood glue between each layer, and clamp until dry. Top with a round tray or a piece of glass for a flat surface.
Why it works: This project is incredibly cheap and adds a literary touch to your decor. It's also a great conversation starter.
Common mistake: Not using enough glue or not clamping. Without proper adhesion, the stack can topple. Use a generous amount of glue and let it cure for 24 hours.
5. PVC Pipe Side Table: Plumbing for Style
PVC pipes aren't just for plumbing—they can be spray-painted and assembled into a modern side table. Cut pipes to the desired height, connect with fittings, and add a wooden or glass top. For stability, fill the bottom pipes with sand or gravel.
Why it works: PVC is lightweight, inexpensive, and easy to cut with a handsaw. Spray paint in a metallic finish gives it a high-end look.
Common mistake: Not securing the top properly. Use brackets or adhesive to attach the top to the PVC frame to prevent wobbling.
6. Pallet Side Table: Rustic Charm on a Budget
Pallets are a DIYer's best friend. For a side table, cut a pallet into a square or rectangle, sand it smooth, and attach legs. You can leave it natural for a rustic look or paint it to match your decor. Add a lower shelf for extra storage.
Why it works: Pallet wood is free or cheap, and its weathered texture adds character. The slats allow for drainage if you use it outdoors.
Common mistake: Using pallets treated with chemicals. Look for the 'HT' (heat-treated) stamp to ensure they're safe for indoor use.
The Hacks, Step by Step
- 1Choose Your Project
Pick a side table project that matches your skill level and available tools. Start simple with the hairpin legs and slab if you're a beginner. - 2Gather Materials
Make a list of all materials needed, including wood, legs, paint, and tools. Check your local hardware store or online retailers for supplies. - 3Prep Your Workspace
Set up a dedicated work area with good ventilation and lighting. Lay down a drop cloth to protect floors and surfaces. - 4Measure Twice, Cut Once
Accurate measurements are crucial. Double-check dimensions before cutting any material to avoid waste. - 5Sand and Finish
Sand all wood surfaces to prevent splinters and create a smooth finish. Apply paint, stain, or sealer as desired. - 6Assemble with Care
Follow instructions for attaching legs or assembling components. Use wood glue and screws for sturdy joints. - 7Let It Cure
Allow glue and finishes to dry completely before using the table. This ensures durability and safety.
The best DIY side tables aren't just furniture—they're conversation pieces that tell your story.
Frequently Asked Questions
What is the easiest DIY side table to make?
The easiest is a wood slab with hairpin legs; you only need to drill four screws. It takes about 15 minutes and requires no cutting.
How can I make a side table without power tools?
You can use a pre-cut wood round and screw-on legs, or stack books and glue them together. Both require only a screwdriver or glue.
What are some upcycled materials for DIY side tables?
Old crates, pallets, PVC pipes, and even stacked books can be turned into side tables. These materials are inexpensive and eco-friendly.
How do I ensure my DIY side table is stable?
Use sturdy legs and attach them securely with screws and wood glue. For heavy materials like concrete, ensure the base is wide enough for balance.


