

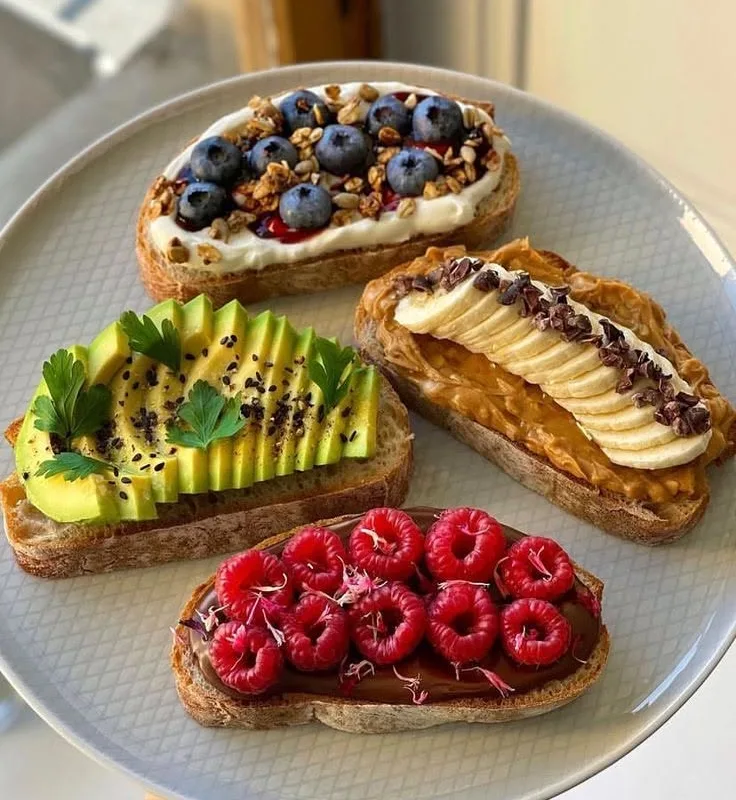
Stop pinning recipes you never actually bake. The Pinterest image tart – the one with the perfect glossy berries and clean slices – is completely doable in your own kitchen if you stop guessing at the method.
Advertisements1
Here is the thing nobody tells you: those viral tart photos are not magic. They are a shortbread crust baked cold, a stabilized cream cheese filling, and fruit that gets glazed at the very end. Three moves. That is it.
I have tested this tart six times to get a crust that does not slump and a filling that slices clean. Follow the temperatures exactly and you will get the same result every single time. Stay sharp, stay private.
Why You'll Love This Recipe
About the Ingredients
1 3/4 cups (220g) all-purpose flour
Spoon and level it, or the crust turns tough. Swap in 1:1 gluten-free baking blend if needed, but add 1 extra tablespoon of butter.
1/2 cup (60g) powdered sugar
Powdered sugar dissolves into the dough for a tender crumb. Do not substitute granulated; it will make the crust gritty.
3/4 cup (170g) cold unsalted butter, cubed
Cold butter is non-negotiable here. Buy European-style for higher fat and a flakier result. Salted butter works if you drop the added salt.
1/4 teaspoon fine sea salt
Just enough to wake up the butter flavor. Skip it only if using salted butter.
8 oz (226g) full-fat cream cheese, softened
Full-fat only – light cream cheese stays loose and will not slice. Let it sit on the counter 45 minutes before mixing.
1/2 cup (100g) granulated sugar
Fine granulated dissolves fastest. Coconut sugar works but darkens the filling noticeably.
1 cup (240ml) heavy whipping cream, cold
Cold cream whips faster and holds peaks. Do not swap in half-and-half; it will not stabilize.
1 teaspoon vanilla extract
Real extract, not imitation. A vanilla bean paste gives visible flecks and a stronger aroma.
2 tablespoons fresh lemon juice
Bottled juice tastes flat. One large lemon gives you about 3 tablespoons, so you have a little extra.
3 cups (450g) mixed fresh berries
Strawberries, blueberries, raspberries, blackberries. Pat them bone dry or the glaze slides right off.
3 tablespoons apricot preserves
Warm and strain for a clear glaze. Apple jelly or red currant jelly are excellent stand-ins.
Tips & Tricks
- Do not skip chilling the crust before baking. Warm dough slumps down the sides of the pan and you lose your tart walls.
- Whip the cream to stiff peaks, not soft. Under-whipped cream means a filling that oozes when you cut it.
- Glaze the fruit last, right before serving. Glaze applied too early pulls moisture out of the berries and puddles.
Pro Tips
Step-by-Step Instructions
1. Make the Crust
Pulse flour, powdered sugar, and salt in a food processor, then add cold butter cubes and pulse until it looks like coarse sand with pea-sized butter bits.
2. Press and Chill
Press the crumbs firmly into a 9-inch tart pan, working up the fluted sides. Freeze the shell for 20 minutes – this is what stops shrinkage.
3. Blind Bake at 350F
Line the crust with parchment and pie weights, then bake at 350F (175C) for 20 minutes. Remove the weights and bake 8 more minutes until the edges are golden brown and the center looks dry, not shiny.
4. Cool Completely
Set the shell on a wire rack for 30 minutes. A warm crust melts the filling and ruins the layers.
5. Whip the Filling
Beat cream cheese, granulated sugar, vanilla, and lemon juice at medium speed for 2 minutes until totally smooth, scraping the bowl once.
6. Fold in the Cream
Whip the cold heavy cream to stiff peaks in a separate bowl, then fold it into the cream cheese mixture in three additions until no white streaks remain.
7. Fill and Set
Spread the filling into the cooled crust, smooth the top with an offset spatula, and refrigerate at least 4 hours until firm to the touch.
8. Glaze and Decorate
Arrange dry berries over the filling, warm the apricot preserves with 1 teaspoon water, strain, and brush a thin coat over the fruit.
Delicious Variations
Chocolate Berry Tart
Add 2 tablespoons cocoa powder to the crust and drizzle melted dark chocolate over the finished berries.
Tropical Tart
Swap the berries for sliced kiwi, mango, and mandarin segments, and glaze with pineapple preserves.
Lemon Curd Swirl
Dollop 1/3 cup lemon curd over the filling and drag a skewer through it before chilling for a marbled top.
How to Store Pinterest Image
Refrigerator
Cover loosely with plastic wrap and refrigerate up to 3 days. The crust softens slightly after day two, which is normal.
Freezer
Freeze the unfilled baked crust up to 2 months in a sealed bag. Do not freeze the assembled tart – the filling weeps when thawed.
Reheating
Do not reheat. Serve cold straight from the fridge and add fresh glaze if the top looks dull.
Frequently Asked Questions
Q: Can I make this tart ahead of time?
Yes, you can build the crust and filling up to 24 hours ahead and add the fruit the day you serve. Keep it covered in the fridge the whole time. Waiting on the fruit keeps the berries firm and the glaze glossy.
Q: Why did my tart crust shrink?
Your dough was too warm when it went into the oven. Freezing the pressed shell for 20 minutes before baking sets the butter and holds the sides in place. Pressing the crust slightly thicker at the top edge also helps it grip the pan.
Q: Can I use frozen berries?
No, frozen berries release too much water and turn the filling soupy. Use fresh fruit only, and pat every piece dry with paper towels before arranging. If fresh berries are out of season, use drained canned mandarin oranges instead.
Q: How do I get clean slices?
Chill the tart at least 4 hours, then dip your knife in hot water and wipe it dry between every cut. A cold tart plus a hot knife is the whole trick. Wipe, do not rinse, or you will smear the filling.
Q: Can I use a different pan?
A 9-inch tart pan with a removable bottom gives you the cleanest release. A standard pie plate works, but the crust will be thicker and you may need 5 extra minutes of bake time. Springform pans also work if you press the crust only 1 inch up the sides.
Go bake this tart, chill it properly, and slice it like you mean it. Snap your photo before anyone gets a fork near it, then tag me so I can see how your berries turned out. Stay sharp, stay private.

Pinterest Image
Pinterest Image is a stunning layered berry tart with a buttery shortbread crust, vanilla cream cheese filling, and glossy fresh fruit topping.
🧂 Ingredients
- 1 3/4 cups (220g) all-purpose flour
- 1/2 cup (60g) powdered sugar
- 3/4 cup (170g) cold unsalted butter, cubed
- 1/4 teaspoon fine sea salt
- 8 oz (226g) full-fat cream cheese, softened
- 1/2 cup (100g) granulated sugar
- 1 cup (240ml) heavy whipping cream, cold
- 1 teaspoon vanilla extract
- 2 tablespoons fresh lemon juice
- 3 cups (450g) mixed fresh berries
- 3 tablespoons apricot preserves
📋 Instructions
- 1Make the Crust — Pulse flour, powdered sugar, and salt in a food processor, then add cold butter cubes and pulse until it looks like coarse sand with pea-sized butter bits.
- 2Press and Chill — Press the crumbs firmly into a 9-inch tart pan, working up the fluted sides. Freeze the shell for 20 minutes – this is what stops shrinkage.
- 3Blind Bake at 350F — Line the crust with parchment and pie weights, then bake at 350F (175C) for 20 minutes. Remove the weights and bake 8 more minutes until the edges are golden brown and the center looks dry, not shiny.
- 4Cool Completely — Set the shell on a wire rack for 30 minutes. A warm crust melts the filling and ruins the layers.
- 5Whip the Filling — Beat cream cheese, granulated sugar, vanilla, and lemon juice at medium speed for 2 minutes until totally smooth, scraping the bowl once.
- 6Fold in the Cream — Whip the cold heavy cream to stiff peaks in a separate bowl, then fold it into the cream cheese mixture in three additions until no white streaks remain.
- 7Fill and Set — Spread the filling into the cooled crust, smooth the top with an offset spatula, and refrigerate at least 4 hours until firm to the touch.
- 8Glaze and Decorate — Arrange dry berries over the filling, warm the apricot preserves with 1 teaspoon water, strain, and brush a thin coat over the fruit.

Lucas covers technology and digital privacy, explaining complex topics in plain language for non-techies. He focuses on how everyday people can protect their data without being paranoid.


