

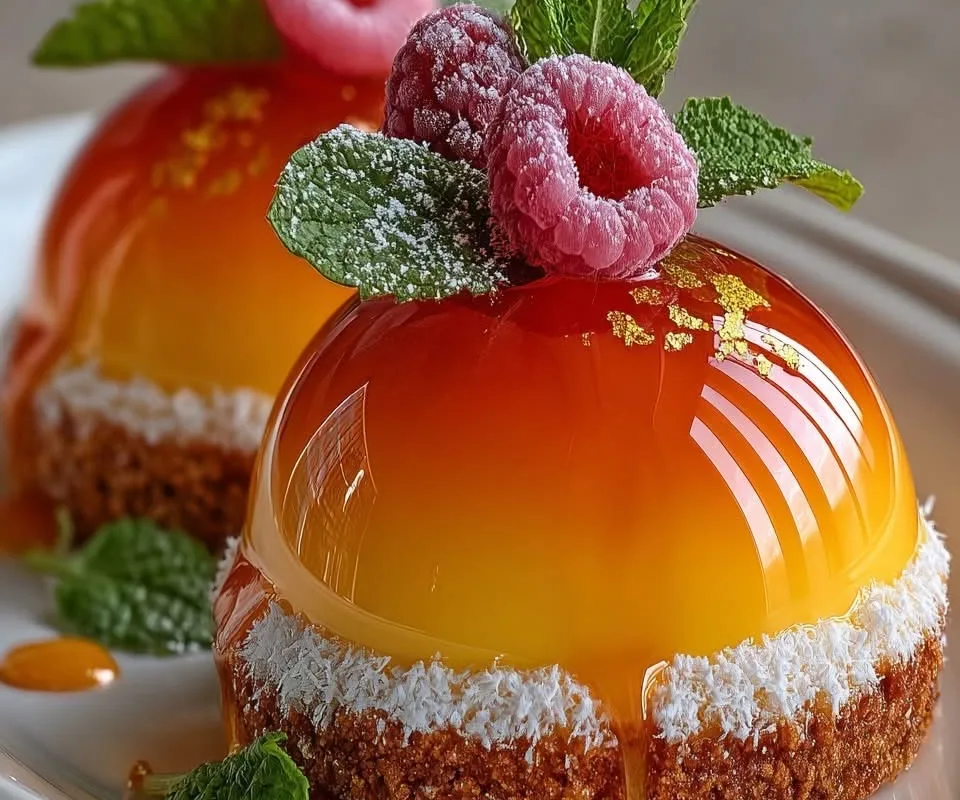
Ever scrolled past a cookie photo so pretty you tapped save before your brain caught up? That little jolt of joy is exactly what these Pinterest image cookies are built for: golden, crackle-topped, and ready for their close-up.
Advertisements1
Think of this dough like a blank canvas and the icing like your favorite filter. You do not need steady hands or fancy piping bags, just a bowl, a spoon, and a willingness to make a glorious mess on the first try.
We are baking a soft brown-sugar cookie, letting it cool, then flooding it with a simple vanilla glaze that dries to a satin shine. It is the kind of bake that makes your kitchen smell like a hug and your camera roll look like a food blog.
Why You'll Love This Recipe
About the Ingredients
1 cup (227g) unsalted butter, softened
Softened means it dents when you press it but still holds its shape. Salted butter works too, just skip the added salt below.
1 1/4 cups (250g) packed light brown sugar
Packing the sugar firmly gives that deep caramel chew. Dark brown sugar makes an even richer, molasses-forward cookie.
1 large egg plus 1 egg yolk, room temperature
The extra yolk is the chewy insurance policy. If you only have cold eggs, rest them in warm water for 5 minutes.
2 teaspoons vanilla extract
Real vanilla beats imitation here since the flavor carries the glaze. Bourbon or rum extract makes a lovely swap.
2 1/4 cups (280g) all-purpose flour
Spoon flour into the cup and level it off, never scoop straight from the bag. A 1:1 gluten-free blend substitutes cleanly.
1 teaspoon baking soda
Check the date on your box; old baking soda means flat cookies. It is the only leavener in this dough.
1/2 teaspoon fine sea salt
Fine sea salt dissolves evenly, unlike flaky finishing salt. Kosher salt works if you use half the amount.
1 1/2 cups (180g) powdered sugar, sifted
Sifting is non-negotiable for a lump-free glaze. If yours is clumpy, whisk it in a dry bowl first.
3 tablespoons whole milk, plus more as needed
Whole milk gives the creamiest sheen. Oat or almond milk works, though the glaze may dry slightly matte.
1/4 teaspoon almond extract, for the glaze
A tiny amount makes the glaze taste bakery-level. Skip it if anyone at the table has a nut allergy.
Tips & Tricks
Do not overmix the flour
Stop the moment the last streak of flour disappears, or the cookies turn cakey instead of chewy.
Glaze on fully cool cookies only
Even a whisper of warmth melts the icing into a puddle and ruins that clean, glossy top.
Measure the milk by the teaspoon
Add it one spoon at a time until the glaze ribbons off the whisk, since a few drops change everything.
- Chill the dough 20 minutes if it feels greasy: Warm kitchens make spread-happy cookies, and a short chill keeps them thick and photogenic.
Pro Tips
Step-by-Step Instructions
1. Heat Oven and Line Pans
Preheat the oven to 350F (175C) and line two baking sheets with parchment paper. Parchment, not bare metal, keeps the bottoms pale and prevents sticking.
2. Cream Butter and Sugar
Beat the softened butter and brown sugar on medium speed for 2 minutes until pale and fluffy, scraping down the bowl once. This step traps air, which is what makes the cookies tender.
3. Add Egg and Vanilla
Beat in the egg, extra yolk, and vanilla until the mixture looks glossy and smooth, about 30 seconds. If it looks curdled, it is fine, the flour will pull it back together.
4. Fold in Dry Ingredients
Whisk the flour, baking soda, and salt in a separate bowl, then mix into the wet ingredients on low just until no dry streaks remain. The dough should be soft but not sticky.
5. Scoop and Bake
Scoop 2-tablespoon balls onto the prepared sheets, spacing them 2 inches apart, and bake at 350F (175C) for 10 to 12 minutes. They are done when the edges are golden brown and the centers still look slightly underdone and puffy.
6. Cool Completely
Leave the cookies on the hot tray for 5 minutes to set, then move them to a wire rack to cool fully, about 20 minutes. Rushing this step is the number one reason glazes slide off.
7. Whisk the Glaze
Whisk the sifted powdered sugar, milk, and almond extract until smooth and glossy, adding milk a teaspoon at a time until it ribbons off the whisk. It should coat the back of a spoon but still drip slowly.
8. Glaze and Set
Spoon a teaspoon of glaze onto each cooled cookie and spread it in a small circle, letting it settle on its own for that clean Pinterest look. Let the glaze set at room temperature for 30 minutes until it feels dry to the touch.
Delicious Variations
Lemon Poppy Seed
Swap the almond extract for 1 teaspoon lemon zest and add 1 tablespoon poppy seeds to the dough for a bright, sunny twist.
Salted Caramel Drizzle
Replace the glaze with melted caramel and finish each cookie with a pinch of flaky sea salt.
Double Chocolate
Reduce the flour to 2 cups and add 1/2 cup cocoa powder, then top the glaze with mini chocolate chips.
How to Store Pinterest image
Refrigerator
Store glazed cookies in an airtight container at room temperature for 3 days, or refrigerate up to 1 week once the glaze has fully set.
Freezer
Freeze unglazed baked cookies in a zip-top bag for up to 2 months, or freeze raw dough balls for 3 months and bake from frozen, adding 2 minutes.
Reheating
Warm refrigerated cookies in a 300F (150C) oven for 4 to 5 minutes to soften the centers, but glaze after reheating if you want that glossy finish.
Frequently Asked Questions
Q: Why did my cookies spread too much?
Your butter was too warm or the dough was not chilled. Pop the dough in the fridge for 20 minutes and make sure your butter is softened, not melted, before creaming.
Q: Can I make these cookies without a stand mixer?
Yes, a hand mixer or even a sturdy whisk and some elbow grease works fine. Just make sure the butter is truly soft so you are not fighting lumps.
Q: How do I know when the cookies are done?
Pull them when the edges are golden brown and the centers still look slightly underbaked and puffy. They finish setting on the hot tray during the 5-minute rest.
Q: Why is my glaze lumpy or too thin?
Lumpy glaze almost always means unsifted powdered sugar, so sift it first. If it is too thin, whisk in more powdered sugar a tablespoon at a time.
Q: Can I freeze these cookies with the glaze on?
Yes, but freeze them in a single layer first so the glaze sets hard before you stack them. Thaw at room temperature for about an hour.
Your turn: bake a batch, glaze them with reckless abandon, and snap that photo before anyone eats the evidence. Keep your pen dancing.

Pinterest image
Pinterest image cookies are crisp-edged, chewy-centered treats with a glossy icing top that looks stunning in every photo you snap.
🧂 Ingredients
- 1 cup (227g) unsalted butter, softened
- 1 1/4 cups (250g) packed light brown sugar
- 1 large egg plus 1 egg yolk, room temperature
- 2 teaspoons vanilla extract
- 2 1/4 cups (280g) all-purpose flour
- 1 teaspoon baking soda
- 1/2 teaspoon fine sea salt
- 1 1/2 cups (180g) powdered sugar, sifted
- 3 tablespoons whole milk, plus more as needed
- 1/4 teaspoon almond extract, for the glaze
📋 Instructions
- 1Heat Oven and Line Pans — Preheat the oven to 350F (175C) and line two baking sheets with parchment paper. Parchment, not bare metal, keeps the bottoms pale and prevents sticking.
- 2Cream Butter and Sugar — Beat the softened butter and brown sugar on medium speed for 2 minutes until pale and fluffy, scraping down the bowl once. This step traps air, which is what makes the cookies tender.
- 3Add Egg and Vanilla — Beat in the egg, extra yolk, and vanilla until the mixture looks glossy and smooth, about 30 seconds. If it looks curdled, it is fine, the flour will pull it back together.
- 4Fold in Dry Ingredients — Whisk the flour, baking soda, and salt in a separate bowl, then mix into the wet ingredients on low just until no dry streaks remain. The dough should be soft but not sticky.
- 5Scoop and Bake — Scoop 2-tablespoon balls onto the prepared sheets, spacing them 2 inches apart, and bake at 350F (175C) for 10 to 12 minutes. They are done when the edges are golden brown and the centers still look slightly underdone and puffy.
- 6Cool Completely — Leave the cookies on the hot tray for 5 minutes to set, then move them to a wire rack to cool fully, about 20 minutes. Rushing this step is the number one reason glazes slide off.
- 7Whisk the Glaze — Whisk the sifted powdered sugar, milk, and almond extract until smooth and glossy, adding milk a teaspoon at a time until it ribbons off the whisk. It should coat the back of a spoon but still drip slowly.
- 8Glaze and Set — Spoon a teaspoon of glaze onto each cooled cookie and spread it in a small circle, letting it settle on its own for that clean Pinterest look. Let the glaze set at room temperature for 30 minutes until it feels dry to the touch.

Priya explores creative writing prompts and storytelling techniques for aspiring authors. She shares exercises to spark imagination and build narrative confidence, drawn from her own writing practice.


