

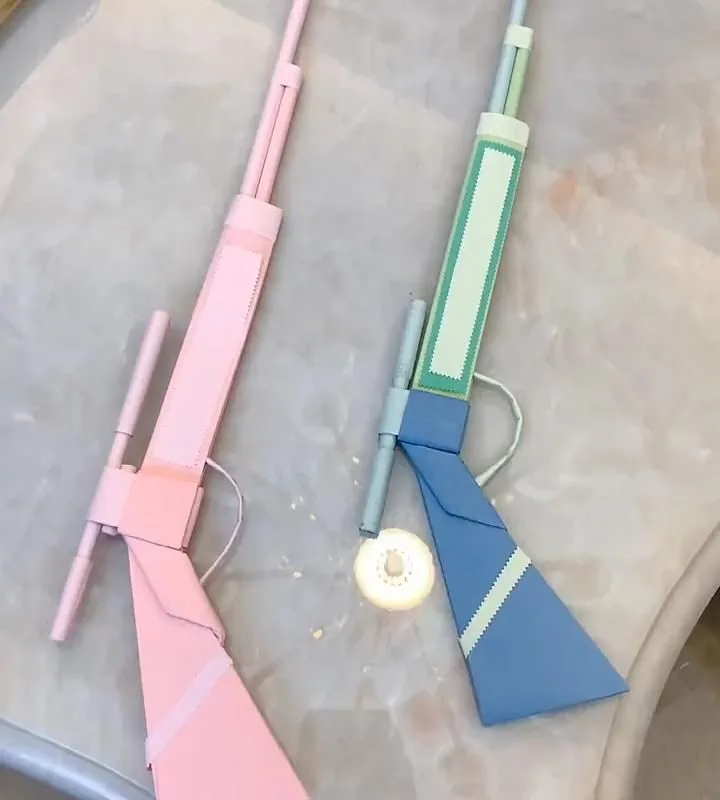
Ever wrestled with a stubborn fold or ended up with a paper cut that stings for hours? I've been there—and after years of turning flat sheets into little miracles, I've discovered some game-changing tricks that will make your paper crafting smoother, cleaner, and way more fun. Get ready to hack your way to paper perfection!
Advertisements1
- Always fold with the paper grain for easier, cleaner folds.
- A bone folder is a must-have tool for crisp, professional creases.
- Use a craft knife for precise cuts, not scissors.
- Double-sided tape prevents wrinkles and warping.
- Scoring paper before folding ensures perfect folds without cracking.
- Mistakes can be repurposed into creative design elements.
Why These Hacks Work: The Science of Paper
Paper is more than just a flat surface—it has a grain, a memory, and a personality. Understanding how paper fibers behave is the secret to mastering folds that stay put and creases that look crisp. For instance, when you fold against the grain, the paper resists and can crack or warp. By aligning your folds with the grain, you get clean, effortless lines.
The Magic of a Bone Folder: Your New Best Friend
A bone folder isn't just for bookbinders—it's a paper crafter's unsung hero. This smooth tool lets you press down on folds with even pressure, creating sharp, professional creases without damaging the paper's surface. I remember my first origami crane looking lopsided until I started using a bone folder; now every fold is crisp and symmetrical.
Craft Knife vs. Scissors: When to Use Each
Scissors are great for freehand curves and quick cuts, but for straight lines and intricate details, a craft knife with a cutting mat is unbeatable. A sharp blade slices through paper fibers cleanly, leaving no frayed edges. I once tried to cut a tiny heart with scissors and ended up with a blob—switching to a craft knife gave me perfect symmetry.
The Double-Sided Tape Trick for Flawless Assembly
Glue can cause paper to wrinkle and warp, especially with thin sheets. Double-sided tape is your go-to for a flat, bubble-free bond. It's also repositionable if you use the removable kind, which is perfect for when you need to adjust a piece before committing. I've saved many projects from glue-induced disaster by switching to tape.
Scoring: The Secret to Perfect Folds
Before you fold, score the paper along the fold line with a blunt tool like a dried-out pen or a scoring board. This breaks the fibers slightly, allowing the paper to fold exactly where you want it, with zero cracking. For thick cardstock, scoring is non-negotiable—it's the difference between a clean fold and a ragged mess.
Embrace Imperfection: The Wabi-Sabi Approach
Not every fold has to be millimeter-perfect. Sometimes the charm of handmade paper crafts lies in their slight irregularities. I've learned to let go of perfectionism and enjoy the process. That slightly crooked origami elephant? It has character! Focus on the joy of creating, not just the final product.
Turn Mistakes into Design Elements
Got a crease in the wrong place? Don't toss it—incorporate it! You can use that accidental line as a guide for a new fold, or cover it with a decorative sticker or washi tape. I once made a beautiful collage from a 'ruined' paper flower by layering the pieces in a new way. Mistakes are just hidden opportunities.
The Hacks, Step by Step
- 1Find the paper grain
Gently bend the paper in both directions—it will resist more along the grain. Fold with the grain for easier, cleaner folds. - 2Invest in a bone folder
Use the flat edge to press down on folds—it gives you a sharp crease without marring the paper. It's a game-changer for crisp origami. - 3Use a craft knife for precision
For straight lines and intricate shapes, use a sharp craft knife on a self-healing mat. It cuts cleanly and gives you more control than scissors. - 4Switch to double-sided tape
Instead of glue, use double-sided tape for flat, wrinkle-free assembly. It's especially good for thin or delicate papers. - 5Score before you fold
Run a blunt tool along the fold line before folding. This pre-creases the paper, making folds exact and preventing cracking. - 6Embrace imperfections
When a fold is off, don't stress—use it as a design feature. Add a decorative element or adjust the design to work with it. - 7Practice with scrap paper
Before using your fancy paper, test your folds and cuts on cheap printer paper. This saves expensive sheets and builds confidence.
The best paper crafts come from a playful heart and a forgiving hand—perfection is overrated.
Frequently Asked Questions
What is the best paper for origami?
Thin, crisp paper like kami (origami paper) is best because it holds folds well and is easy to manipulate. For practice, use printer paper cut into squares.
How do I prevent paper from tearing when folding?
Score the fold line first and use a bone folder to crease gently. Also, avoid folding against the grain, which can cause tearing.
What can I use instead of a bone folder?
You can use a dried-out ballpoint pen, a popsicle stick, or even the back of a spoon. The key is a smooth, blunt edge.
How do I make paper crafts look professional?
Use precise tools like a craft knife and bone folder, and take your time with each fold. Neatness and attention to detail make a huge difference.
Can I use regular glue for paper crafts?
Yes, but use a glue stick or a small amount of liquid glue to avoid warping. For best results, use double-sided tape for flat surfaces.


