

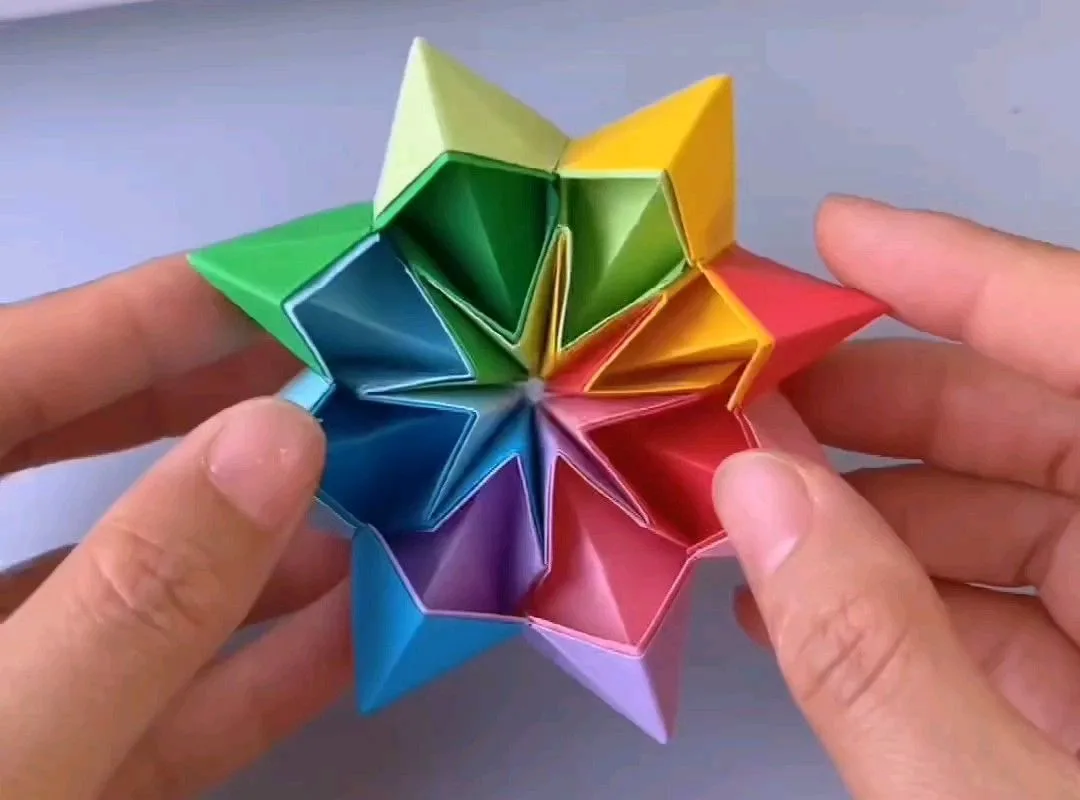
You've folded a few cranes, but now you want more. These seven hacks will take your origami from simple to stunning with minimal effort. Let's dive in and make something beautiful today.
Advertisements1
- Invest in quality kami paper for crisp, durable folds.
- Always burnish your creases with a bone folder.
- Score thick paper to avoid ugly cracks.
- Master reverse folds to unlock complex models.
- A clean workspace and clean hands protect your work.
- Use videos and books when you're stuck – they're lifesavers.
- Embrace imperfections – they're part of your origami journey.
Why Origami Paper Choice Matters More Than You Think
The paper you use can make or break your fold. Standard printer paper is too thick and springs back, while cheap origami paper tears easily. I learned this the hard way when my first modular star collapsed into a sad pile of creases.
Invest in proper kami paper – it's thin, crisp, and holds a crease beautifully. A pack of 100 sheets costs around $8 and lasts for months. For a special project, try washi paper for texture or foil paper for a shiny, sculptural effect. The right paper makes folding smoother, and your models will look sharper and hold their shape longer.
Master the Art of the Precise Crease
A good fold starts with a sharp crease. Use a bone folder or the back of a spoon to press down each fold after you make it. This flattens the paper fibers and creates a memory, so your model stays put.
For example, when folding a traditional crane, a clean crease on the initial diagonal ensures the wings flap symmetrically. Without it, your crane might look lopsided. So, take an extra second to burnish every fold – your fingers will thank you later.
Use a Scoring Tool for Thick or Textured Paper
If you're using cardstock or handmade paper, a bone folder alone might not be enough. Score the fold line first with a scoring tool or an empty ballpoint pen. This creates a shallow groove that guides the paper and prevents cracking.
I once tried to fold a gift box from scrapbook paper without scoring – the edges split and looked messy. After scoring, the folds were clean and professional. This hack is essential for any paper craft beyond basic origami.
The Magic of Reverse Folds for Complex Models
Reverse folds are a game-changer for intricate designs like the origami dragon or koi fish. They let you change the direction of a flap without undoing your work. To do an inside reverse fold, push the paper inward along the crease, then flatten.
Practice on a simple square first. Fold it in half, then make a small diagonal crease on one side. Push that section inside – you've just created a beak or a tail. Once you master this, you can tackle models that once seemed impossible.
Keep Your Work Area Clean and Organized
A cluttered desk leads to lost folds and frustration. I keep a dedicated tray for my current project, and a small dish for paper scraps. This way, I always know where my tools are, and I don't accidentally knock over a half-folded model.
Clean hands are just as important. Oils from your skin can stain light paper. Wash and dry your hands before you start, and you'll keep your project pristine. It's a simple habit that makes a big difference.
Use a Reference Book or Video for Complex Steps
When you're stuck on a step, don't guess – look it up. Origami diagrams can be confusing, and videos show the motion in real time. I keep a small library of books, but YouTube is my go-to for tricky folds.
For example, when I learned the origami lily, the diagram's arrow confused me. A quick video showed the exact pivot, and I got it on the first try. Don't be afraid to pause, rewind, and rewatch – it's how you learn.
Embrace Imperfection – It's Part of the Charm
Your first few models won't be perfect, and that's okay. Origami is about the process, not just the result. I still keep my first wonky frog on my shelf as a reminder of where I started.
If a fold goes wrong, take a breath and try again. Or, turn it into a new creation – a crumpled paper ball can become a textured star. The more you fold, the more your hands learn. So, relax, enjoy the journey, and let each piece teach you something new.
The Hacks, Step by Step
- 1Choose the right paper
Use thin, crisp kami paper for standard folds; switch to foil or washi for special effects. Test a small square first to see how it behaves. - 2Make a sharp crease
Press down each fold with a bone folder or the back of a spoon. This sets the paper's memory and ensures your model holds its shape. - 3Score thick paper
Score cardstock or textured paper with a scoring tool before folding. This prevents cracking and gives you a clean, straight fold. - 4Practice reverse folds
Learn to do an inside reverse fold on a simple square. It's the key to making beaks, wings, and other complex shapes. - 5Keep your space tidy
Use a tray for your project and a small dish for scraps. Wash your hands to keep paper clean and oil-free. - 6Look up tricky steps
When a diagram confuses you, watch a video or consult another book. Pausing and replaying is a great way to learn. - 7Let go of perfection
Accept that your first attempts will be imperfect. Keep them as reminders, and keep folding to improve your skills.
Every fold is a small step; every model is a collection of tiny victories.
Frequently Asked Questions
What is the best paper for origami?
Thin, crisp kami paper is best for most origami projects. It holds creases well and is easy to fold, unlike printer paper which is too thick.
How do I make my origami folds sharper?
Use a bone folder or the back of a spoon to press down every fold after you make it. This sets the crease and makes your model crisper.
Why does my origami paper tear?
Tearing usually happens when you use paper that's too thin or too thick, or when you fold against the grain. Try using a higher quality paper, and fold gently along the grain.
What is a reverse fold in origami?
A reverse fold is a technique that changes the direction of a flap by pushing it inside along existing creases. It's used for beaks, wings, and other shapes.
How can I learn complex origami?
Start with simple models to build your skills, then follow video tutorials for complex ones. Pause and replay as needed – practice is key.


