

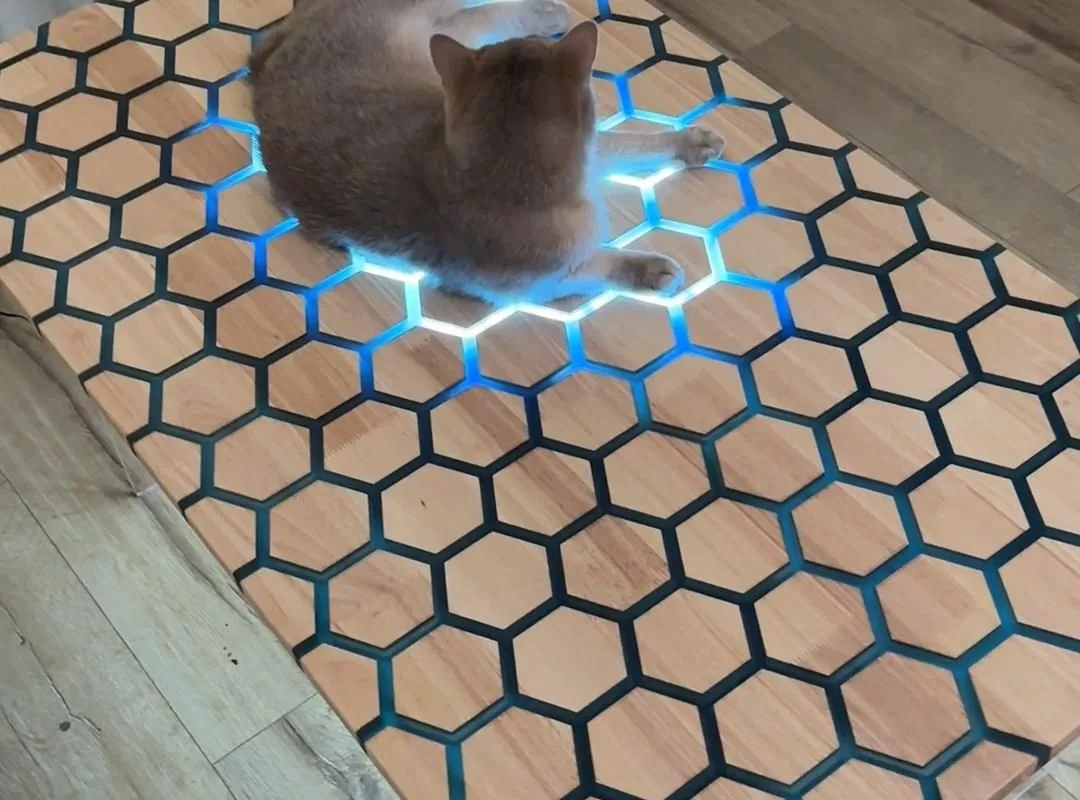
You've built the magic table, but the finish looks amateur. These 7 hacks will give it a professional, durable shine that wows everyone.
Advertisements1
- Always seal end grain before finishing to avoid blotchy, uneven color.
- A card scraper leaves a better surface than sandpaper, enhancing figure and reducing finish absorption.
- Thin coats of wiping varnish applied with a pad dry faster and look smoother than brushed-on thick coats.
- Burnishing with a brown paper bag is a free, effective way to smooth the final coat.
- Paste wax adds a tactile feel and protection, but only after the finish has fully cured (7 days).
- Steam can raise dents in raw wood—fix them before finishing to avoid sanding dips.
Hack 1: Seal End Grain with Sanding Sealer
End grain acts like a bundle of straws, sucking up finish unevenly and leaving a blotchy, dull patch. I learned this the hard way on my first magic table—the legs looked like they had a disease. The fix: brush on a dedicated sanding sealer (I use Zinsser SealCoat) before any stain or topcoat. It blocks the pores so the finish sits on top evenly. One thin coat, let it dry 30 minutes, then sand lightly with 320-grit. Common mistake: skipping this and hoping extra topcoat will fix it—it won't. The end grain will always look darker and rougher. Trust me, five minutes with sealer saves hours of regret.
Hack 2: Use a Card Scraper Instead of Sanding
Sandpaper leaves microscopic scratches that dull the wood's natural chatoyance—that shimmering, 3D effect in figured maple or walnut. A card scraper, a $10 piece of steel, cuts cleanly and leaves a burnished surface that finish loves. I switched to scrapers on my magic table's curly maple top and the difference was night and day: the grain popped like a hologram. To use one, file the edge flat, then roll a burr with a burnisher. Hold it at 90 degrees, then tilt 5 degrees and push away from you. You'll get wispy shavings, not dust.
Hack 3: Pop the Grain with a Wet Coat
Before staining, wipe the wood with a damp sponge and let it dry. This raises the grain, which you then sand off with 320-grit. Why? It pre-raises the fibers so your stain doesn't cause fuzz later. But here's the real hack: after sanding, apply a 50/50 mix of denatured alcohol and water, then immediately stain while it's slightly damp. This 'wet coat' method lets the stain penetrate deeper and more evenly, especially on cherry or mahogany. I did this on my magic table's aprons and got a rich, consistent color with zero lap marks.
Hack 4: Apply Finish with a Pad, Not a Brush
Brushes leave streaks and bubbles, especially on large flat surfaces like a tabletop. I use a folded piece of old T-shirt (lint-free) as a pad. Dip it in wiping varnish (I make my own: 1 part polyurethane, 1 part mineral spirits, 1 part boiled linseed oil), then wipe on thin coats. You'll need 6-8 coats, but each dries in 2 hours and you can recoat without sanding between every coat. This is how I got a glass-smooth finish on my magic table without a spray booth.
Hack 5: Burnish with a Brown Paper Bag
After your final coat is dry, take a plain brown paper bag (the kind from the grocery store) and rub it vigorously over the surface. This burnishes the finish, knocking down any dust nibs and giving it a satin sheen. It's an old trick from woodworkers, and it works because the paper's fibers are slightly abrasive but not enough to scratch. I do this on every magic table I make—it takes 5 minutes and makes the finish feel like polished stone.
Hack 6: Wax the Table for a Tactile Finish
After the varnish has cured for a week, apply a thin coat of paste wax (I use Johnson's or Briwax) with a 0000 steel wool pad. Rub it in, let it haze for 10 minutes, then buff with a clean cloth. This adds a soft, touchable feel and extra protection against spills. On my magic table, the wax also fills any microscopic pores, making the surface feel like silk. It's the difference between 'nice' and 'wow'.
Hack 7: Fix Dents with a Wet Cloth and Iron
Dropped a hammer on your almost-finished magic table? Don't sand it out—you'll create a dip. Instead, place a damp cloth over the dent and press a hot iron (cotton setting) on it for 10-15 seconds. The steam swells the crushed wood fibers back to their original shape. I've saved countless tabletops this way. Repeat until the dent is flush. Then sand lightly and touch up the finish.
The Hacks, Step by Step
- 1Gather Your Supplies
You'll need: sanding sealer, card scraper, burnisher, denatured alcohol, wiping varnish (or poly/mineral spirits/linseed oil), lint-free rags, brown paper bag, paste wax, 0000 steel wool, iron, and a damp cloth. Having everything within reach prevents mid-project trips to the store. - 2Prepare the Surface
Start by scraping the wood with a card scraper to remove mill marks, then sand with 320-grit. Wipe with a damp cloth to raise the grain, sand again, and apply sanding sealer to end grain. This creates a flawless base. - 3Apply the Finish
Mix your wiping varnish and apply thin coats with a pad, waiting 2 hours between coats. Aim for 6-8 coats. After the final coat, let it cure for at least 72 hours. - 4Burnish and Wax
Once cured, burnish with a brown paper bag, then apply a thin coat of paste wax with steel wool. Buff to a satin sheen. This gives a professional, tactile finish.
The secret to a professional finish isn't expensive tools—it's understanding how wood and finish interact, and using simple tricks like sealing end grain and burnishing with a paper bag.
Frequently Asked Questions
How do I prevent blotching when staining my magic table?
Use a sanding sealer or pre-stain conditioner before applying stain, especially on porous woods like pine or cherry. This evens out absorption. Apply a thin coat, let it dry, then sand lightly before staining.
Can I use a card scraper instead of sanding?
Yes, a card scraper can replace sanding for most surfaces, leaving a cleaner finish that highlights figure. You'll need to sharpen it properly with a burnisher to raise a burr. Practice on scrap first.
How long should I wait before using my magic table after finishing?
Wait at least 72 hours for the finish to cure, but ideally 7 days before placing heavy objects or applying wax. Full hardness takes up to 30 days for oil-based finishes.
What's the best way to fix a dent in my almost-finished table?
Use a damp cloth and a hot iron to steam the dent out. Place the cloth over the dent, press the iron for 10-15 seconds, and repeat until the wood swells back. Then sand and touch up the finish.
Do I need to wax my magic table?
Wax is optional but recommended for a tactile feel and added protection. Apply after the finish has cured for at least a week. Use a paste wax without silicone and buff well.


