

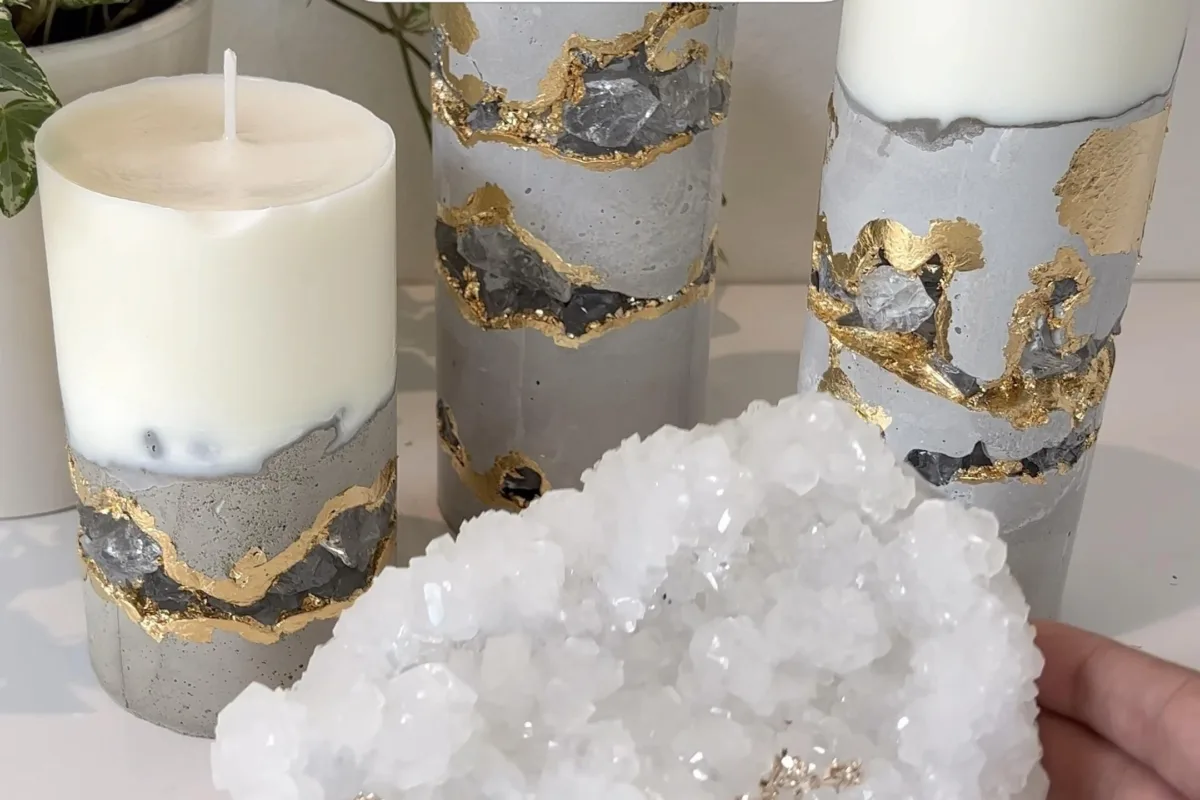
Want to grow your own sparkling crystals but think it's complicated? I've spent years experimenting in my kitchen, and I'm here to tell you: it's easier than you think. These seven hacks will have you creating stunning crystals in no time, with simple ingredients you already have.
Advertisements1
- Always use a supersaturated solution – it's the foundation of crystal growth.
- Patience beats constant checking – let crystals grow undisturbed.
- Glass jars are safer and easier to clean than plastic.
- Borax crystals form in 24 hours; sugar takes up to a week.
- Food coloring lets you customize your crystals without affecting growth.
- Start with simple ingredients like sugar or borax before trying advanced recipes.
Why Grow Crystals at Home?
Growing crystals is part art, part science. It's a hands-on way to see how molecules arrange themselves into beautiful structures. Plus, it's a relaxing, screen-free activity that's perfect for kids and adults alike. I've grown everything from table salt to borax snowflakes, and each time, I'm amazed by the results.
The Magic of Supersaturation
The secret to growing big, clear crystals is supersaturation. That means dissolving as much solute (like sugar or salt) into hot water as possible, then letting it cool slowly. As the solution cools, it can't hold all the solute, so it starts to crystallize on a seed or string. My favorite example: dissolve 3 cups of sugar into 1 cup of boiling water, and you'll get gorgeous rock candy in about a week.
Patience: The Ultimate Ingredient
Crystals grow best when you let them take their time. I know it's tempting to peek every hour, but disturbing the jar can ruin your crystal. I once checked my borax crystal every few hours, and it turned cloudy and stunted. Now, I set a timer and don't touch it for at least 24 hours. The wait is worth it.
Troubleshooting Common Crystal Problems
If your crystals are tiny or nonexistent, don't panic. Usually, it's because your solution wasn't saturated enough or the temperature fluctuated too much. For example, if your sugar crystals look like sand, you probably didn't boil the water long enough. Fix it by re-dissolving and starting fresh, but this time, be precise with measurements.
Safety and Cleanup Made Simple
Most crystal-growing ingredients are non-toxic, but always supervise kids. Use glass jars, not plastic, because they handle heat better and are easier to clean. I once used a plastic cup for hot sugar water, and it melted – what a mess! Now, I stick to glass and have a dedicated 'crystal jar' that I reuse.
Taking Your Crystals to the Next Level
Once you've mastered the basics, try growing crystals on different surfaces like pipe cleaners or seashells. You can even grow them in different colors by adding food coloring. My favorite project is making a crystal heart for Valentine's Day – just shape a pipe cleaner into a heart, suspend it in a supersaturated solution, and wait. It's a gift that truly comes from the heart.
What to Do With Your Finished Crystals
Don't let your beautiful crystals collect dust. Use them as paperweights, jewelry, or decor. I've made crystal suncatchers by stringing small crystals on clear fishing line and hanging them in a sunny window. You can also display them in a glass jar with a lid – just be sure to keep them dry, as moisture can dissolve them over time.
The Hacks, Step by Step
- 1Choose your crystal recipe
Start with borax or sugar – they're cheap and reliable. Borax grows fast (24 hours), sugar takes longer (7 days) but tastes great. Pick one to start. - 2Boil water and dissolve solute
Boil 1 cup of water. Slowly stir in 3 cups of sugar (or 3 tablespoons of borax) until fully dissolved. This creates a supersaturated solution, key for crystal growth. - 3Add color and flavor (optional)
Stir in a few drops of food coloring or flavoring. This personalizes your crystals without affecting the science. - 4Set up your growing container
Pour the solution into a clean glass jar. Tie a string to a pencil and suspend it in the solution, making sure it doesn't touch the sides or bottom. - 5Let it sit undisturbed
Place the jar somewhere quiet and stable. Don't move it or check too often. Crystals need peace to form. - 6Wait and observe
Check after 24 hours for borax, or after 3-7 days for sugar. You'll see crystals clinging to the string. Patience is your best tool. - 7Remove and dry your crystals
When you're happy with the size, lift the string out gently. Let it dry on a paper towel for a few hours. Then enjoy your handcrafted crystal!
Growing crystals is a beautiful lesson in patience – the longer you wait, the more spectacular the reward.
Frequently Asked Questions
How long does it take to grow crystals at home?
It depends on the recipe: borax crystals can form in 24 hours, while sugar crystals take about 7 days. The key is to be patient and let them grow undisturbed.
What is the easiest crystal to grow?
Borax is the easiest – it grows quickly and reliably. You just dissolve borax in hot water, hang a string in it, and wait a day.
Can you grow crystals without borax?
Yes, you can use sugar, salt, or even Epsom salt. Sugar gives you edible crystals, while salt is great for beginners. Just remember to adjust the amounts for each.
Why are my crystals not growing?
Most likely, your solution wasn't saturated enough or the temperature changed. Make sure you dissolve as much solute as possible, and keep the jar in a stable spot away from drafts.
Are homegrown crystals safe to touch?
Yes, crystals made from sugar, salt, or borax are safe to handle. Just avoid eating borax crystals, and wash your hands after touching them.


