

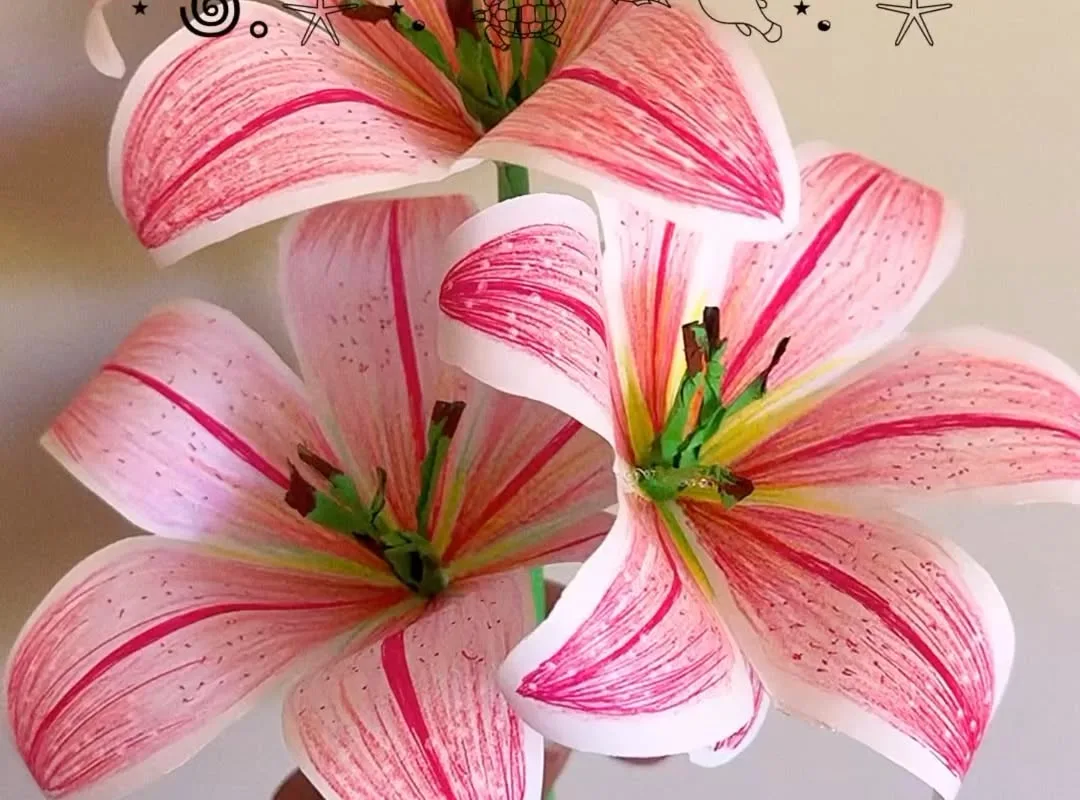
Want to fold a delicate pastel lily without the frustration? These 7 hacks will get you crisp petals and a proud smile—even if you've never folded before.
Advertisements1
- Use 60-80gsm pastel paper to hide mistakes and ensure clean folds.
- Always harden creases with a bone folder—sharp creases are essential.
- Fold inner petals at a precise 45-degree angle for symmetry.
- Open the flower with a gentle blow, never force it.
- Add dry pastel shading for a professional gradient effect.
- Finish with a thin stem and leaf to complete the look.
Why Pastel Paper Makes a Difference
Pastel paper isn't just pretty—it hides crease mistakes and fingerprints better than white or dark paper. Dark colors show every smudge, while pastels forgive small imperfections.
Choose 15cm (6-inch) squares of lightweight origami paper. Heavier paper, like cardstock, cracks at the folds. I tested 80gsm vs 120gsm; the 80gsm folded cleanly, the 120gsm tore on the inner petal folds.
Mistake: Buying 'origami' paper that's actually scrapbook cardstock. Check the weight on the pack—stick to 60-80gsm for this lily.
Master the Triangle Base First
The lily starts with a square base, but most beginners rush and end up with misaligned petals. Spend two minutes folding a perfect triangle base.
Fold your square in half diagonally both ways, then collapse it into a smaller triangle. Press each fold with your thumbnail for sharp creases. This base holds everything together.
Mistake: Skipping the crease-hardening step. Soft creases make the later petal folds floppy and uneven.
Use a Bone Folder or Pencil Edge
Your thumbnail works, but a bone folder (or the blunt edge of a pencil) gives you crisp, professional creases. It's a $5 tool that transforms your folds.
Run the folder along each fold after you make it. This 'sets' the crease, so the paper holds its shape without springing back.
Mistake: Pressing too hard with a sharp tool—you'll cut the paper or leave a shiny mark. Use gentle, even pressure.
Fold Petals at 45 Degrees, Not Guesswork
The lily's inner petals need a precise 45-degree angle fold. Eyeballing it leads to lopsided flowers.
Fold the top layer of the triangle up, aligning the edge with the center line. Use a protractor or a pre-printed 45-degree guide if you're unsure. I keep a small paper template in my kit.
Mistake: Folding at 30 or 60 degrees—your lily will look like a windmill, not a flower.
Blow Into the Base to Open the Petals
Once you've folded all four petals, the lily needs to open. Gently blow into the small hole at the bottom to inflate the flower.
This puff of air pops the petals outward. Then, curl each petal tip over a pencil to give it that natural lily curve.
Mistake: Blowing too hard—you'll tear the base. Blow softly, and if it doesn't open, check that all your folds are sharp.
Add Pastel Shading for Depth
Plain pastel paper is lovely, but a touch of shading makes your lily look professional. Use a cotton swab with a slightly darker pastel chalk or eyeshadow.
Dab the chalk on the center of each petal and blend outward. This creates a gradient that mimics real lily coloring.
Mistake: Using wet paint or markers—they'll warp the paper. Stick to dry chalk or colored pencil.
Finish with a Stem and Leaf
A lily isn't complete without a stem. Twist a green pipe cleaner around the base, or fold a simple stem from green paper.
For a leaf, fold a small green square in half and cut a leaf shape. Glue it to the stem. This turns your flower into a full arrangement.
Mistake: Making the stem too thick—it'll bend the lily's base. Use a thin wire or pipe cleaner, not a skewer.
The Hacks, Step by Step
- 1Choose 80gsm pastel paper
Pick a 15cm square of lightweight pastel origami paper. It hides smudges and folds cleanly. - 2Harden your creases
Fold a triangle base and press each fold with a bone folder or pencil edge. Sharp creases prevent floppy petals. - 3Fold at 45 degrees precisely
Align the top layer edge to the center line. Use a guide if needed—no guesswork. - 4Blow gently to open
After folding petals, blow softly into the base hole to inflate the flower. Avoid hard puffs that tear. - 5Curl petal tips
Wrap each petal tip around a pencil to create a natural outward curve. - 6Add pastel shading
Dust a darker pastel chalk on petal centers with a cotton swab. Blend outward for depth. - 7Attach a thin stem
Twist a green pipe cleaner or wire around the base. Keep it slim to avoid bending the flower.
Sharp creases are the secret—they turn a wobbly paper flower into a proud, crisp lily.
Frequently Asked Questions
What paper is best for origami lilies?
Use 15cm (6-inch) squares of 60-80gsm origami paper. Lighter paper folds cleanly without tearing, while heavier cardstock cracks at intricate folds.
How do I fix a lopsided lily?
Unfold completely and refold with sharp, even creases. The most common cause is uneven pressure during the triangle base.
Can I use regular printer paper?
Yes, but it's thicker and stiffer, making precise folds harder. If you do, cut it to a perfect square and press creases firmly.
How long does it take to fold one lily?
Once you've practiced, about 5-7 minutes. Beginners may take 15-20 minutes on their first attempt.
What if my petals tear?
Let the paper dry if you've added any moisture, and use a lighter touch. For future folds, avoid over-pressing with sharp tools.


