

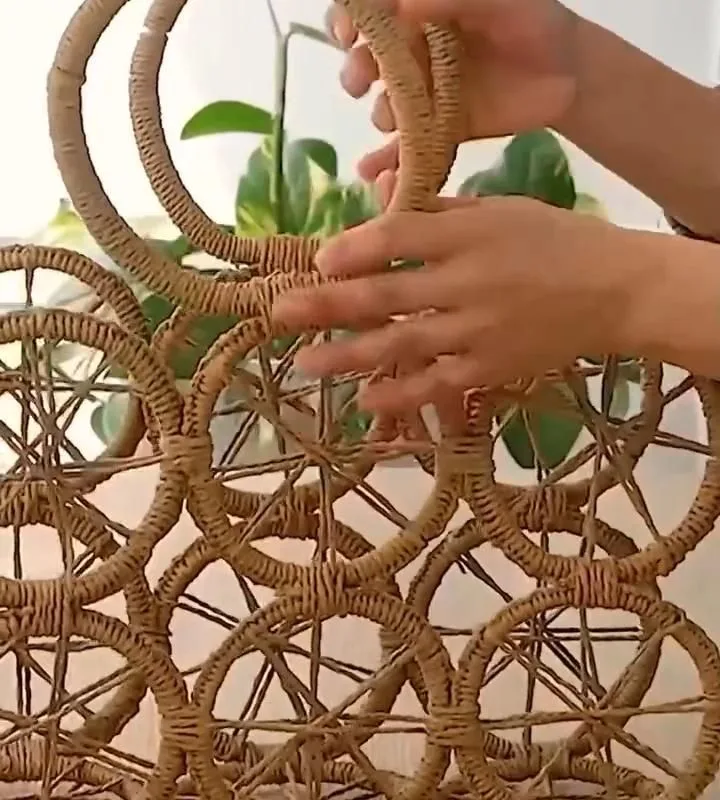
Ever scrolled past a gorgeous wicker bag on Pinterest and thought, 'I could never make that'? You absolutely can. These 10 hacks will have you crafting a boho-chic bag that looks boutique-quality—no fancy tools required.
Advertisements1
- Soak rattan for 30 minutes before weaving—it prevents snapping and makes the process easier.
- A cardboard loom keeps your weave even and your bag symmetrical.
- Always line your bag for structure and to hide the inside weave.
- Reinforce handles by anchoring them to the woven body, not just the rim.
- Seal your finished bag with acrylic sealer to protect it from dirt and moisture.
Why Wicker Bags Are the Ultimate DIY Project
Wicker bags are having a moment. They're all over Pinterest, and for good reason: they're lightweight, roomy, and instantly add a relaxed, bohemian vibe to any outfit. But store-bought versions can cost $80 or more. Making your own means you control the size, color, and details—and you'll spend a fraction of the price.
Best of all, wicker is forgiving. Unlike sewing a lined tote, you don't need perfect stitches. The texture hides small mistakes, so even beginners can get a beautiful result. I've taught dozens of friends to make their first bag in an afternoon, and every single one was thrilled with the outcome.
So grab a cup of tea, and let's dive into the hacks that will save you time, money, and frustration.
Hack #1: Choose the Right Base—Rattan vs. Bamboo vs. Paper
Not all wicker is created equal. For a sturdy bag that lasts, look for rattan (also called cane). It's flexible, durable, and takes dye beautifully. Bamboo is stiffer and better for structured shapes, while paper wicker is cheap but can fray. My favorite? Rattan in a 3mm round core—it's easy to weave and holds its shape.
Why it works: Rattan's natural oils make it resistant to cracking, so your bag won't fall apart after a few uses. Plus, it's lightweight, so your shoulder won't ache.
Common mistake: Buying pre-dyed wicker that bleeds. Test a small piece with a damp cloth—if color transfers, skip it. You want natural, untreated material so you can customize it yourself.
Hack #2: Soak Your Wicker Before Weaving
Dry wicker snaps like a twig. Before you start, soak your strands in warm water for 20–30 minutes. This makes them pliable and easy to bend without breaking. I keep a spray bottle handy to re-wet as I go.
Why it works: Water temporarily softens the lignin in the plant fibers, so they mold to your shape. Once dry, they harden in place.
Common mistake: Soaking too long (over an hour) can cause mold later. Stick to 30 minutes max, and dry your bag in a well-ventilated spot, not direct sun.
Hack #3: Use a Cardboard Loom for Perfectly Even Weave
You don't need a fancy loom. Cut a piece of sturdy cardboard to your desired bag size (say, 8×10 inches). Punch holes along the top and bottom edges, 1 inch apart. Thread your warp strands (vertical) through these holes, then weave your weft (horizontal) over and under. This keeps everything tight and even.
Why it works: The cardboard acts as a guide, so your rows stay straight and your bag won't end up lopsided.
Common mistake: Using flimsy cardboard that bends. Go for corrugated shipping boxes—they're rigid enough to hold tension.
Hack #4: Master the 'Over-Under' Weave (It's Easier Than It Looks)
The basic weave is just over-under, alternating each row. Start by weaving one strand horizontally across your warp, going over the first vertical, under the second, and so on. For the next row, do the opposite: under, over, under, over. Push each row snugly against the previous one.
Why it works: Alternating creates a locked grid that's strong and visually appealing. It's the same principle as darning a sock.
Common mistake: Pulling too tight. You want the weave to be firm but not so tight that it distorts the shape. Aim for a gentle tension—like a handshake.
Hack #5: Add a Lining for Structure and Style
A lining hides the inside weave and prevents small items from falling through. Cut a rectangle of cotton fabric slightly larger than your bag's interior. Fold the edges under and stitch it to the inside rim using a simple running stitch. You can also glue it with fabric glue for a no-sew option.
Why it works: The lining adds body, so your bag stands up on its own. It also gives you a place to add a pocket.
Common mistake: Using heavy fabric like denim—it's too bulky. Choose lightweight cotton or linen. I love a floral print for a boho touch.
Hack #6: Attach Handles That Won't Stretch Out
Handles take the most stress, so reinforce them. Braid three strands of wicker together for a sturdy handle, then sew or glue the ends to the inside of the bag, overlapping by at least 2 inches. For extra security, add a few stitches with heavy-duty thread.
Why it works: Braiding distributes weight, so the handle won't snap. Overlapping the attachment point prevents pulling.
Common mistake: Attaching handles only to the rim. They'll rip out. Always anchor them to the woven body, not just the top edge.
Hack #7: Embellish with Tassels, Shells, or Pom-Poms
This is where your personality shines. Add a row of colorful tassels along the bottom, or glue on a few seashells for a beachy vibe. Pom-poms in bright colors give a playful, festival look. I made a bag with turquoise tassels and got compliments all summer.
Why it works: Embellishments draw the eye and make your bag look custom-made. They also hide any uneven spots in your weave.
Common mistake: Overdoing it. Pick one or two types of embellishments and repeat them. Too many elements look cluttered.
Hack #8: Seal and Protect Your Bag
Once your bag is dry, brush on a thin coat of clear acrylic sealer (matte or satin). This protects against dirt and moisture. Let it dry for 24 hours. For extra durability, apply a second coat.
Why it works: The sealer creates a barrier that keeps your bag looking new. It also prevents the wicker from drying out and becoming brittle.
Common mistake: Using too much sealer—it can make the wicker look plastic. One or two light coats are plenty.
The Hacks, Step by Step
- 1Gather Your Materials
You'll need: rattan strands (about 50 feet for a medium bag), sharp scissors, a spray bottle, a cardboard loom, cotton fabric for lining, and embellishments. Total cost: around $25. - 2Soak and Prepare Wicker
Soak rattan in warm water for 30 minutes. Pat dry with a towel—it should be damp but not dripping. - 3Set Up Your Loom
Cut cardboard to 8×10 inches. Punch holes 1 inch apart along top and bottom. Thread warp strands through holes and tie securely. - 4Weave the Base
Start at one corner and weave horizontally, over-under, alternating each row. Push rows close together. Continue until you reach the top. - 5Remove from Loom and Shape
Carefully slide the woven piece off the cardboard. Gently bend it into a bag shape—a rectangle with a flap or a simple tote. - 6Add Lining and Handles
Cut and sew (or glue) a fabric lining inside. Braid three strands for a handle and attach securely to the inside body. - 7Embellish and Seal
Add tassels, shells, or pom-poms. Once dry, brush on acrylic sealer and let cure for 24 hours.
The best part about making your own wicker bag? You get to design something that's uniquely you—no one else will have the same one.
Frequently Asked Questions
What kind of wicker is best for a DIY bag?
Rattan is the best choice because it's flexible, durable, and takes dye well. Bamboo is stiffer and better for structured shapes, while paper wicker is cheaper but less durable.
How long does it take to make a wicker bag?
Most beginners can finish a medium-sized bag in 4–6 hours, spread over a weekend. Soaking and drying time adds about an hour.
Do I need a loom to weave a wicker bag?
No, you can weave freehand, but a cardboard loom makes it much easier to keep rows even. It's a simple DIY tool you can make in 5 minutes.
How do I keep my wicker bag from falling apart?
Reinforce handles by attaching them to the woven body, and seal the finished bag with acrylic sealer. Also, avoid over-soaking the wicker.
Can I paint or dye my wicker bag?
Yes, you can dye rattan with fabric dye or paint it with acrylic paint. Just make sure to seal it afterward to prevent chipping.


