

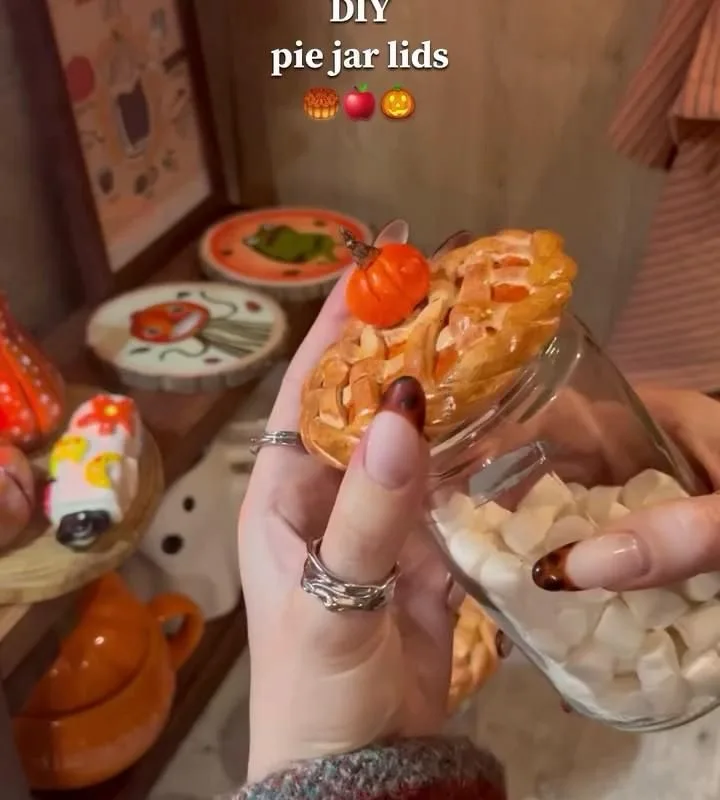
Ever wished you could enjoy a slice of pie without committing to a whole one? These DIY pie jar hacks let you bake, store, and gift single-serve pies that stay fresh for days. Whether you're a baking newbie or a seasoned pro, you'll find tips to make your pie jars shine.
Advertisements1
- Use tempered glass mason jars and always grease them to prevent sticking.
- Par-baking the crust for 10-12 minutes ensures a crispy bottom.
- Leave 1/2 inch headspace when filling to avoid overflow.
- Fruit pies keep at room temp for 2 days; cream pies need refrigeration.
- Get creative with flavors and toppings – but add garnishes after baking.
- For gifting, wrap jars in fabric and include storage instructions.
Why Pie Jars Are the Ultimate Dessert Hack
Pie jars are individual servings of pie baked directly in mason jars. They're portable, portion-controlled, and utterly charming. Think of them as the cupcake of the pie world – cute, convenient, and endlessly customizable. But why stop at traditional flavors? With a few clever tricks, you can create everything from classic apple to creamy chocolate silk, all in a jar. The best part? They're practically foolproof once you know the ropes. So grab your jars and let's get baking!
Hack #1: Choose the Right Jar (and Prep It Properly)
Not all mason jars are created equal. For baking, you need tempered glass jars designed for oven use, like Ball or Kerr wide-mouth half-pint jars. Avoid decorative jars or those with painted exteriors – they can crack under heat. Before filling, grease the inside with butter or non-stick spray, especially the corners. Why? It ensures easy release and prevents sticking. Common mistake: skipping the grease and ending up with a stuck pie. Trust me, you don't want to chisel out your dessert.
Hack #2: Par-Bake Your Crust for a Crispy Bottom
No one likes a soggy bottom. To avoid it, par-bake your crust before adding wet fillings. Here's how: press your pie dough into the jar, prick the bottom with a fork, and bake at 375°F (190°C) for 10-12 minutes, or until lightly golden. This creates a barrier that keeps the crust crisp. Why it works: pre-baking sets the structure and evaporates excess moisture. Mistake to avoid: over-baking – you'll end up with a rock-hard crust. Keep an eye on it!
Hack #3: Master the Art of Filling Without Spills
Filling a pie jar is like filling a cupcake liner – you want just the right amount. Leave about 1/2 inch of headspace to prevent overflow during baking. For fruit pies, toss your fruit with a tablespoon of cornstarch or tapioca flour to thicken juices. For cream pies, cook your filling first and let it cool before spooning it in. Why? Hot fillings can melt your crust and make a mess. Common mistake: overfilling, which leads to a sticky oven and a sad, sunken pie.
Hack #4: Seal and Store for Freshness That Lasts
Once your pie jars are baked and cooled, seal them with lids. For fruit pies, they'll keep at room temperature for 2 days, or up to a week in the fridge. Cream pies must be refrigerated and eaten within 3 days. Want to make them last longer? Vacuum-seal the jars (if you have a vacuum sealer with jar attachment) or freeze them for up to 3 months. Why it works: limiting air exposure prevents staleness. Mistake: storing cream pies at room temp – that's a food safety no-no.
Hack #5: Get Creative with Flavors and Toppings
This is where you can really shine. Try layering different fillings – like a base of apple pie filling topped with a streusel crumble. Or go savory with mini chicken pot pies. For a show-stopping finish, add a dollop of whipped cream or a scoop of ice cream just before serving. Why it works: layering adds texture and visual appeal. Mistake: adding toppings before baking – they'll burn. Save the garnishes for after.
Hack #6: Gift and Transport Like a Pro
Pie jars make adorable gifts. To transport, wrap each jar in a square of fabric or a tea towel and secure with twine. Add a cute tag with reheating instructions. Why it works: the fabric cushions the jar and looks charming. Mistake: stacking jars without padding – they can clink and crack. Also, if you're giving a cream pie, include a note to refrigerate immediately.
The Hacks, Step by Step
- 1Gather Your Supplies
You'll need: half-pint wide-mouth mason jars, pie dough (homemade or store-bought), filling ingredients, butter or non-stick spray, and a baking sheet. Preheat oven to 375°F (190°C). - 2Prep the Jars
Grease each jar with butter or spray. Cut pie dough into circles slightly larger than the jar opening. Press dough into the jar, covering the bottom and sides. Prick the bottom with a fork. - 3Par-Bake the Crust
Place jars on a baking sheet and bake for 10-12 minutes, until crust is lightly golden. Remove and let cool slightly. This step prevents soggy bottoms. - 4Prepare Your Filling
For fruit pies, mix fruit with sugar and thickener (like cornstarch). For cream pies, cook filling on stovetop and cool. For savory, cook meat and veggies. - 5Fill the Jars
Spoon filling into each jar, leaving 1/2 inch of headspace. Don't overfill! If making a double-crust pie, top with another dough circle and seal edges. - 6Bake to Perfection
Return jars to the oven and bake for 20-25 minutes (fruit) or 15-20 minutes (cream, until set). Crust should be golden and filling bubbly. Cool on a wire rack. - 7Seal and Store
Once cool, seal with lids. Store fruit pies at room temp for 2 days or refrigerate for up to a week. Cream pies must be refrigerated and eaten within 3 days. - 8Serve and Enjoy
Add toppings like whipped cream or ice cream just before serving. To reheat, remove lid and microwave for 20-30 seconds or warm in a 300°F oven for 10 minutes.
Pie jars are like little edible gifts – they bring joy in every spoonful.
Frequently Asked Questions
Can I use regular mason jars for baking?
Only if they are tempered glass and oven-safe. Most mason jars are, but check the label. Avoid jars with decorations or those not meant for high heat.
How do I prevent my pie jars from cracking in the oven?
Use tempered glass jars, avoid sudden temperature changes (like putting cold jars into a hot oven), and place them on a baking sheet for even heat distribution.
Can I make pie jars ahead of time?
Yes! You can assemble and freeze unbaked pie jars for up to 3 months. Bake from frozen, adding 10-15 minutes to the baking time.
What's the best way to reheat pie jars?
Remove the lid and microwave for 20-30 seconds, or warm in a 300°F oven for 10 minutes. For cream pies, enjoy cold.
Can I use store-bought pie crust?
Absolutely. Just make sure it's thawed if frozen. You may need to adjust baking times slightly.


