

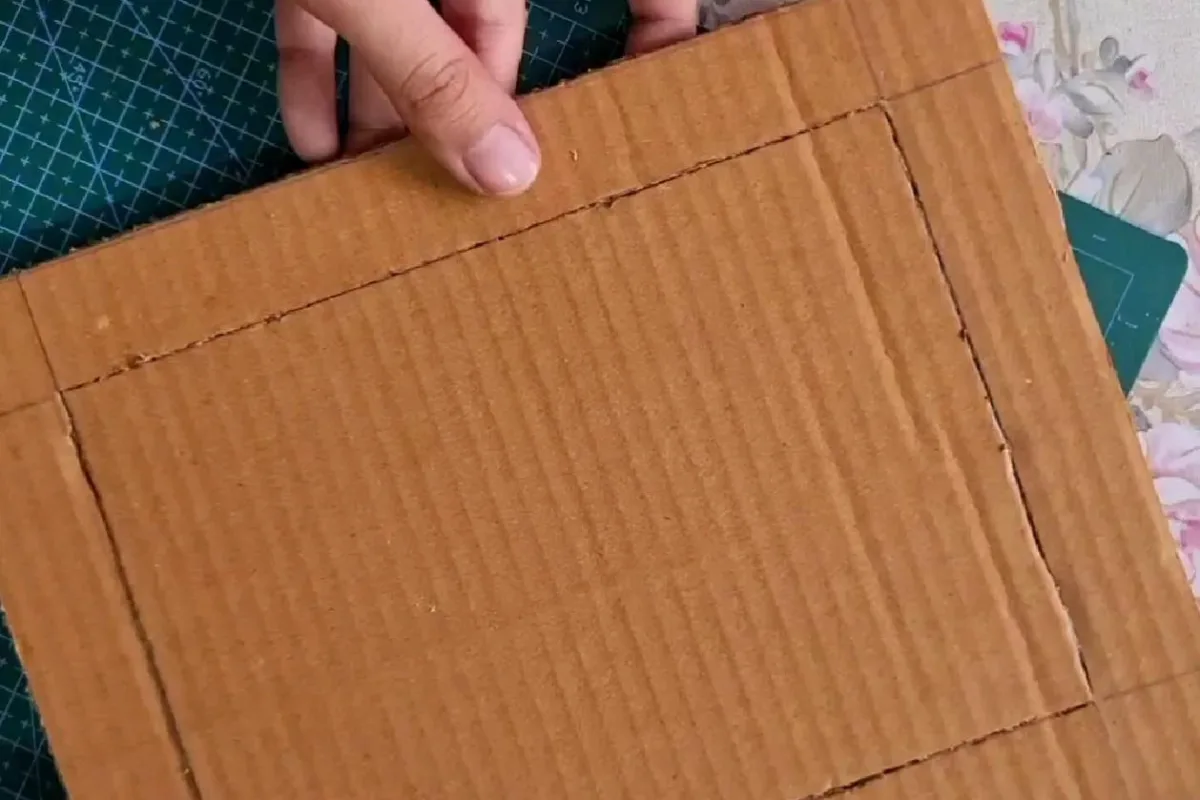
Ever notice how a plain 4×6 snapshot looks instantly more important the moment it gets a frame? That little border of wood, brass, or even cardboard tells your brain, "this matters." These seven DIY photo frame hacks turn scrap, dollar-store finds, and leftover paint into frames that look like you spent a Saturday at a gallery — even if you spent twenty minutes at your kitchen table.
Advertisements1
- Bottom-weighted mats (1.5 inches top and sides, 1.75 inches bottom) instantly make a photo look professionally framed.
- One $4 eight-foot 1×2 board yields enough stock for two 5×7 frames with careful cutting.
- Acrylic plus binder clips creates a floating frame for under $10 — no power tools required.
- Painting a frame the same color as your wall makes the photo appear to float.
- Paper templates taped to the wall prevent extra nail holes and help you judge spacing accurately.
- Acid-free backing materials prevent prints from yellowing over five to ten years.
Hack 1: Cut a Mat Wider Than You Think You Should
A standard 4×6 print dropped into an 8×10 frame with a 2-inch mat looks instantly gallery-worthy. The trick most beginners miss: the bottom margin should be slightly larger than the top and sides. Use a 1.5-inch top and sides and a 1.75-inch bottom — that extra quarter inch is called "bottom-weighting," and it's what makes museum framing feel grounded rather than floaty.
You don't need a mat cutter. Buy an inexpensive precut mat in the size you want from a craft store (they run $3–$6), or cut your own from 4-ply mat board using a utility knife and a metal ruler. Score lightly, then cut twice — once shallow to establish the line, once through. The first score acts like a guardrail, the way training wheels keep a bike steady before you commit.
Common mistake: cutting the mat opening exactly to the photo size. Leave an eighth-inch overlap on each side so the print doesn't slip through. Nothing ruins a clean mat like a photo that's slowly sinking behind it while you sleep.
Hack 2: Use a Clip Frame for Instant, Zero-Tool Hanging
A sheet of 3mm acrylic cut to size at your local glass shop (usually $5–$10 for an 8×10) plus two binder clips equals a frame in under a minute. Sandwich your photo between the acrylic and a piece of foam board, clip the top two corners, and hang from a small nail through the clip handles. This is the same principle as the floating acrylic frames sold for $40 and up.
Why it works: the acrylic's slight flex holds the print flat without pressure, and the clips become a design feature rather than a compromise. It's the picture-frame version of wearing sneakers with a suit — technically casual, somehow cooler.
Mistake to avoid: using standard office clips with sharp edges directly on a glossy print. Line the inside of each clip with a sliver of felt or washi tape so it doesn't scratch the photo's surface.
Hack 3: Build a Frame From a Single 1×2 Board
One eight-foot 1×2 pine board (about $4) yields enough stock for two 5×7 frames if you plan your cuts. Cut four pieces: two at your photo width plus 1.5 inches, two at your photo height plus 1.5 inches. Miter the corners at 45 degrees, glue, and reinforce with a single 5/8-inch brad nail per corner. Sand to 220 grit, then finish with two coats of matte polyurethane.
The 1.5-inch allowance is the key number — it accounts for the 3/4-inch overlap on each side that holds the glass and photo in place. Think of it like hemming a pair of pants: you need that extra fabric tucked behind, or the whole thing falls apart.
Common mistake: skipping the glue and relying on nails alone. Brad nails hold the joint while the wood glue cures — the glue is what actually does the structural work. Clamp for at least 30 minutes and you'll have corners that survive a cross-country move.
Hack 4: Turn a Vintage Book Into a Standing Frame
Thrift a hardcover book for $1–$2, cut a rectangular window through the front cover and the first 15–20 pages with a craft knife, and you've got a shadow-box frame with built-in character. Glue the cut pages together with Mod Podge to create a solid block, then mount your photo on the back cover's inside face with double-sided tape. Stand it on a shelf and it looks like a tiny museum exhibit.
Why it works: the book's spine provides natural structural support, and the depth of the cut pages creates real shadow — which is what makes flat photos feel three-dimensional. It's the same reason a theater stage has a backdrop: depth reads as drama.
Mistake: cutting too deep on the first pass. Score and remove pages in small batches of five, checking your depth each time. Cut too far and you'll slice through the back cover and lose your standing base.
Hack 5: Paint a Frame to Match Your Wall, Not Your Photo
Here's the counterintuitive one: paint the frame the same color as your wall. A white frame on a white wall makes the photo appear to float, and it costs about $0 if you have leftover wall paint. Two thin coats with a foam brush over a primed wood frame takes 20 minutes and dries in an hour.
This works because the frame stops competing with the image for attention. It's the visual equivalent of whispering instead of shouting — the photo becomes the whole sentence. For a bolder look, try a high-gloss finish in the same hue; the sheen reads as intentional even when the color disappears.
Common mistake: painting over a frame without sanding or priming first. Paint adheres to texture, not to slick surfaces. A quick pass with 120-grit sandpaper and one coat of primer is the difference between a finish that lasts years and one that peels off in sheets by spring.
Hack 6: Hang Frames With Paper Templates, Not Guesswork
Trace each frame's outline onto kraft paper, cut it out, and tape the template to the wall with painter's tape. Mark the hanging point on the template, hammer your nail straight through the paper, then tear the template away. This is the same technique professional gallery installers use, and it eliminates the "oops, three extra holes" spiral.
Why it works: your eye judges spacing on a flat plane far more accurately than it judges a nail in midair. Tape up all your templates first, step back, and adjust before committing to a single hole. It's like sketching in pencil before you commit to ink.
Mistake: eyeballing the hanging hardware's offset. Measure from the top of the frame down to the taut wire or D-ring, and transfer that exact distance to your template. A half-inch error is the difference between a level row and a frame that seems to be sulking.
Hack 7: Seal the Back to Stop Dust and Sag
Before you hang anything, tape a piece of kraft paper or acid-free backing board across the back of the frame with double-sided tape. This single step keeps dust off the glass's inner surface, stops the photo from bowing, and makes the frame feel finished from every angle — including the one your guests see when they pick it up to look closer.
Use 2-inch-wide tape and run it around all four edges, overlapping the corners. If you're framing something you care about long-term — a wedding photo, a child's drawing — use acid-free materials throughout, because standard cardboard off-gasses and yellows prints over five to ten years.
Mistake: sealing the back so tightly that moisture can't escape. Leave a tiny gap at the bottom edge, or add a silica packet behind the backing. A sealed frame in a humid bathroom becomes a tiny greenhouse, and condensation on the inside of the glass is a heartbreak you can prevent.
The Hacks, Step by Step
- 1Measure your photo, not your frame
Record the exact print dimensions and add 1.5 inches to each side for overlap; this number drives every cut you make. - 2Gather templates before tools
Tape paper outlines to the wall first so you can adjust spacing without leaving holes in the drywall. - 3Cut in two passes
Score lightly, then cut through — this prevents the blade from wandering and gives you clean mat edges. - 4Glue every joint
Brad nails hold position while wood glue cures; the glue is what actually keeps corners tight for years. - 5Sand before you paint
A 120-grit pass plus primer is the difference between a lasting finish and one that peels within months. - 6Seal the back
Kraft paper or acid-free backing keeps dust out and stops prints from bowing, with a small vent at the bottom.
The frame isn't decoration — it's the sentence that tells your eye where to look, and a well-cut mat is the grammar that makes it readable.
Frequently Asked Questions
What is the cheapest way to make a DIY photo frame?
A clip frame made from a cut sheet of 3mm acrylic and two binder clips costs under $10 and takes about a minute to assemble. Sandwich the photo between the acrylic and a foam board backing, then clip the top corners.
How do I cut a mat for a picture frame without a mat cutter?
Use a utility knife and a metal ruler, scoring lightly first and then cutting through on a second pass. The initial score acts as a guide, and a fresh blade plus 4-ply mat board gives the cleanest edges.
What size mat should I use for a 4×6 photo in an 8×10 frame?
A 2-inch mat works well, but make the bottom margin slightly larger — 1.5 inches on top and sides and 1.75 inches at the bottom. This bottom-weighting makes the framing feel grounded and gallery-ready.
How do I hang a picture frame straight without extra holes?
Trace the frame onto kraft paper, tape the template to the wall, and hammer the nail through the paper at the marked hanging point. Measure the offset from the frame's top edge to the wire or D-ring and transfer that exact distance to the template.
Why does my framed photo look dusty behind the glass?
Dust enters through the open back of the frame, so seal it with kraft paper or acid-free backing board taped around all four edges. Leave a tiny gap at the bottom so moisture can escape rather than condensing on the glass.


