

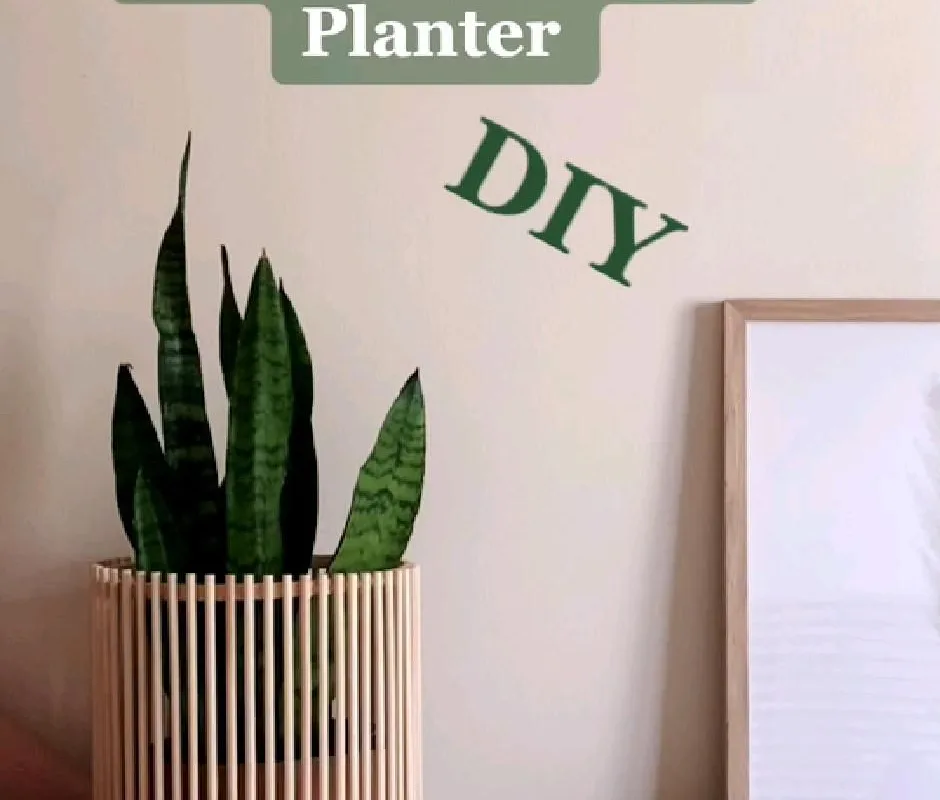
You've seen those gorgeous boho macramé planters all over Pinterest, and you're convinced you can't make one without tangling yourself in knots. I get it—I've been there, with a pile of rope that looked more like a cat toy than a planter. But after a weekend of trial and error, I've cracked the code with these seven hacks that make the whole process easier, cheaper, and way more forgiving than you think.
Advertisements1
- Use 5mm 3-ply cotton rope for the best hold and boho look.
- Cut cords at least 4x your pot height plus 12 inches extra.
- Clip your work to a clipboard to prevent tangles and keep patterns even.
- Tape cord ends to stop fraying and make threading easier.
- Master the square knot and keep tension even for a professional finish.
- Always test your planter with the actual pot before finishing.
Why Macramé Planters Are Trickier Than They Look (and How to Hack It)
Macramé looks like a series of simple knots, but the real challenge is keeping your cords organized and your pattern even. Without a system, you'll end up with a lopsided mess that won't hold a pot. The hack? Use a clipboard to hold your work and a piece of tape to mark your working length. It sounds basic, but it's the difference between a tangled disaster and a planter you're proud to hang.
The Right Rope Makes All the Difference
Don't grab just any twine from the craft store. For a boho look that actually holds, you need a 3-ply cotton rope, at least 5mm thick. I learned this the hard way when my first attempt used a thin, slippery cord that stretched and slid. A thicker, twisted rope holds knots better and gives you that chunky, textured look. Plus, it's easier on your hands—you'll be doing a lot of pulling.
Measure Twice, Cut Once: The Golden Ratio
The biggest mistake is cutting your cords too short. A common rule is to cut each cord four times the length of your finished planter. For a pot that's 8 inches tall, you'll need cords about 32 inches long. But here's the hack: add 10-12 inches extra to be safe. You can always trim the fringe at the bottom, but you can't add length once you've cut. Trust me, I've been there.
The Clipboard Trick: Your Third Hand
When you're working with multiple cords, they love to tangle. Instead of fighting them, clip the top of your work to a clipboard or a sturdy book. This keeps your cords straight and gives you a stable base to tie against. It also lets you step back and check your pattern as you go, so you catch mistakes early—before they become a knotted nightmare.
Tape Your Ends: A Simple Fix for Fraying
Cotton rope frays at the ends, making it hard to thread through knots or beads. The fix? Wrap a small piece of washi tape or painter's tape around the tip of each cord before you start. It acts like a shoelace aglet, keeping the strands together. When you're done, just peel it off. This hack saves you so much frustration, especially when you're adding beads.
The Square Knot Is Your Best Friend
You don't need to know a dozen knots; just master the square knot. It's the foundation of most macramé patterns and creates that classic woven look. The key is to alternate your starting sides—left over right, then right over left—to keep your knots from twisting. Practice on a scrap piece first until you can tie it without thinking. Then you're ready to tackle any pattern.
Even Tension Is Everything
If your knots are uneven, your planter will look wonky. The hack is to pull each knot with the same amount of force. A good trick is to tie your knots around a piece of cardboard or a book that's the same width as your pot. This ensures your loops are all the same size. When you're done, you'll have a perfectly symmetrical cradle for your plant.
The Hacks, Step by Step
- 1Cut your cords to the right length
Measure your pot's height and multiply by 4, then add 12 inches for safety. Cut 8 cords of this length. This gives you enough to work with and trim later. - 2Secure the top with a clipboard
Gather all cords and fold them in half. Make a loop at the top for hanging, then clip the loop to a clipboard. This keeps your work stable and your cords untangled. - 3Tape the ends of each cord
Wrap a small piece of tape around the tip of each cord to prevent fraying. This makes it easier to tie knots and slide beads on without snagging. - 4Learn the square knot
Practice tying a square knot with two cords. Left over right, then right over left. Pull tight. Repeat until you can do it without thinking. - 5Start knotting your pattern
Follow your chosen pattern, using square knots to create the diamond shapes. Keep your tension even by pulling each knot to the same tightness. - 6Check your work as you go
Hold your planter up to your pot occasionally to make sure the fit is right. Adjust your knot spacing if needed before you get too far. - 7Finish with a fringe and trim
Once your planter reaches the desired length, tie a final knot at the bottom to secure the cords. Then trim the fringe to your preferred length, and remove any tape.
The secret to a perfect macramé planter isn't fancy knots—it's even tension and a little patience.
Frequently Asked Questions
How much rope do I need for a macramé plant hanger?
For a standard 6-8 inch pot, you'll need about 32 feet of rope. That's eight cords of 4 feet each, but it's always safer to add 10-12 inches per cord.
What is the best rope for macramé planters?
A 5mm 3-ply cotton rope is ideal because it's thick enough to hold knots well and soft enough to work with comfortably. Avoid synthetic ropes that are slippery.
How do I keep my macramé from unraveling?
Tie a secure knot at the very bottom and leave a few extra inches for fringe. You can also apply a small amount of fabric glue to the ends to prevent fraying.
Can I make a macramé planter without a clipboard?
Yes, you can use a heavy book or a command hook on the wall. The key is to have a stable anchor so your cords stay straight while you tie.
How do I add beads to my macramé planter?
Slide a bead onto a cord before you tie the next knot. Make sure the bead's hole is slightly larger than your rope, and tape the cord end to help it slide through.


