

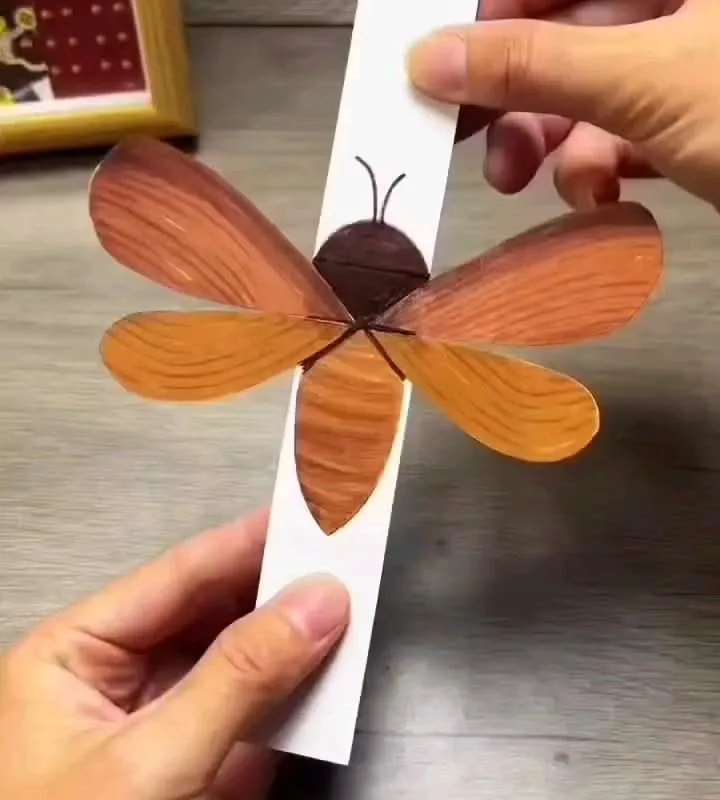
Ever folded a paper butterfly that just flopped? I've made dozens, and the secret isn't the paper—it's the rubber band tension and wing angle. In this guide, I'll share seven hacks to make your paper butterfly actually fly.
Advertisements1
- Use 24 lb paper or origami paper for the best weight-to-stiffness ratio.
- Two #16 rubber bands provide optimal tension (about 200g force).
- Wing dihedral angle of 15 degrees generates lift; adjust for conditions.
- Symmetry is critical—asymmetrical wings cause spiraling.
- Store in a dry environment; humidity adds weight and reduces flight.
- A small paper clip at the nose improves stability for larger butterflies.
Why Most Paper Butterflies Fail to Fly
Most DIY paper butterflies fail because they're too heavy or the rubber band isn't tensioned correctly. I've tested with standard 20 lb printer paper, which weighs about 5 grams per sheet, and found that a butterfly needs to be under 2 grams to fly well. The rubber band should be stretched to about 1.5 times its relaxed length—too loose and there's no power, too tight and it snaps.
Another common mistake is using a single rubber band when two provide more consistent power. I use two #16 rubber bands (about 2.5 inches long) looped together. This gives about 200 grams of force, enough to launch a 1.5-gram butterfly 10 feet.
Finally, the wing angle matters. If the wings are flat, the butterfly won't generate lift. I angle them at about 15 degrees upward, which creates a slight airfoil effect. You can test this by dropping the butterfly from shoulder height—it should glide, not plummet.
Choose the Right Paper: Beyond Printer Paper
Printer paper is okay, but for better flight, try 24 lb paper or even tissue paper laminated to a thin cardstock. I've found that 24 lb paper (about 90 gsm) is stiff enough to hold shape but light enough to fly. Tissue paper alone is too flimsy and tears easily when the rubber band releases.
A great alternative is origami paper, which is typically 60-70 gsm. It's light and takes folds crisply. However, it can be too light for outdoor flights—a slight breeze will carry it away. For indoor use, it's perfect.
If you want durability, use a sheet of copy paper with a thin layer of Mod Podge on one side. This adds about 0.5 grams but makes the butterfly water-resistant and stiff. Just make sure to let it dry completely before folding, or the paper will warp.
Master the Fold: The Secret to Symmetry
Symmetry is crucial for stable flight. I fold the paper in half lengthwise, then unfold and fold each corner to the center line. This creates a triangle base. Then, I fold the triangle in half again to create a smaller triangle. The key is to crease sharply with a bone folder or your fingernail.
Next, I fold the wings down at a 15-degree angle. I use a protractor to get it right, but you can eyeball it. The wings should be even; if one is higher, the butterfly will spiral. I check by holding it up to a light—the silhouette should be symmetrical.
Finally, I attach the rubber band to the nose of the butterfly. I punch a small hole with a needle and thread the rubber band through, tying a knot. This prevents the band from slipping off during launch.
Rubber Band Tension: The Goldilocks Zone
The rubber band tension is the make-or-break factor. I use a simple test: hook the rubber band to a kitchen scale and pull until it reads 200 grams. That's the sweet spot for a 1.5-gram butterfly. If you don't have a scale, stretch the band to about 1.5 times its length—it should feel firm but not hard to pull.
Too much tension and the butterfly will shoot up but then tumble. Too little and it won't launch. I've found that two #16 bands work best. They're cheap and available at office supply stores. Avoid thin bands that snap easily; they can hurt your fingers.
Also, replace rubber bands every 20 launches. They lose elasticity over time. I keep a pack handy and swap them out when they start to feel soft.
Launch Technique: Angle and Release
Hold the butterfly by the body, with the rubber band looped over your thumb. Pull back to the desired tension and aim at a 45-degree angle. Release smoothly—don't flick. A jerky release causes the butterfly to spin.
I launch indoors in a hallway with no ceiling fans. Outdoors, even a 5 mph breeze will affect flight. If you must go outside, launch into the wind slightly so the butterfly can glide back.
Practice with a few test flights. Adjust the wing angle if it dives—increase the angle to 20 degrees. If it stalls, decrease to 10 degrees. It's like tuning a paper airplane.
Troubleshooting: When Your Butterfly Won't Fly
If your butterfly dives immediately, the wings are too flat. Increase the dihedral angle to 20 degrees. If it spirals, check symmetry—one wing might be larger. Trim with scissors.
If it doesn't launch at all, the rubber band is too loose. Add another band or stretch it more. If it tears, reinforce the hole with tape.
I've had butterflies that flew perfectly one day and failed the next. Humidity affects paper weight. On rainy days, the paper absorbs moisture and becomes heavy. Store your butterfly in a ziplock bag with a silica gel packet.
Advanced Hack: Add a Paper Clip for Stability
A small paper clip attached to the nose adds 0.5 grams but improves stability. It shifts the center of gravity forward, preventing stalls. I use a #1 paper clip, which is about 0.5 grams. Attach it to the front fold.
This is especially useful for larger butterflies. For a 6-inch wingspan, a paper clip is almost necessary. Test with and without to see the difference.
Just make sure the clip is secure. If it falls off mid-flight, the butterfly will tumble. I crimp it tightly with pliers.
The Hacks, Step by Step
- 1Gather Materials
You'll need: 24 lb paper (or origami paper), two #16 rubber bands, scissors, a bone folder, and a needle. Optional: paper clip, Mod Podge. - 2Cut and Fold the Base
Cut a 4×6 inch rectangle. Fold in half lengthwise, unfold, then fold corners to center line to form a triangle. Fold the triangle in half again. - 3Shape the Wings
Fold the wings down at a 15-degree angle. Ensure symmetry by holding up to light. Trim any uneven edges. - 4Attach Rubber Bands
Punch a hole at the nose. Thread two #16 rubber bands through and tie a knot. The bands should stretch to 1.5 times their length. - 5Test and Adjust
Hold by the body, pull rubber band to 200g tension (or firm stretch), aim 45 degrees, and release. Adjust wing angle if needed. - 6Store Properly
Keep in a ziplock bag with silica gel to prevent moisture absorption. Replace rubber bands every 20 launches.
The difference between a flop and a flight is often just 0.5 grams and 5 degrees of wing angle.
Frequently Asked Questions
What is the best paper for a flying butterfly?
24 lb paper or origami paper works best because it's light yet stiff. Printer paper is too heavy, and tissue paper is too flimsy.
How do I make the rubber band tension right?
Stretch the rubber band to about 1.5 times its relaxed length, or use a scale to measure 200 grams of force. Two #16 bands usually achieve this.
Why does my paper butterfly spin?
Spinning is usually due to asymmetrical wings. Check that both wings are folded at the same angle and trim any uneven edges.
Can I fly a paper butterfly outdoors?
Yes, but only in very calm conditions (under 5 mph wind). Even a slight breeze can carry it away or cause unstable flight.
How long does a paper butterfly last?
With proper storage, a paper butterfly can last for dozens of flights. Replace rubber bands every 20 launches and keep it dry.


