

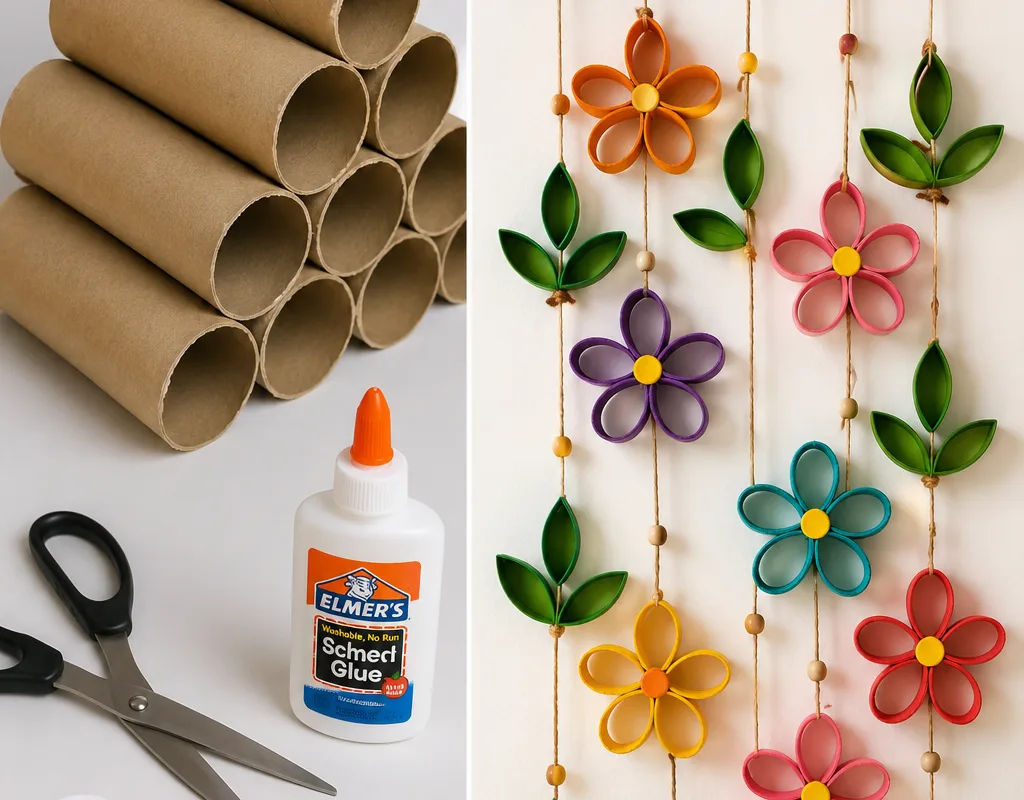
You want high-end floral decor without the florist price tag? Egg carton flowers can look like delicate porcelain or metal if you avoid three common mistakes. Here's how to make them in under an hour with tools you already own.
Advertisements1
- Sealing the egg carton with a Mod Podge and water mix is non-negotiable—it prevents flaking and stiffens petals for clean cuts.
- High-pigment acrylic paint in two thin coats beats multiple coats of cheap craft paint for a porcelain or metallic finish.
- Curling petals with a ball stylus transforms flat cardboard into realistic, light-catching shapes.
- Layer petals of decreasing size and offset them to create depth; a coiled center adds a professional focal point.
- Display in odd-numbered clusters with a monochromatic color scheme for an expensive, intentional look.
Why Egg Carton Flowers Fail (and How to Fix It)
Most DIY egg carton flowers look like, well, egg cartons. The problem isn't the material—it's the preparation. Molded pulp has a rough, fibrous surface that absorbs paint unevenly and shows every tear. To get a smooth, expensive finish, you need to seal the surface first.
Quick win: Before you cut a single petal, coat both sides of your egg carton with a 50/50 mix of water and Mod Podge. Let it dry for 20 minutes. This stiffens the pulp and creates a paintable barrier. Skip this and your petals will flop and your paint will look chalky.
Common mistake: Using too much water. A soupy mix weakens the pulp. Aim for the consistency of heavy cream—about 1 tablespoon of Mod Podge to 1 tablespoon of water per lid.
The 3 Tools That Separate Cheap from Chic
You don't need a craft room full of supplies. Three tools make the difference between a kindergarten project and a boutique-worthy bloom:
– **Sharp precision scissors** (like Fiskars Micro-Tip): Dull blades crush the pulp, leaving ragged edges. Sharp ones give clean cuts that mimic real petals.
– **Ball stylus set** (or a large sewing needle with a bead for a handle): This creates realistic curved petals. Without it, your flowers stay flat and lifeless.
– **High-pigment acrylic paint** (like DecoArt Americana or Martha Stewart Crafts): Cheap craft paint requires 4+ coats and still looks thin. One coat of high-pigment paint covers in one pass.
Why it works: The stylus compresses the pulp fibers, creating a permanent curl. The paint's opacity hides the carton's original color and texture. Together, they transform trash into something that looks cast from ceramic.
Mistake to avoid: Using watercolor or gouache. They crack when the pulp flexes. Stick with acrylics or spray paint formulated for plastic.
Cutting Petals That Look Real (Not Like Cardboard)
Egg carton cups have a natural dome—perfect for rounded petals. Cut the cup into 5 or 6 equal wedges, leaving a small base intact. Then, use your scissors to shape each wedge into a petal: trim the top into a soft point or a rounded curve, depending on the flower type.
For a rose, cut the top edge into a gentle wave. For a daisy, snip a narrow V into the tip. For a tulip, keep the edge smooth and rounded. The key is variation: real petals aren't identical. Cut each one slightly different.
Why it works: The cup's curvature gives a natural 3D shape. By cutting wedges, you create separate petals that can be curled outward. If you cut a flat circle instead, you get a flat flower.
Common mistake: Cutting all the way through the base. Leave at least 1/4 inch of the cup bottom intact to hold the petals together. Otherwise, you'll be gluing individual petals onto a stem—tedious and fragile.
The Curling Technique That Adds Instant Elegance
Flat petals scream 'craft project.' Curled petals whisper 'expensive.' Here's how to curl: Place a petal on a foam pad or a folded towel. Take your ball stylus (medium size) and press gently in the center of the petal, then drag outward toward the edge. This stretches the fibers and creates a natural cup.
For an outward curl (like a daisy), flip the petal over and press along the edge, rolling the stylus from the base to the tip. For an inward curl (like a rose), press on the front side, rolling from tip to base. Practice on a scrap piece first—pressure matters. Too much and you'll tear the pulp; too little and it won't hold.
Why it works: The stylus compresses the pulp fibers, breaking them down slightly so they hold a new shape. This mimics the way real petals curve to catch light.
Mistake to avoid: Curling dry, unsealed petals. They'll crack. Always seal first (see Hack 1) and let them dry completely before curling.
Painting for a Porcelain or Metallic Finish
The right paint job makes egg carton flowers look like they belong in a designer vase. For a porcelain look, use two coats of matte acrylic in white, cream, or pale pink. Apply with a soft brush in thin layers, letting each dry for 10 minutes. For a metallic finish, use a sponge to dab on metallic acrylic (gold, silver, bronze). The sponge creates a subtle texture that mimics hammered metal.
Why it works: Matte paint diffuses light, giving a soft, ceramic appearance. Metallics reflect light, adding depth and a luxe feel. Both hide the pulp's texture better than glossy paint, which highlights imperfections.
Common mistake: Painting too thickly. A heavy coat will fill in the petal's curves and make it look like a blob. Two thin coats always beat one thick one. Also, don't forget to paint the edges—unpainted edges are a dead giveaway.
Assembling Flowers That Hold Their Shape
Layer 3-5 petals of decreasing size, offsetting them so they don't stack directly on top of each other. Glue them together at the base with a hot glue gun—just a dot, not a puddle. For the center, roll a small strip of egg carton into a tight coil and glue it in the middle. This adds a realistic focal point.
For stems, use 18-gauge floral wire. Poke a hole through the flower's base with an awl or a needle, thread the wire through, and bend the end into a small loop to secure it. Wrap the wire with floral tape for a finished look. If you're making a bouquet, vary stem lengths by 1-2 inches for a natural arrangement.
Why it works: Layering creates depth, and the wire provides structure. Floral tape gives a professional finish that hides the wire's shine.
Mistake to avoid: Using too much glue. Excess glue oozes out and looks messy. A little goes a long way—hold the petal in place for 10 seconds to let the glue set.
Display Ideas That Elevate the Look
Presentation is everything. A single egg carton flower in a tiny bud vase looks like a boutique find. A cluster of three in a vintage teacup feels like a French country accent. For a modern touch, mount a row of flowers on a painted canvas or arrange them in a shadow box.
For a high-end look, choose a monochromatic color scheme—all white, all blush, or all gold. Mixing too many colors can look childish. Add a few real dried stems (like eucalyptus or baby's breath) to bridge the gap between craft and nature.
Why it works: Monochromatic palettes read as intentional and sophisticated. Real botanicals add texture and make the faux flowers feel part of a cohesive design.
Common mistake: Overcrowding. Negative space is your friend. Let each flower breathe. If you're making a bouquet, use odd numbers (3, 5, 7) for a balanced, organic look.
The Hacks, Step by Step
- 1Seal the carton
Mix equal parts Mod Podge and water. Brush onto both sides of the egg carton lid and cups. Dry 20 minutes. This prevents paint from soaking in and stiffens the pulp for clean cuts. - 2Cut petal shapes
Cut each cup into 5-6 wedges, leaving 1/4 inch at the base. Shape the top edge into points, curves, or waves. Vary each petal slightly for realism. - 3Curl the petals
Place a petal on a foam pad. Use a ball stylus to press and drag from center to edge, creating a cup. Flip for outward curls. This adds dimension and mimics natural petal curves. - 4Paint with thin coats
Apply two thin coats of high-pigment acrylic paint, drying 10 minutes between coats. For metallic, dab with a sponge. Thin layers prevent clogging the petal's shape. - 5Layer and glue
Stack 3-5 petals of decreasing size, offsetting them. Glue at the base with a dot of hot glue. Add a coiled center. Let dry 5 minutes. - 6Attach stems
Poke a hole in the flower base. Thread 18-gauge floral wire through and bend the end into a loop. Wrap with floral tape. Vary stem lengths for a natural look. - 7Arrange and display
Group in odd numbers in a vase or teacup. Stick to a monochromatic palette. Add dried botanicals for texture. Avoid overcrowding.
The difference between a craft project and a high-end decoration is in the preparation—seal, curl, and layer with intention.
Frequently Asked Questions
What kind of paint works best on egg carton flowers?
High-pigment acrylic paint works best because it covers in one or two coats without soaking in. Avoid watercolor or gouache, which crack when the pulp flexes.
How do I make egg carton flowers look realistic?
Seal the carton first, cut varied petal shapes, and curl each petal with a ball stylus. Layering and a monochromatic paint job also add realism.
Can I use egg carton flowers outdoors?
No, unless you seal them with an outdoor Mod Podge and keep them under cover. Moisture will soften the pulp and ruin the paint.
What's the best glue for assembling egg carton flowers?
A hot glue gun works best because it sets in seconds and holds the stiff pulp securely. Use a dot, not a puddle, to avoid messy edges.
How long does it take to make one egg carton flower?
About 20-30 minutes from start to finish, including drying time. You can speed up the process by pre-sealing multiple cartons at once.


