

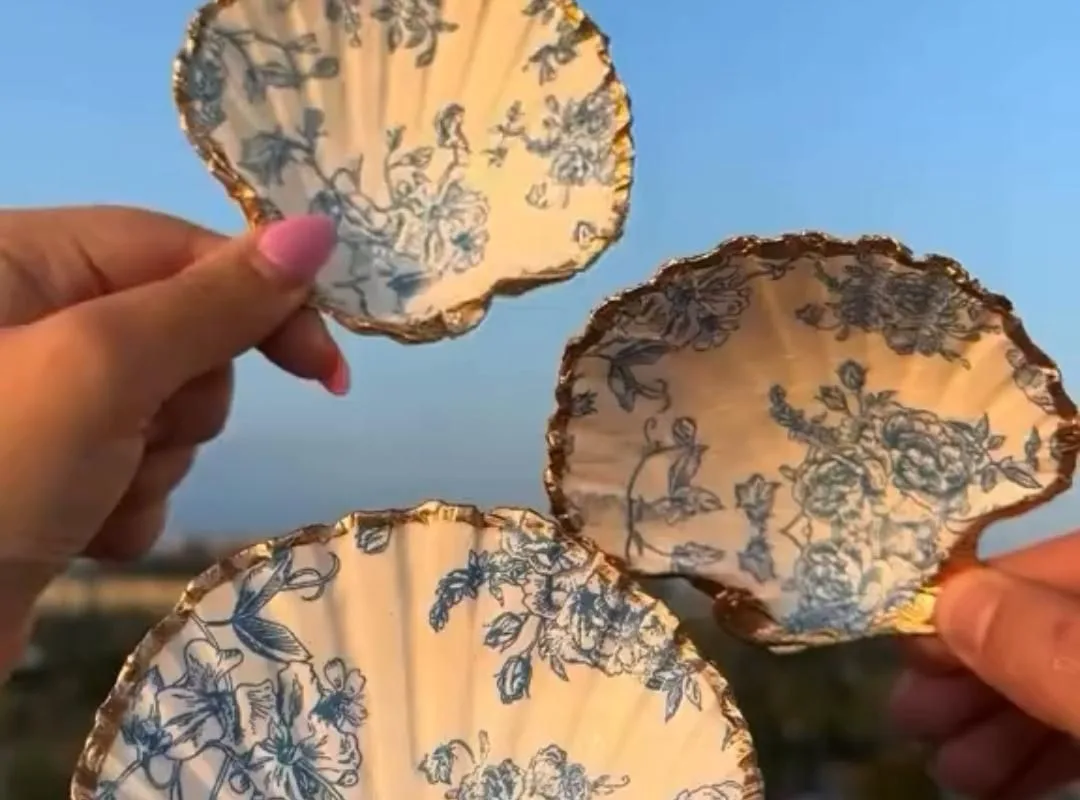
You don't need a huge budget to create a dreamy coastal wedding. With a few smart DIY hacks and some sea shells, you can transform your venue into a beachside paradise. Here are 7 practical ideas to get you started.
Advertisements1
- Clean and seal shells properly to avoid odors and damage.
- Use hot glue for quick bonds, but test on a spare shell first.
- Incorporate shells subtly in bouquets and boutonnieres for a cohesive look.
- Create a shell guest book alternative for a unique keepsake.
- Involve friends and family to make DIY projects more enjoyable.
- Always have extra supplies and shells on hand for mistakes.
1. Start with a Shell-Studded Welcome Sign
First impressions matter, and a welcome sign sets the tone. Grab a plain wooden sign from a craft store and give it a coastal makeover. Paint it with a base of white or light blue, then arrange small shells around the border. Use a hot glue gun to attach them securely. For a personal touch, add your names and wedding date in a script font using a stencil or vinyl decals. This sign not only guides guests but also doubles as a photo op. I made one for my cousin's wedding using shells we collected from the beach where they got engaged. It cost under $20 and took about an hour. The mistake to avoid? Don't use too many shells; it can look cluttered. Stick to a simple pattern and let the sign breathe.
2. Create Shell-Encrusted Candle Holders
Candlelight adds romance, and shell candle holders are easy to make. Start with glass votive holders or mason jars. Clean your shells and let them dry completely. Using a hot glue gun, attach shells around the outside of the glass, leaving small gaps for the light to shine through. You can use a mix of sizes for texture. Place a tea light or small candle inside. These look beautiful on reception tables or along the aisle. For a beach wedding, use unscented candles to avoid competing with the ocean air. One common mistake: using too much glue, which can look messy. Apply glue directly to the shell, not the glass, and press gently.
3. Design a Shell Garland for Ceremony Backdrop
A shell garland is a stunning focal point for your ceremony. You'll need twine, shells with pre-drilled holes, and a needle. If your shells don't have holes, you can drill them carefully with a small drill bit. String the shells onto the twine, alternating sizes and types. You can also add beads or small pieces of driftwood. Hang the garland between two posts or a simple arch. This works because it's lightweight and moves gently in the breeze, adding a whimsical touch. Avoid making it too heavy; use lightweight shells like scallops or cowries. I created a 6-foot garland for my sister's wedding using shells we gathered from a trip to the Outer Banks. It took two hours but was worth it.
4. Make Shell Place Card Holders
Place cards help guests find their seats, and shell holders make them charming. Use large shells like oyster or abalone. Clean them thoroughly. Cut a small slit in the top with a craft knife, wide enough to hold a place card. You can paint the shells with a pearl finish for elegance. Write guests' names on cardstock and slide into the slit. These double as favors. Why it works: They're practical and pretty. Guests can take them home as a keepsake. A mistake to avoid: not cleaning shells properly, which can leave a fishy smell. Soak them in a bleach solution (1 part bleach to 10 parts water) for an hour, then rinse and dry.
5. Craft a Shell Chandelier
For a wow factor, create a shell chandelier to hang above the dance floor or reception area. You'll need a wire wreath frame, fishing line, and shells. Tie fishing line to the frame and attach shells at varying lengths. Use a mix of shell sizes to create a cascading effect. This project takes time but is inexpensive. Why it works: It catches the light and adds a magical ambiance. Avoid using heavy shells; stick to lightweight ones like jingle shells. I made a small version for my own anniversary party and it was a hit. It took about three hours but cost under $15.
6. Use Shells in Your Bouquet and Boutonnieres
Incorporate small shells into your floral arrangements. For a bouquet, wire small shells onto floral wire and tuck them among the flowers. For boutonnieres, glue a tiny shell onto a twig or a small flower. This adds a coastal touch without being overwhelming. Why it works: It ties the theme together subtly. A mistake to avoid: using shells that are too large, which can overpower the flowers. Stick to small shells like limpets or tiny scallops. I did this for a beach elopement, and the bride loved how the shells caught the sunlight.
7. Create a Shell Guest Book Alternative
Instead of a traditional guest book, have guests sign large shells. Use a permanent marker or paint pen. Display them in a shadow box or a decorative bowl. Why it works: It's a unique keepsake that you can display in your home. Avoid using shells with rough surfaces; smooth shells like sand dollars or clam shells work best. I used this at a wedding where the couple loved the beach. Guests wrote wishes on the shells, and now they have a beautiful reminder.
The Hacks, Step by Step
- 1Collect and Clean Your Shells
Gather shells from beaches or craft stores. Clean them by soaking in a 1:10 bleach solution for an hour, then scrub with a brush and rinse. This removes dirt and odors. Let them dry completely before crafting. - 2Gather Your Supplies
You'll need a hot glue gun, clear-drying craft glue, twine, fishing line, wire, and a drill with a small bit for making holes. Also, have a variety of shells in different sizes. - 3Plan Your Layout
Before gluing, arrange shells on your project surface to see how they fit. This prevents mistakes and ensures a balanced design. - 4Use the Right Adhesive
For porous shells, use hot glue for quick bonds or clear epoxy for a stronger hold. For delicate shells, use craft glue. Test on a spare shell first. - 5Seal for Durability
If your project will be outdoors, seal it with a clear acrylic spray to protect against moisture and UV rays. This prevents fading and damage. - 6Involve Your Partner or Friends
DIY projects are more fun with company. Host a crafting party to get everything done faster and enjoy the process. - 7Display with Care
When setting up, ensure items are secure and won't fall. Use museum putty for delicate items on windy days.
The best DIY wedding projects are the ones that tell your story, and shells are a beautiful way to do that.
Frequently Asked Questions
How do I clean shells for wedding decorations?
Soak them in a solution of 1 part bleach to 10 parts water for an hour, then scrub with a brush and rinse thoroughly. This removes organic matter and odors.
What type of glue works best for attaching shells?
Hot glue works well for quick bonds, but for a stronger hold, use clear epoxy or E6000. For delicate shells, craft glue is best.
Can I use shells I collected from the beach?
Yes, but ensure they are clean and legal to take. Some beaches prohibit removing shells, so check local regulations first.
How do I prevent my shell decorations from looking tacky?
Use a limited color palette, keep designs simple, and avoid overcrowding. Let the natural beauty of the shells shine.
Where can I find affordable shells for my wedding?
Craft stores, dollar stores, and online retailers offer affordable shells. You can also ask friends and family to collect them from their beach trips.


