

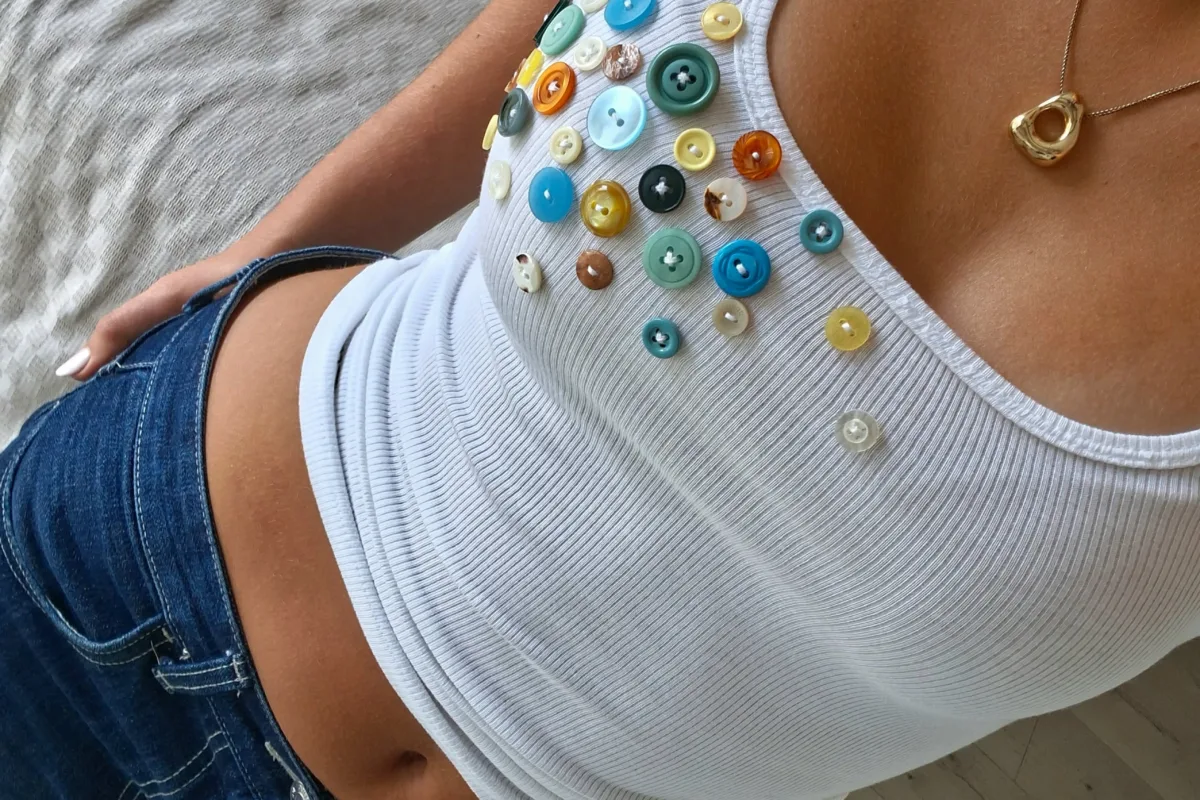
Turn a thrifted button-down into a button tank top in about 45 minutes of hands-on work plus 20 minutes of prep — no pattern, no serger required. These seven hacks are the ones I reach for after making a dozen of these, and each one comes with the mistake that ruins it.
Advertisements1
- Trace a tank you already own rather than measuring — it saves 20 minutes and fixes armhole fit in one move.
- Cut the back 1 inch wider per side so the button placket lies flat instead of twisting.
- Bias strips from the removed sleeves give a color-matched, stretch-friendly armhole finish.
- Reinforce the placket before slimming the sides — it's the first thing to fail on a DIY tank.
- A 4.0mm twin needle plus fusible interfacing in the hem gives a ready-to-wear finish.
- Always cold-wash and low-dry the finished tank before wearing; cotton shrinks 2 to 4%.
Hack 1: Trace a tank you already love, not your body
Skip the measuring tape spiral. Lay a tank top you actually wear flat on the table, fold your button-down in half button-side out, and align the shoulder seam to the tank's shoulder seam. Trace the armhole and side seam with tailor's chalk, adding 5/8 inch seam allowance — that 5/8 inch is non-negotiable because button-down cotton frays fast. Why it works: you're copying a garment with proven armhole geometry instead of guessing curves, which is where 90% of first attempts go wrong. Prep time: 10 minutes. The common mistake is tracing the front and back at the same width — most tanks are 1 to 1.5 inches narrower at the back armhole. Trace the back piece separately or you'll get gaping under the arms.
Hack 2: Cut the back wider than the front to keep the placket straight
Here's the trick nobody tells you: the button placket is a stiff vertical strip, so if you cut the front symmetrically around it, the tank twists when you move. Instead, cut the front with the placket centered, then cut the back 1 inch wider on each side and ease it in when pinning. Why it works: the extra back width gives the placket room to sit flat against your sternum instead of pulling sideways. This takes about 8 minutes of cutting and saves you a whole redo. The mistake: stretching the back while sewing because you didn't clip the curve — snip 1/4-inch notches into the armhole seam allowance every inch before you sew, and the ease disappears.
Hack 3: Bias-bind the armholes with the shirt's own fabric
Cut 1.5-inch-wide bias strips from the sleeve you just removed — that fabric is already pre-shrunk and color-matched, so the finish looks intentional. Fold the strip in half lengthwise, pin raw edges to the armhole right sides together, sew at 1/4 inch, wrap to the inside, and stitch in the ditch. Why it works: bias binding stretches with the armhole curve, so it lies flat where straight facing puckers. Budget 15 minutes for both armholes. The mistake: cutting strips on the straight grain because it's faster — straight-grain strips won't curve around the armhole and you'll get a wavy, gaping edge after one wash.
Hack 4: Reinforce the placket before you take in the sides
If your button-down is a size too big, you'll want to slim the sides — but do the placket first. Sew a straight stitch 1/8 inch inside the existing buttonhole stitching line from collar to hem on both sides. Why it works: button-down plackets are interfaced and take all the stress when you pull the tank over your head; that extra line of stitching keeps the buttonholes from tearing out at the 6-month mark. This is a 5-minute step. The mistake: pressing the placket with steam and an iron set too hot — cotton-poly blends scorch at 400°F, so use a pressing cloth and medium heat, or you'll glaze the fabric and it'll never recover.
Hack 5: Repurpose the collar stand as a neckline facing
Don't toss the collar. Cut the collar stand (the band, not the leaf) into two 8-inch strips, curve them slightly with the iron, and use them to face the front and back neckline. Why it works: collar stands are cut on the straight grain and already interfaced, so they hold a clean neckline shape without a visible topstitch. It's a 12-minute upgrade that makes the tank look store-bought. The mistake: forgetting to trim the seam allowance to 1/4 inch before turning — bulky allowances show through the front as a ridge you can see in photos.
Hack 6: Use a twin needle for a hem that mimics ready-to-wear
Set your machine to a 4.0mm twin needle, thread two spools on top and one bobbin, and stitch the bottom hem at a 2.5 stitch length after folding it up 3/4 inch and pressing. Why it works: the twin needle creates two parallel rows on the front and a zigzag on the back that stretches with knit-adjacent fabrics — it's the same finish you see on $40 tanks. Give it 6 minutes. The mistake: using a twin needle on a flimsy shirting without stabilizing — fuse a 1/2-inch strip of lightweight interfacing into the hem fold first, or the fabric tunnels between the needles.
Hack 7: Wash-test before you call it done
Before you wear it out, run the finished tank through a cold machine wash and a low tumble dry. Why it works: button-down cotton shrinks 2 to 4% on the first wash, and that's when you find out whether your bias binding pulls or your hem twists. If something ripples, you still have time to fix it with a seam rip and 10 minutes at the machine. The mistake: skipping this and discovering the problem after a photo shoot — or worse, after you've gifted it. Wash first, wear second, always.
The Hacks, Step by Step
- 1Gather your supplies
One button-down (cotton or cotton-linen works best), tailor's chalk, 4.0mm twin needle, matching all-purpose thread, seam ripper, and a tank top to trace. Total prep: 20 minutes. - 2Mark and cut the front
Fold the shirt in half with the placket centered, trace your tank's neckline and armhole, add 5/8 inch seam allowance, and cut. Keep the placket intact. - 3Mark and cut the back
Trace the back separately, adding 1 inch extra width on each side to give the placket breathing room. Clip the armhole curves every inch. - 4Reinforce the placket
Stitch 1/8 inch inside both buttonhole rows from collar to hem to prevent tearing when you pull the tank on. - 5Sew shoulder and side seams
Pin right sides together, sew at 5/8 inch, and press seams open with a pressing cloth on medium heat. - 6Bind the armholes
Cut 1.5-inch bias strips from the removed sleeves, sew at 1/4 inch, wrap inside, and stitch in the ditch. - 7Face the neckline
Use the collar stand strips as facing, trim allowances to 1/4 inch, and understitch to keep the facing rolled inside. - 8Hem and wash-test
Fold the hem 3/4 inch, twin-needle stitch, then wash cold and tumble low before wearing to catch shrinkage issues.
The button placket is the whole personality of this tank — cut everything else around it and the shirt does the styling for you.
Frequently Asked Questions
Can I make a button tank top without a sewing machine?
Yes — a backstitch by hand at 1/8 inch works for the seams, and fabric glue or Stitch Witchery handles the hems. Expect 2 to 3 hours instead of 45 minutes, and skip the twin-needle hem in favor of a simple folded hand hem.
What kind of button-down works best for a DIY tank?
Medium-weight cotton or cotton-linen with a full placket and a straight hem works best. Avoid stretch poplin and silk — they slip under the needle and the placket won't hold its shape.
How much fabric does a button tank top need?
One adult button-down in size medium or larger is enough for a size small-to-medium tank. If you're making a large tank, size up the source shirt to XL so the back panel has enough width.
Do I need to finish the inside seams?
A zigzag stitch over the raw edges or a French seam on the sides is enough for cotton. Skip it and the seams will fray within three washes, especially at the armholes.
How long does a DIY button tank top take from start to finish?
About 65 minutes total: 20 minutes of prep and cutting, 45 minutes of sewing and finishing. Add 15 minutes if you're hand-sewing the hems.


