

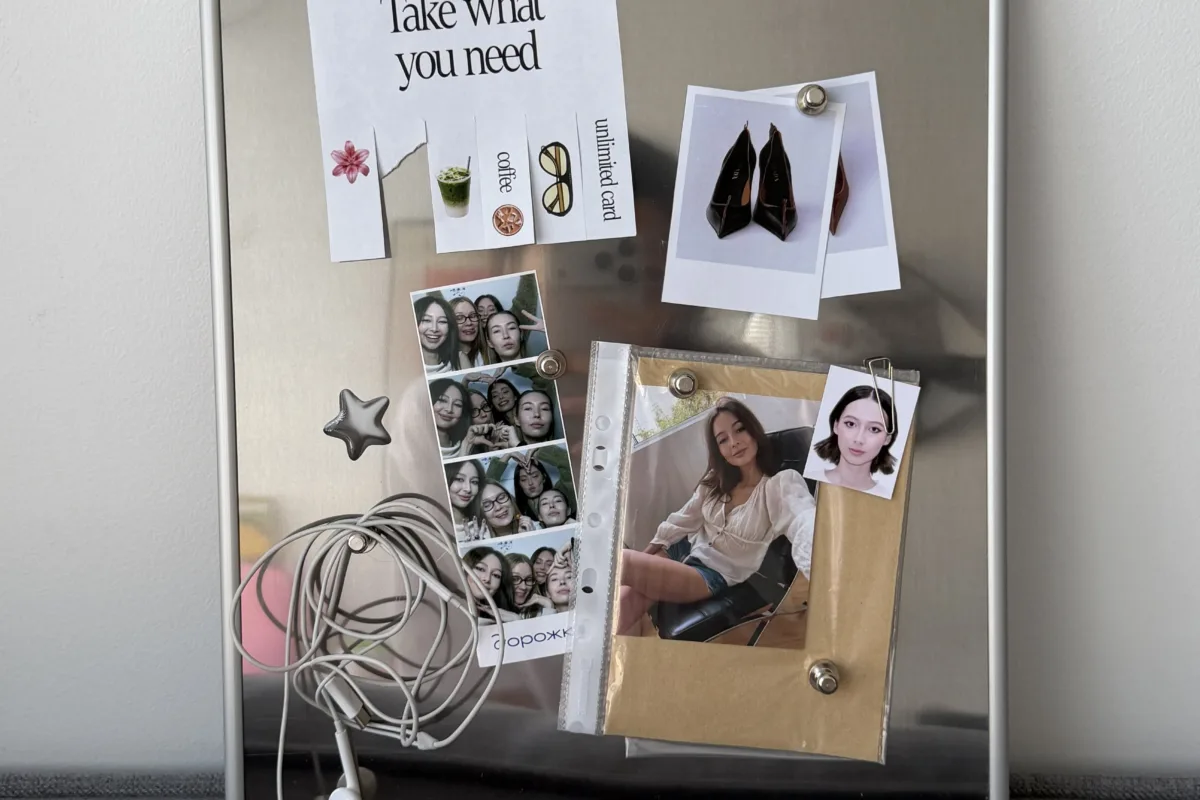
Metallic moodboards look expensive because of light, not budget — and once you understand how foil, patina, and texture catch a camera flash, you can build one from a cereal box and a roll of copper tape. Here are seven hacks I've tested on my own studio wall, each with the reason it works and the mistake that quietly ruins it.
Advertisements1
- Aim for 20–30 percent metallic coverage so the shine reads as jewellery, not noise.
- Adhesive aluminium foil tape plus a spoon gives a hammered finish for under £10.
- Copper tape is best used to draw lines and frames, not to fill large areas.
- Vinegar and salt patina copper in 20–40 minutes — always test on a scrap first.
- Cluster pins in threes with deliberate gaps; the white space makes metal sing.
- Light your board at 45 degrees, never overhead, and diffuse if highlights blow out.
Why metallic moodboards photograph better than matte ones
A matte board absorbs light; a metallic surface bounces it, which means your phone camera reads more contrast and your flat-lay suddenly has depth. I learned this the hard way after pinning 40 paper swatches to a corkboard and watching them turn into a beige blur on camera. The moment I swapped in a strip of brushed aluminium flashing from the hardware store, the whole composition snapped into focus.
The trick is restraint. Metallics behave like salt in a recipe — a pinch lifts everything, a handful ruins the dish. Aim for roughly 20 to 30 percent metallic coverage and let paper, fabric, and paint carry the rest. Think of the metal as the jewellery, not the outfit.
Ask yourself: if I squint at my board from across the room, does one shiny element lead my eye, or five of them fight for it? That squint test will save you an hour of rearranging.
Build your base from cheap, rigid materials
Skip the store-bought foam board and use a sturdy shipping box panel cut to size — I use 40cm x 60cm because it fits neatly on a shelf and photographs well in a square crop. Corrugated cardboard has a hidden bonus: its fluted edge gives you a built-in texture line if you leave a border exposed.
For a metallic base, cut a sheet of adhesive-backed aluminium foil tape (the kind used for ductwork, about £8 a roll) into overlapping strips and burnish them with the back of a spoon. Overlap by 5mm and vary the direction of each strip so the seams catch light differently — that's what creates the hammered, hand-made look rather than a flat mirror finish.
One mistake I see constantly: people seal the foil with a glossy spray, which kills the very reflectivity they wanted. Leave it raw, or use a matte fixative only if you're worried about fingerprints.
Layer three textures before you add a single photo
A metallic board fails when it's all shine and no softness. Before pinning any imagery, I lay down three texture layers: a torn strip of raw linen, a patch of matte chalk paint, and something dimensional like a piece of dried orange peel or a crumpled paper bag. This gives the eye somewhere to rest between the highlights.
Here's a writing prompt I use with my own boards: describe your moodboard in five adjectives, then check whether your materials actually match. If you wrote "warm, worn, quiet" but your board is chrome and neon, the board is lying to you. Adjust the materials, not the adjectives.
My favourite cheap texture source is the offcut bin at a fabric shop — ask for swatches of upholstery linen and velvet, which photograph beautifully next to metal.
Use copper tape to draw, not just to fill
Copper foil tape with conductive adhesive (roughly 6mm wide) is the single most versatile tool on my board. Instead of covering an area, I use it to draw lines — a hand-drawn border, a geometric frame, a wandering squiggle that connects pinned images like a constellation. Because it's conductive tape, it's also thin enough to bend around curves without creasing.
Drawing with tape forces you to be deliberate. I sketch the line in pencil first, then lay the tape slightly proud of the pencil so I can peel and reposition before pressing down hard. The result looks like a jeweller's inlay rather than a craft project.
The common mistake: pressing the tape down immediately and then discovering the line wobbles. Lay it lightly, step back, and only burnish once you're happy. Copper also tarnishes over weeks, which I think is a feature — it warms from bright orange to a soft bronze and makes the board feel lived-in.
Patina your metal on purpose for a vintage look
Fresh metal can read cold and corporate. To age it, I brush household vinegar mixed with a pinch of salt onto copper or brass offcuts and let it sit for 20 to 40 minutes, checking every five. The result is a mottled teal-and-brown finish that looks like it came out of an antique shop, not a craft aisle.
Test on a scrap piece first — brass and copper patina at different rates, and aluminium barely reacts at all. I keep a little "test card" of each metal taped inside my supply box so I never guess.
Does the idea of controlled decay appeal to you, or does it make you nervous? If it's the latter, start with a single small washer or coin and let it patina in a dish on your windowsill. There's something deeply satisfying about watching chemistry do your decorating for you.
Pin with intention: the grid that isn't a grid
The fastest way to make a handmade board look professional is to abandon the perfect grid. I pin in clusters of three — one large anchor image, one texture swatch, one small metallic accent — and leave deliberate white space between clusters. The gaps are what make the metal sing.
Use map pins or brass tacks rather than clear tape; the hardware becomes part of the aesthetic and the small shadows add depth. I keep a small dish of mixed pins (brass, black, copper) and choose the pin colour to echo the nearest metallic element.
A realistic example from my own wall: a 15cm photo of a rusted gate, a 10cm square of copper mesh, and a single brass button, arranged as a triangle with 4cm gaps. That one cluster took eight minutes and gets more comments than anything else on the board.
Light it like a still life, not a ceiling
No metallic board looks good under overhead lighting — it flattens the shine into a dull sheen. Instead, place a small lamp or even a phone torch at roughly 45 degrees to the board's surface and watch the foil and copper catch a raking highlight. That angle is the difference between "shiny paper" and "sculpture."
For photographing your board for Pinterest, shoot near a window in the morning, turn off the ceiling light, and angle the board slightly toward the light. I take three shots — one straight on, one at 30 degrees, one close-up on a metallic detail — because the close-up almost always performs best.
The mistake here is over-lighting. If your metal is blowing out to pure white, move the light further away or diffuse it with a sheet of baking parchment. Shadow is what gives metal its shape.
The Hacks, Step by Step
- 1Cut your base to 40cm x 60cm
Use a rigid cardboard panel so the board stays flat on a shelf and crops neatly in photos. - 2Lay overlapping foil tape strips
Overlap by 5mm and alternate direction to create a hammered finish that catches light from multiple angles. - 3Burnish with the back of a spoon
Smooth the tape firmly so edges don't lift, but avoid sealing it with gloss spray. - 4Add three matte texture layers
Linen, chalk paint, and a dimensional element give the eye rest between highlights. - 5Sketch copper tape lines in pencil first
Lay tape lightly, step back to check the line, then burnish only when you're happy. - 6Patina a scrap piece to test
Brush vinegar and salt on copper or brass, wait 20–40 minutes, and check every five. - 7Pin in clusters of three
One anchor image, one texture, one metallic accent, with 4cm gaps between clusters. - 8Light at 45 degrees and photograph
Use a window or small lamp at an angle, not overhead light, and take a close-up detail shot.
Metallics behave like salt in a recipe — a pinch lifts the whole composition, but a handful ruins the dish.
Frequently Asked Questions
What materials do I need for a metallic moodboard?
You need a rigid cardboard base, adhesive aluminium foil tape, copper foil tape, and a burnishing tool like the back of a spoon. Add matte textures such as linen and chalk paint, plus brass pins, to balance the shine.
How do I stop metallic tape from peeling off my moodboard?
Press the tape down firmly with a burnishing tool and avoid glossy sealants, which cause lifting and kill reflectivity. Overlapping strips by about 5mm and keeping the board away from damp walls also helps.
Can I make a moodboard metallic without buying foil tape?
Yes — clean aluminium cans cut into flat sheets, or foil from a kitchen roll glued and smoothed, both work. Cut cans carefully, sand the sharp edges, and glue them down with strong double-sided tape.
How do I photograph a metallic moodboard for Pinterest?
Shoot near a window in the morning with ceiling lights off and angle the board toward the light at roughly 45 degrees. Take a straight-on shot, a 30-degree shot, and a close-up of a metallic detail.
How long does a copper tape patina take?
A vinegar-and-salt mix typically patinas copper in 20 to 40 minutes, depending on humidity. Check every five minutes and test on a scrap piece first, since brass and copper react at different rates.


