

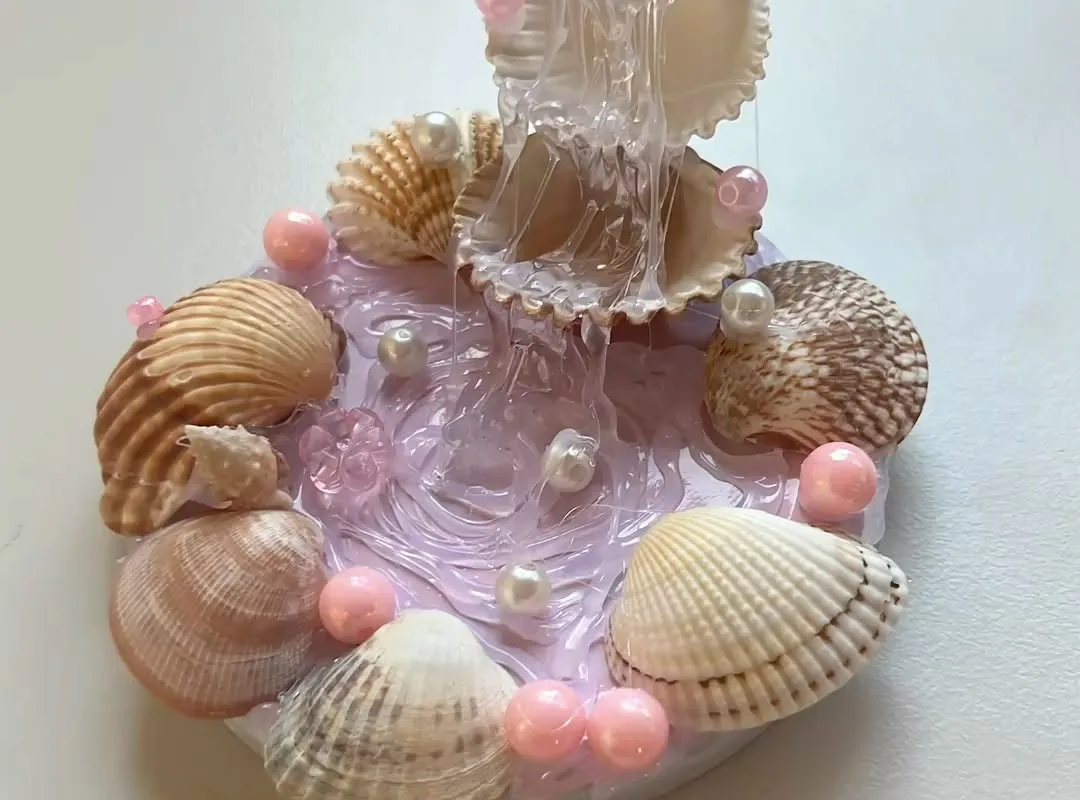
Most cute shell DIY projects look great on a Pinterest board and fall apart on a shelf within a month — I've ruined enough of them to know exactly why. These seven hacks fix the specific failure points: weak bonds, yellowing resin, and shells that smell like the beach three weeks later. Each one is testable and cheap, and I'll tell you the exact mistake that kills it.
Advertisements1
- Soak shells 20–30 minutes in 1:10 bleach, then rinse and soak 24 hours in fresh water — the rinse is the step that prevents odor and adhesive failure.
- Match adhesive to shell: super glue gel for flat smooth shells, flexible epoxy for ribbed ones, epoxy putty for heavy mounts. Hot glue fails under 2–3 lbs of peel force.
- Seal shells before decorating; two thin coats beat one thick coat and prevent paint and resin blistering.
- Pour resin in 1/4-inch layers — thick pours overheat, crack, and yellow faster.
- Budget per unit: roughly $2–$4 in resin per small coaster, $6–$8 per adhesive tube covering dozens of bonds.
- Wet-sand and ventilate — shell dust and resin fumes are the real risks, not the aesthetics.
The cleanup and safety rules nobody puts on Pinterest
Shell dust and resin fumes are the two things that actually matter for your health, and neither shows up in pretty tutorials.
– **Wet-sand or wet-drill shells** to keep silica-bearing dust out of the air. Wear a dust mask if you sand dry.
– **Resin needs ventilation.** Work near an open window or outdoors; uncured epoxy fumes cause headaches and sensitization over time.
– **Bleach and resin don't mix.** Fully rinse and dry shells (24 hours) before any resin work.
– **Keep uncured resin off skin.** Nitrile gloves, not latex.
Why it works: these are the failure modes that hurt people, not projects. Ten minutes of prep prevents the two problems that send crafters to urgent care or the trash bin.
The Hacks, Step by Step
- 1Clean and soak your shells
Scrub with a soft brush, soak 20–30 minutes in 1:10 bleach solution, then rinse and soak in fresh water for 24 hours, changing water twice. This removes the organic matter that causes odor and weakens bonds. - 2Dry completely and seal
Let shells air-dry 24 hours, then apply two thin coats of matte medium or gloss varnish. Sealing stabilizes the shell so paint and resin don't blister. - 3Choose the right adhesive
Super glue gel for flat smooth shells, flexible epoxy (E6000) for ribbed or curved shells, epoxy putty for heavy or gap-filling mounts. Wipe surfaces with isopropyl alcohol first. - 4Pour resin in thin layers
Keep pours to 1/4 inch (6 mm) or less per layer, degas with brief heat, and mix a little extra. Thick pours overheat and crack. - 5Mount for humidity
Use museum putty or small epoxy dabs on acid-free backing, leave a 1/4-inch gap to glass, and add a silica packet in humid rooms. - 6Drill slowly with backing
Use a 1/16-inch bit at low speed, back the shell with wood or a damp cloth, and wear safety glasses. Skip drilling thin or cracked shells. - 7Budget before buying
Calculate per-unit cost (resin, adhesive, sealer, shells) and buy small quantities. Resin has a shelf life — don't stockpile. - 8Work ventilated and protected
Wet-sand to control dust, wear a dust mask when dry-sanding, ventilate for resin, and use nitrile gloves.
Cute shell DIY fails for boring, fixable reasons: moisture, the wrong adhesive, and skipped sealing — solve those three and your project outlasts the trend.
Frequently Asked Questions
What is the best glue for seashell crafts?
Flexible epoxy like E6000 is the best all-purpose glue for seashell crafts because it tolerates the shell's slight expansion and contraction. Use super glue gel for flat, smooth shells on flat surfaces, and epoxy putty for heavy or gap-filling mounts.
How do I stop seashells from smelling?
Soak them 20–30 minutes in a 1:10 bleach-to-water solution, then rinse and soak in fresh water for 24 hours, changing the water twice. The smell comes from decaying organic matter in the shell's ridges, and the fresh-water soak removes bleach residue that can weaken adhesives.
Can you put seashells in resin?
Yes, but seal and fully dry the shells first, and pour resin in layers no thicker than 1/4 inch. Unsealed shells release moisture that clouds the resin, and thick pours generate enough heat to crack or scorch the shell.
How do you drill a hole in a seashell without breaking it?
Use a 1/16-inch bit at low speed, back the shell with scrap wood or a damp cloth, and keep the bit cool with a drop of water. High speed generates friction heat that cracks the shell. Skip thin or already-cracked shells and glue a loop instead.
How much does a shell craft project cost?
A small resin coaster set runs about $2–$4 per coaster in resin, plus $6–$8 for an adhesive tube that covers dozens of bonds and $8–$12 for sealer that treats 30–50 shells. Shells are free if you collect them, $5–$15 per bag if bought.


