

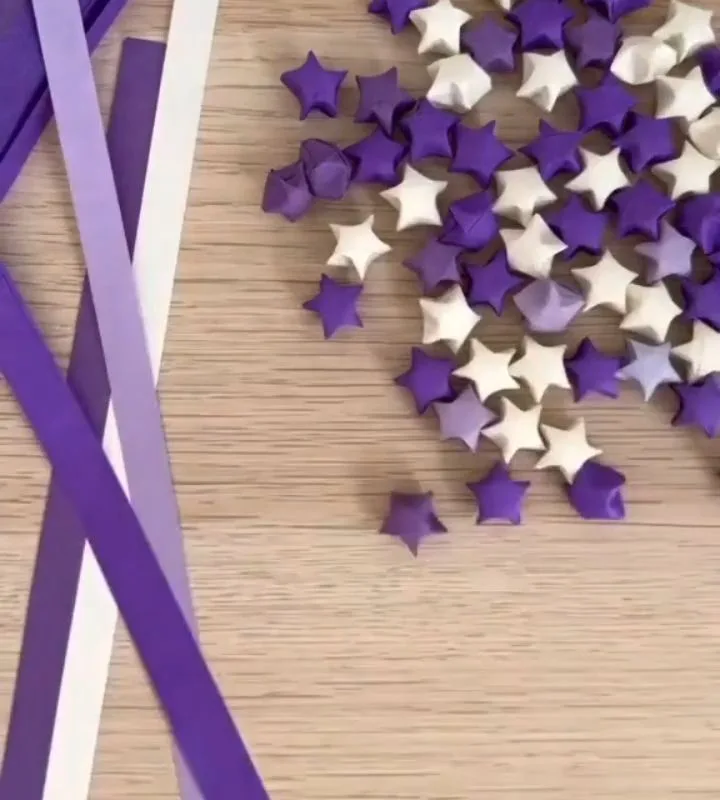
You can fold adorable mini origami stars in under a minute—even if you've never folded before. These hacks make the process faster, neater, and more fun, so you can create a jar full of stars for gifts, decor, or just a cozy afternoon. Let's get started!
Advertisements1
- Use a 1:25 strip ratio for even mini stars.
- Pre-crease your strip for crisp folds.
- Wrap exactly five times for perfect points.
- Pinch the edges, not the center, to puff.
- Use a pencil tip to tuck tails securely.
- Cut strips in bulk with a paper cutter for consistency.
Why Mini Stars Are the Perfect Beginner Origami
Mini stars, also known as lucky stars or origami stars, are one of the most forgiving paper crafts. They use a simple strip of paper, and the folding technique is repetitive and meditative. You don't need any special tools—just paper and your hands. That's why they're a favorite for kids, crafters, and anyone who wants a quick creative win.
Because they're small, you can make a handful in one sitting. A typical strip is about 1 cm wide and 20-30 cm long. You can buy pre-cut strips, or cut your own from scrap paper. The key is to get the proportions right, and that's where my hacks come in.
Hack 1: Use the Right Paper Strip Width
The width of your strip determines the final star size. For a mini star about 1.5 cm across, use a strip that is 1 cm wide and 25 cm long. That ratio (1:25) is the sweet spot. If you use a wider strip, you'll get a chunkier star that doesn't puff as nicely. If it's too narrow, the star becomes fiddly and hard to inflate.
A common mistake is grabbing any scrap paper without measuring. That leads to lopsided stars. Instead, cut a template from cardstock and trace it onto your paper. Or use a paper cutter to slice a whole sheet into uniform strips. You'll thank yourself when every star comes out the same size.
Hack 2: Pre-Crease for Crisp Folds
Before you start wrapping the strip around the pentagon, give it a light crease along its length. Run your thumbnail over the strip a few times. This softens the paper and makes the folds sharper. Crisp folds are the secret to a star that holds its shape and puffs up evenly.
Skipping this step often results in a star that looks squished or has wrinkles. So take five seconds to pre-crease. You'll see a noticeable difference in the final puffiness.
Hack 3: The Magic Number: Five Wraps
When you wrap the strip around the central pentagon, you need exactly five wraps. No more, no less. This ensures the star has five even points. Count as you go: one, two, three, four, five. After the fifth wrap, you'll tuck the tail into the pocket.
If you wrap too many times, the star becomes bulky and hard to pinch. Too few, and the points look flimsy. So keep that rhythm steady. It's like a little dance for your fingers.
Hack 4: Pinch the Edges, Not the Center
To inflate your star, you pinch the five edges with your fingernails—not the center. Start with one edge, press gently, then move to the next. Work your way around until the star puffs up like a little pillow. This is what gives mini stars their signature 3D look.
A common mistake is squeezing the middle, which flattens the star and ruins the shape. So be patient and pinch each edge separately. You'll see the star come alive.
Hack 5: Use a Bone Folder or Pencil for Tight Tucks
When you tuck the tail of the strip into the pocket, sometimes it's tricky to get it snug. Use the tip of a pencil or a bone folder to push the tail in firmly. This keeps the star from unraveling later. It's a simple tool that makes a big difference.
If you don't have a bone folder, a toothpick works too. Just be careful not to tear the paper. A clean tuck means a star that stays together.
Hack 6: Make a Batch with a Paper Cutter
If you're making a lot of stars (like for a party or a jar), cut multiple strips at once. Stack 5-10 sheets of paper and run them through a paper cutter set to your desired width. This saves time and ensures consistency. You'll have a pile of strips ready to fold.
Avoid using scissors for this—they often create uneven edges. A paper cutter is a worthy investment if you love this craft. You can also buy pre-cut strips in bulk, but cutting your own lets you choose colors and patterns.
Hack 7: Store Your Stars in a Jar or Bowl
Once you've folded a bunch of stars, display them in a clear glass jar or a pretty bowl. They catch the light and look magical. You can also string them into a garland or use them as table confetti. They make lovely handmade gifts, too.
One mistake is storing them loose in a drawer, where they get crushed. Instead, keep them in a container where they can stay puffy. They're delicate, so handle them gently.
The Hacks, Step by Step
- 1Cut your paper strip
Use a paper cutter to slice strips about 1 cm wide and 25 cm long. This ratio creates the perfect mini star. - 2Make a loop at one end
Fold the strip to form a loop, like starting a knot. Pull the short end through to create a pentagon shape. - 3Tuck the tail
Fold the short tail over the edge of the pentagon and tuck it into the pocket. Use a pencil tip for a snug fit. - 4Wrap the strip around
Fold the long strip over each edge of the pentagon, wrapping it five times. Keep the wraps tight and neat. - 5Tuck the end
After five wraps, tuck the remaining tail into the pocket. Trim any excess if needed. - 6Pinch the edges
Use your fingernails to gently pinch each of the five edges. Start at one edge and work around to puff up the star. - 7Shape and display
Adjust the points so they're even. Place your finished star in a jar or use it in your craft project.
The magic of mini stars is in the details: precise strips, crisp folds, and gentle pinches turn simple paper into tiny treasures.
Frequently Asked Questions
What size paper do I need for mini origami stars?
Use strips about 1 cm wide and 25 cm long for a star that's roughly 1.5 cm across. Adjust the length proportionally if you want bigger or smaller stars.
How do I make origami stars puff up?
After wrapping the strip, pinch each of the five edges with your fingernails. This inflates the star from the sides, not the center.
Can I use any paper for origami stars?
Yes, but lightweight paper like origami paper or gift wrap works best. Avoid thick cardstock, which is hard to fold and pinch.
Why do my origami stars look lopsided?
Lopsided stars usually come from uneven strips or inconsistent wrapping. Make sure your strips are all the same width and count your wraps carefully.
How many strips do I need for a jar of stars?
A standard mason jar holds about 200-300 mini stars, depending on size. If you're making a gift, 100 stars is a nice starting point.


