

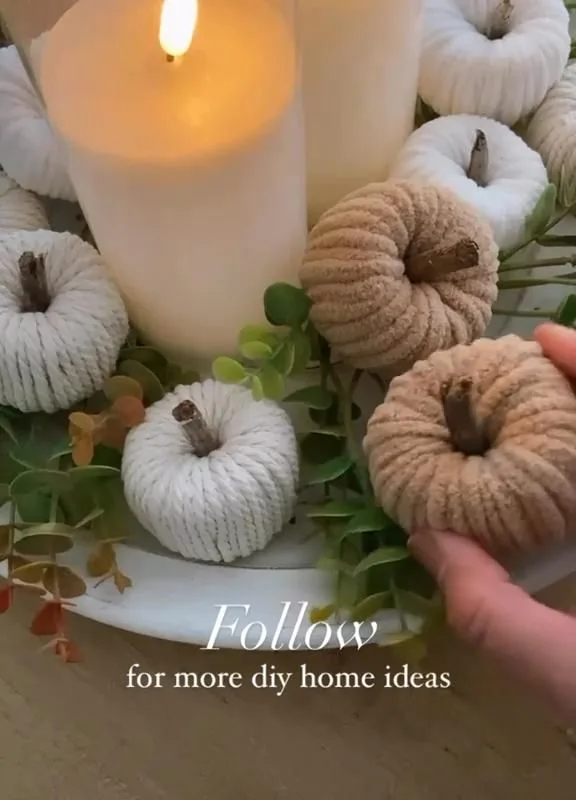
Soft light pooling on a linen curtain. The quiet weight of a handmade object in your palm. These seven hacks bring that gentle presence into your home, one small, deliberate gesture at a time.
Advertisements1
- Warm light (2200K–2700K) and paper lanterns soften a room's mood; keep bulbs at 40W or less and 30 cm away.
- Natural dyes from avocado pits and onion skins need an alum mordant to set; expect subtle, living color.
- Reclaimed wood shelves need hidden brackets rated for at least twice the intended load.
- Linen lampshades should use lightweight fabric and low-heat bulbs to avoid scorching.
- Pressed leaves and thrifted frames create personal art; press dry leaves and use paper templates for hanging.
- Seal upcycled wood with wax or polyurethane to prevent stains and splinters.
Layer Light with Paper Lanterns
Light is the first material of a calm room. A single paper lantern, hung low over a reading chair, softens the hard edges of evening. Choose a warm bulb — 2200K to 2700K — and a dimmer switch. The paper diffuses the glow, and the room exhales.
I once hung three lanterns in a narrow hallway. The shadows they cast moved with the draft from an open window. It felt like the house was breathing. But be careful: paper scorches. Keep the lantern at least 30 cm from any bulb, and never use a bulb above 40 watts. The mistake is choosing a lantern that is too small for the bulb's heat. Size matters less than distance.
Dye Fabric with Avocado Pits and Onion Skins
There is a particular joy in turning kitchen scraps into color. Save your avocado pits and yellow onion skins. Simmer them in a pot of water for an hour — the pits give a dusty pink, the onion skins a warm ochre. Add a tablespoon of alum per liter of water as a mordant, then soak pre-washed cotton or linen for an hour.
The result is never exact. That is the point. The color lives in the fiber like a memory. I dyed a set of napkins this way last autumn. They are the color of late afternoon. The common mistake is skipping the mordant, which means the color will wash out in a week. Also, use a pot you will not cook with again.
Make a Floating Shelf from a Single Reclaimed Board
A board of reclaimed pine, 2 cm thick and 60 cm long, can become a shelf that seems to float. Use a hidden bracket — a metal rod drilled into the wall and into the back edge of the board. Sand the wood with 120-grit, then 220-grit. Finish with a coat of clear wax. The grain will darken and glow.
I found my board on the curb after a storm. It still had a nail in it. I left the nail. The mistake is using a bracket that is too small for the weight. A 60 cm shelf needs at least two rods, each 10 cm into the wall. Test with a firm press before you trust it with books.
Stitch a Simple Linen Lampshade
A drum lampshade, 30 cm in diameter, takes about half a meter of linen. Cut a rectangle to fit the circumference plus a 1 cm seam. Sew the short ends together with a French seam. Then glue or stitch the fabric to a metal ring frame. The light through linen is honeyed and even.
I made one for a bedside lamp. The first night, the room felt like a held breath. The mistake is using a fabric that is too heavy, which blocks the light and makes the shade look dull. Choose a lightweight linen or cotton voile. Also, always use a low-heat bulb — 40 watts or an LED equivalent — to avoid scorching.
Forage and Press Leaves for Framed Art
In early autumn, collect fallen leaves — maple, oak, birch. Press them between sheets of parchment paper under a heavy book for two weeks. Then arrange them on acid-free paper and frame them in a simple wooden frame. The colors will be muted, like old letters.
I keep a small press made from two cutting boards and a strap. It lives on a shelf. The mistake is pressing leaves that are too damp, which causes mold. Pick them dry, after a few rainless days. And avoid direct sunlight on the finished frame, or the colors will fade to gray.
Upcycle a Wooden Crate into a Side Table
A wine crate, sanded and turned on its side, becomes a side table with built-in storage. Sand with 120-grit, then 220-grit. Paint with a matte chalk paint in a soft color — I like a pale gray-green. Add a top from a piece of marble or a thick board. The crate's slats create a shadow pattern on the floor.
I made one for a reading corner. It holds a stack of books and a cup of tea. The mistake is leaving the crate untreated, so it snags and stains. Seal it with wax or polyurethane. Also, check for splinters — sand the inside edges well.
Create a Gallery Wall with Thrifted Frames
Collect frames from thrift stores — mismatched is better. Paint them all the same color, like a deep charcoal or a warm white. Arrange them on the floor first, keeping 5 cm between frames. Then trace each frame onto paper, tape the paper to the wall, and nail through it. The paper template ensures perfect placement.
I have a wall of twelve frames. Some hold pressed flowers, some hold sketches. The mistake is hanging without a template, which leads to a cascade of holes. Also, use two nails per frame for stability. And step back often — the wall should feel like a conversation, not a shout.
The Hacks, Step by Step
- 1Gather your materials
Collect paper lanterns, fabric scraps, reclaimed wood, or thrifted frames. Choose natural materials — linen, cotton, wood, paper — for a soft, cohesive look. - 2Prepare your workspace
Cover a table with newspaper. Keep a damp cloth and a dry cloth nearby. Work in a well-ventilated area, especially when using dyes or paints. - 3Measure twice, cut once
Use a tape measure and a pencil. For fabric, add a 1 cm seam allowance. For wood, sand the cut edges. Precision now prevents frustration later. - 4Test in a small area
Before dyeing a whole garment, test a scrap. Before painting a crate, test on the bottom. This reveals surprises without ruining the piece. - 5Let it dry completely
Dyes, paints, and glues need time. Wait 24 hours before using the item. Rushing leads to smudges and weak bonds. - 6Style with restraint
Place one handmade object where you will see it daily. Let it be the quiet focal point. Too many objects create noise, not calm.
The most beautiful home objects are not bought; they are made slowly, with attention, and they carry the quiet of the hands that shaped them.
Frequently Asked Questions
What are some cute DIY home ideas that are easy for beginners?
Start with paper lanterns or pressed leaf art. Both need minimal tools and materials, and they instantly add softness. For a first project, hang a single paper lantern with a warm LED bulb — it takes ten minutes and transforms a corner.
How can I make my DIY home decor look expensive?
Use natural materials and a restrained color palette. Linen, wood, and paper in muted tones read as high-end. Also, hide your hardware — floating shelves and seamless lampshades look custom. And never overcrowd; one well-made piece beats five cheap ones.
What natural materials can I use for dyeing fabric at home?
Avocado pits (dusty pink), yellow onion skins (ochre), and black tea (sepia) are excellent. You will need a mordant like alum to fix the color. Simmer the materials, strain, add alum, then soak your pre-washed fabric for an hour.
How do I hang a gallery wall without making a mess of holes?
Use paper templates. Trace each frame onto paper, tape the paper to the wall, and nail through it. This lets you adjust the arrangement before committing. Keep 5 cm between frames and use two nails per frame for stability.
Is it safe to use paper lanterns with regular light bulbs?
Only if you use a low-wattage bulb (40W or less) and keep it at least 30 cm from the paper. LED bulbs are safest because they emit less heat. Never exceed the manufacturer's wattage recommendation.


