

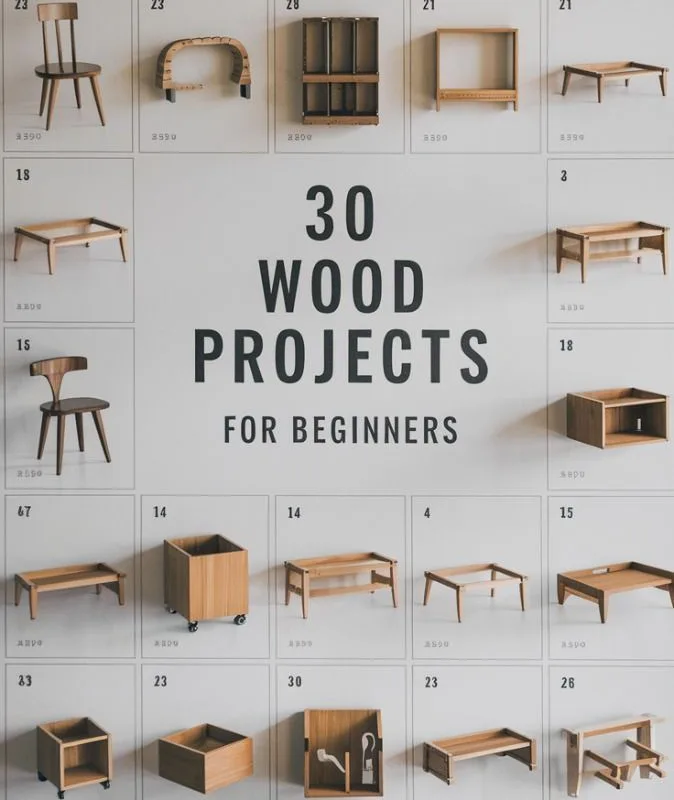
Most woodworking plans fail for one boring reason: they're too complicated for a Saturday afternoon. These seven creative approaches give you real projects you can finish in a weekend, with the why behind each one and the mistake to dodge. Grab a pencil and let's build something you'll actually want to keep.
Advertisements1
- Read the full plan before buying any wood, because materials depend on final dimensions.
- Scale plans by up to 20 percent on horizontal measurements only, keeping depth and thickness fixed.
- A story stick and cut list cut measuring time roughly in half on repeated parts.
- A cardboard mock-up costs minutes and can save a whole sheet of plywood.
- Plans built around standard 1×4 and 3/4-inch plywood are cheaper and produce less waste.
- Keep a build notebook; after five projects you'll have notes no plan can give you.
Start With a Plan You Can Actually Read
Before you touch a saw, print your plan and read it start to finish with a pencil in hand. Good plans list every cut, every screw, and the order of assembly. If a plan skips the cut list, that's your first red flag.
Try this: take a free shelf plan and highlight every measurement in one color and every fastener in another. You'll spot missing details in about five minutes. I once caught a plan that never told me the shelf depth, which would have meant a wasted trip to the lumber yard.
The common mistake is buying wood before you've read the whole plan. Materials depend on the final dimensions, and those often change once you understand the assembly.
Scale Your Plan to Fit Your Space
Almost every plan can shrink or grow by 10 to 20 percent without falling apart. Measure your actual wall or corner first, then adjust the plan's dimensions to match it.
Here's a concrete example: a 36-inch bookshelf plan becomes a 30-inch shelf by multiplying every horizontal measurement by 0.83. Keep the depth and board thickness the same so the joints still work. That one rule saves you from a shelf that won't fit through the door.
The mistake to avoid is scaling everything at once, including screw sizes and board thickness. Only stretch the lengths and widths that affect fit.
Use a Cut List and a Story Stick
A cut list is simply a table of every piece, its size, and how many you need. A story stick is a scrap board where you mark each measurement directly with a pencil.
Why it works: you stop re-reading numbers and start matching marks to wood. On a recent set of three identical crates, the story stick cut my measuring time in half and every side matched perfectly. Mark your first stick in pencil, then label it so you can reuse it for the next project.
The common mistake is trusting memory. Write the marks down, even if you think you'll remember. You won't at 4 p.m. on a Saturday.
Build a Mock-Up Before the Real Thing
Cardboard is your cheapest woodworking tool. Cut a cardboard version of your plan at full size and tape it together before you buy lumber.
I do this for every drawer and cabinet plan now. A 12-inch-deep cardboard cabinet told me instantly that my planned 14-inch depth would block a light switch. Ten minutes of cardboard saved a whole sheet of plywood.
The mistake here is skipping the mock-up because you're eager to start cutting. Slow down for one afternoon and you'll build faster overall.
Choose Plans With Standard Lumber Sizes
Plans built around common board sizes like 1×4, 1×6, and 3/4-inch plywood are easier and cheaper. Standard sizes mean fewer cuts and less waste.
Look for plans that list "1×4" instead of "3/4 by 3 1/2 inches." One outdoor bench plan I used called for five 8-foot 1×4 boards and produced a bench with almost no offcuts. That's the kind of plan you want.
The mistake is falling for plans that need specialty milled lumber. Those look beautiful but cost three times as much and often require a planer you don't own.
Add One Personal Detail to Every Plan
Plans are templates, not rules. Add one small personal touch to each project so it feels like yours. A routed edge, a painted stripe, or a different handle all count.
For a simple planter box, I swapped the plain top trim for a 45-degree chamfer cut on the table saw. It took four extra minutes and made the box look custom. That's the kind of small tweak that keeps you coming back to the shop.
The mistake is changing the joinery on your first project. Keep the structure as written and personalize the surface details instead.
Track Your Builds in a Simple Notebook
Keep a notebook where you record each project, the plan you used, the wood you bought, and what you'd change next time. It becomes your own reference library.
After five builds, you'll have real notes like "the 30-inch shelf needed three brackets, not two." That's knowledge no plan can give you. It's also how you start designing your own plans.
The common mistake is skipping the notes because the project is done. Two minutes of writing saves you an hour on the next build.
The Hacks, Step by Step
- 1Read the plan fully before buying wood
Print the plan and read it start to finish. Note every cut, fastener, and missing detail so you don't waste a lumber trip. - 2Measure your space and scale the plan
Measure the actual wall or corner, then adjust horizontal dimensions by up to 20 percent while keeping depth and thickness the same. - 3Make a cut list and story stick
Write every piece and its size in a table, then mark the same measurements on a scrap board so you can match marks to wood. - 4Build a cardboard mock-up
Cut and tape a full-size cardboard version to check fit, clearance, and proportions before you spend money on lumber. - 5Choose standard lumber sizes
Pick plans that call for 1×4, 1×6, and 3/4-inch plywood so you get fewer cuts, less waste, and lower cost. - 6Add one personal detail
Change a surface detail like a chamfer, paint stripe, or handle, but keep the joinery as written for your first build. - 7Log the build in a notebook
Record the plan, wood, and changes you'd make next time so each project makes the next one easier.
A plan is a starting point, not a rulebook — the small personal details are what turn a project into something you actually want to keep.
Frequently Asked Questions
What are the best woodworking plans for beginners?
Plans built around standard lumber like 1×4 boards and 3/4-inch plywood are best for beginners. They need fewer cuts, cost less, and usually include a clear cut list you can follow step by step.
Can I change the dimensions of a woodworking plan?
Yes, you can usually adjust horizontal measurements by 10 to 20 percent without breaking the design. Keep the depth and board thickness the same so the joints and fasteners still work.
Do I need power tools to build woodworking plans?
No, many plans work with a hand saw, drill, and sander. Choose plans that list hand-tool-friendly joinery like butt joints and screws if you're starting out without a full shop.
How do I stop wasting wood on DIY projects?
Make a cut list first and choose plans that use standard board sizes. A cardboard mock-up also helps you catch sizing mistakes before you cut into real lumber.
How long does a simple woodworking project take?
Most simple plans, like a shelf, crate, or planter box, take one weekend from cutting to finish. Reading the plan and making a cut list first usually saves an hour or more of build time.


