

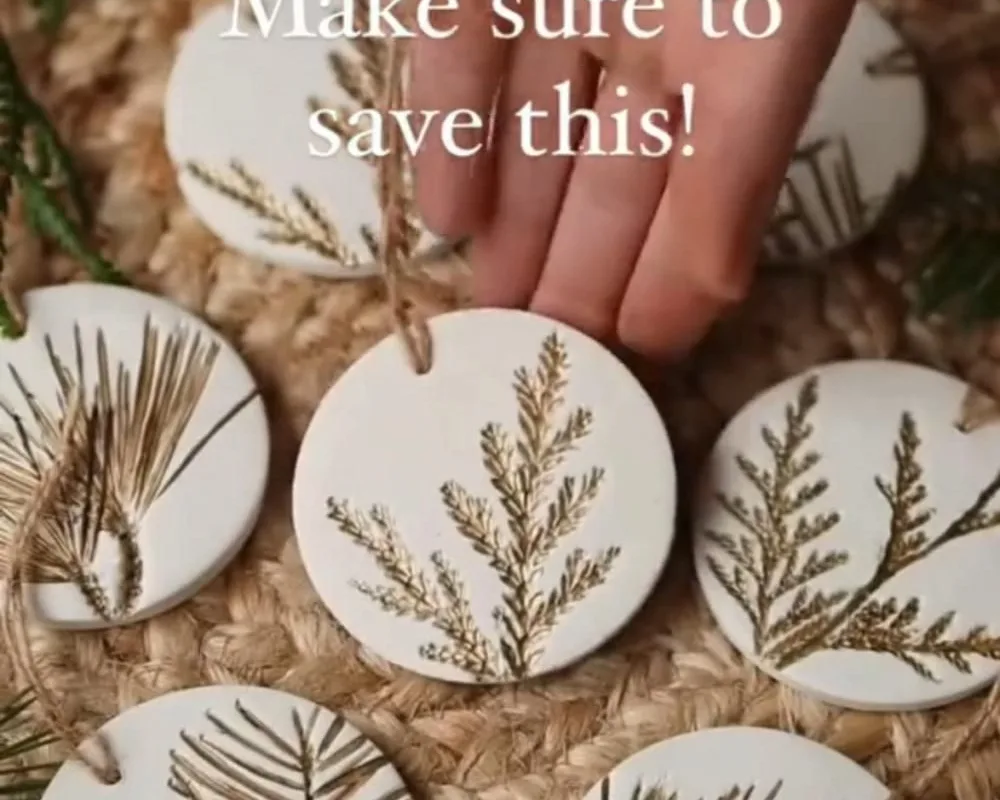
Every December I raid my neighborhood for fallen eucalyptus, dried orange slices, and pinecones that look like tiny kingdoms — and turn them into ornaments people ask to buy. Here are seven botanical DIY ornaments that are genuinely fast, genuinely cheap, and genuinely beautiful, with the exact why behind each one.
Advertisements1
- Botanical ornaments cost under $2 each when you forage fallen materials and dry them properly.
- Low, slow oven drying (200°F) is the difference between translucent orange slices and brown mush.
- Bake pinecones for 30 minutes before crafting to open them and eliminate pests.
- Five eucalyptus stems per bundle is the sweet spot — more looks bushy, not lush.
- Natural-fiber ribbon in one color beats bows and glitter every single time.
Why Botanical Ornaments Work (and Why Cheap Plastic Doesn't)
Botanical ornaments work because they carry texture, scent, and imperfection — the three things mass-produced baubles can't fake. A dried eucalyptus sprig catches light differently at every angle; a cinnamon stick releases warmth the moment someone leans in to look. Your eye reads these as "real," and real things feel expensive.
I learned this the hard way. My first year crafting, I tried to make ornaments look perfect — matching ribbons, symmetrical arrangements — and they read as sad craft-fair rejects. The year I stopped fighting the natural shapes, everything changed. A bent twig became a design feature. A cracked pinecone became character.
Here's the practical truth: botanical materials cost almost nothing if you forage responsibly (more on that below), and they photograph beautifully for Pinterest because they have depth. That's why these pins travel.
The 5-Minute Eucalyptus Bundle (My Most-Saved Ornament)
Take three to five eucalyptus stems, trim them to about 4 inches, and bind the stems together with florist wire or fine twine. Tie a loop at the top and hang. That's it — and it looks like something from a boutique.
Why it works: bundling creates volume and a soft, silvery silhouette that reads as intentional design. Eucalyptus also dries in place without dropping leaves if you harvest it fresh and hang it somewhere dry. I've had the same bundles for three seasons.
Common mistake: bundling too many stems. Five is the ceiling — beyond that it becomes a bushy mess that hides your tree lights. Also, don't hang fresh bundles directly over a heat vent; they'll curl and brown within days.
Dried Orange Slices: The Secret Is the Oven Temperature
Slice oranges (or blood oranges for a rosy glow) into 1/4-inch rounds, pat them dry, and bake at 200°F for 2.5 to 3 hours, flipping every 45 minutes. They're done when they feel leathery, not brittle. Thread a ribbon through a small hole poked while warm.
Why it works: low, slow heat pulls moisture out evenly, preserving the translucent amber color that makes these glow against tree lights. High heat caramelizes the edges and turns them brown — pretty, but not what most people want.
Common mistake: slicing too thick. Anything over 1/4 inch stays gummy in the center and molds by January. Use a mandoline if you have one; your future self will thank you.
Pinecone and Cinnamon Stick Stars (The Scent Bomb)
Glue five cinnamon sticks into a star shape with hot glue, then nestle a small pinecone or a single dried bay leaf in the center. Add a twine loop and a tiny sprig of dried lavender. The whole thing takes eight minutes.
Why it works: cinnamon and lavender release scent passively, so your tree smells like a bakery without any candle. The star silhouette is also a classic shape that reads instantly as "holiday" in photos — which is why these pins get saved.
Common mistake: using too much hot glue. Blobs show, and they yellow over time. Use a thin bead and press for five seconds. If you're making these with kids, swap hot glue for tacky glue and let them dry overnight.
Foraging Rules That Keep Your Ornaments (and Your Conscience) Clean
Harvest only fallen material — never pull living branches — and skip anything from roadsides or treated lawns. I forage in parks and my own backyard, and I always rinse and dry everything for 48 hours before crafting.
Why it works: dried, rinsed botanicals don't harbor mold or pests, and responsible foraging means your materials are actually free rather than "free with a guilt tax." I keep a small basket by the door in November and add to it on walks.
Common mistake: assuming all pinecones are craft-ready. Many are closed and sappy. Bake them at 200°F for 30 minutes on a foil-lined tray to open them and kill any hitchhikers — do this before you glue anything.
The Pressed-Leaf and Glass Ornament (My Fancy-Looking Hack)
Buy clear fillable ornaments (about $1 each), press small leaves and fern fronds between book pages for two weeks, then curl them inside the ornament with tweezers. Add a pinch of dried lavender for scent and a ribbon for hanging.
Why it works: glass and pressed botanicals create a specimen-jar effect — it looks like a tiny museum piece. Because the leaves are flat, they don't cast messy shadows, and the ornament stays lightweight enough for delicate branches.
Common mistake: stuffing too much in. Three or four leaves maximum; negative space is what makes it look curated. Also, press leaves when they're dry, not damp, or they'll turn brown inside the glass.
Finishing Touches: Ribbon, Twine, and the 3-Second Photo Trick
Use natural-fiber ribbon (jute, cotton, or linen) in a single color, and tie a simple loop rather than a bow — bows compete with the botanicals. For photos, hang your ornament against a plain wall with a window behind it and shoot at eye level.
Why it works: natural fibers echo the botanical theme, and backlighting makes dried leaves glow. Eye-level shots also avoid the distorted "looking up at the tree" angle that flattens everything.
Common mistake: over-decorating. One ribbon, one botanical element, one loop. That's the formula. If you're tempted to add glitter, ask yourself: would a forest do this?
The Hacks, Step by Step
- 1Forage and dry your botanicals
Collect fallen eucalyptus, pinecones, and leaves, then rinse and air-dry for 48 hours. This prevents mold and ensures your materials are free and clean. - 2Bake pinecones at 200°F for 30 minutes
This opens closed cones and kills pests. Do it before gluing so your ornaments don't crack or smell later. - 3Slice oranges to 1/4 inch and dry at 200°F for 2.5–3 hours
Thin slices dry evenly and stay translucent. Flip every 45 minutes and pull them when leathery, not brittle. - 4Bundle eucalyptus in threes or fives
Bind stems with twine and add a loop. Keep it to five stems max so the bundle stays airy and elegant. - 5Press leaves for two weeks before filling glass ornaments
Flat leaves look curated inside glass. Use tweezers to curl three or four leaves inside, plus a pinch of lavender. - 6Tie a single natural-fiber ribbon loop
Skip the bow. One jute or linen loop keeps the focus on the botanicals and photographs cleanly.
The secret to botanical ornaments isn't perfection — it's letting the twig bend where it wants to and calling that design.
Frequently Asked Questions
How do you dry orange slices for ornaments without them turning brown?
Bake them at 200°F for 2.5 to 3 hours, flipping every 45 minutes. Low heat preserves the amber color; high heat caramelizes and browns the edges.
Do you need to bake pinecones before making ornaments?
Yes — bake them at 200°F for 30 minutes on a foil-lined tray. This opens closed cones and kills any insects or mold spores hiding inside.
How long do dried botanical ornaments last?
Most last two to three seasons if stored in a dry box away from humidity. Eucalyptus bundles and dried orange slices hold up especially well.
Can you make botanical ornaments with kids?
Absolutely — swap hot glue for tacky glue and let projects dry overnight. Cinnamon stick stars and pressed-leaf ornaments are the easiest for small hands.
Where should you forage for botanical ornament materials?
Collect fallen material from parks and your own yard, avoiding roadsides and treated lawns. Always rinse and dry for 48 hours before crafting.


