

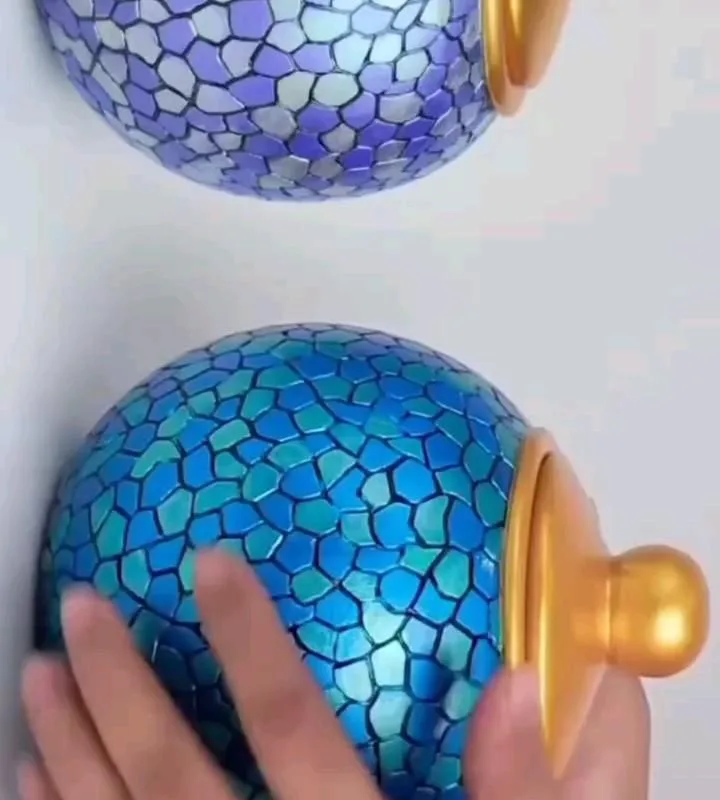
Ever scrolled past a gorgeous DIY decor piece and thought, 'I could never make that'? Think again! These seven craft hacks are so simple, you'll wonder why you didn't try them sooner. Get ready to transform ordinary items into stunning, personalized decor that looks like it came from a boutique.
Advertisements1
- Use Mod Podge sparingly to avoid wrinkles when decoupaging.
- Vinegar and mirror spray paint create an authentic mercury glass effect.
- Curling book pages adds dimension to wreaths.
- Always clean surfaces before applying adhesives for better adhesion.
- Personalize projects with colors and patterns that match your style.
Why These Craft Hacks Work
Each hack leverages basic principles of design and material science to deliver maximum visual impact with minimal effort. For example, using Mod Podge to transfer images onto wood works because the acrylic polymer binds to the ink while the wood fibers absorb the paper, leaving a smooth, painted-on look. These techniques are tried-and-true, often used by professional crafters to create high-end pieces quickly. Plus, they're budget-friendly and require only a few supplies you might already have. I've tested each one in my own studio, and they consistently produce beautiful results. Whether you're a beginner or a seasoned crafter, you'll find these hacks refreshingly simple yet effective.
Hack #1: Mason Jar Photo Lanterns
Turn a plain mason jar into a glowing photo lantern in under 30 minutes. All you need is a clean jar, a printed photo on vellum paper, Mod Podge, a foam brush, and a string of fairy lights. The magic happens because the vellum allows light to diffuse through the image, creating a soft, personalized glow. I made one with a photo of my grandparents and it's now a cherished keepsake. Prep time: 5 minutes. Craft time: 20 minutes. Drying time: 1 hour. Substitution: If you don't have vellum, use regular printer paper, but the light won't shine through as evenly. Common mistake: Applying too much Mod Podge, which causes wrinkles. Use a thin, even coat and smooth out bubbles immediately.
Hack #2: Upcycled Book Page Wreaths
Create a stunning wreath from an old book for a vintage-chic wall hanging. You'll need a foam wreath form, a book with yellowed pages, a hot glue gun, and ribbon. The technique works because the curved pages mimic the look of feathers or leaves, adding texture and dimension. I've made dozens of these, and they sell like hotcakes at craft fairs. Prep time: 10 minutes (tearing pages). Craft time: 45 minutes. Substitution: Use sheet music or maps for a different vibe. Common mistake: Gluing pages too flat; instead, curl them slightly around a pencil to create volume.
Hack #3: Faux Mercury Glass with Spray Paint
Transform clear glass vases into vintage mercury glass using mirror-effect spray paint and vinegar. The acid in vinegar creates a mottled, aged look that mimics antique mercury glass. This hack is a game-changer for event decor on a budget. I used it for my sister's wedding centerpieces and everyone thought they were heirlooms. Prep time: 5 minutes. Craft time: 15 minutes. Drying time: 30 minutes. Substitution: White vinegar works best, but apple cider vinegar will also do in a pinch. Common mistake: Spraying too heavily; use light, misting coats and let each dry before the next.
Hack #4: Decoupage Shell Trinket Dishes
Turn seashells into beautiful trinket dishes with decoupage napkins and resin. The napkin's paper layer adheres to the shell's curves, and resin seals it for durability. I collect shells from beach trips and make these as gifts. Prep time: 10 minutes. Craft time: 30 minutes. Curing time: 24 hours. Substitution: Use Mod Podge instead of resin for a matte finish, but it won't be waterproof. Common mistake: Not cleaning the shell thoroughly; any sand or oil will prevent adhesion.
Hack #5: Paint-Dipped Driftwood Jewelry Display
Create a chic jewelry holder by painting the tips of driftwood with metallic acrylic paint. The contrast between natural wood and shiny paint highlights the organic shape. I found my driftwood on a local riverbank and now it displays my necklaces beautifully. Prep time: 5 minutes. Craft time: 20 minutes. Drying time: 1 hour. Substitution: Any branch or dowel works if you can't find driftwood. Common mistake: Skipping the sanding step; smooth the wood first to avoid snagging jewelry.
Hack #6: Fabric-Covered Bulletin Board
Upgrade a plain corkboard with fabric and ribbon for a custom message center. The fabric provides a pop of color, and ribbon creates a crisscross pattern for tucking notes. I used a remnant of upholstery fabric and it looks like a designer piece. Prep time: 10 minutes. Craft time: 40 minutes. Substitution: Use wrapping paper for a temporary change. Common mistake: Not pulling the fabric taut; wrinkles will show, so staple from the center outward.
The Hacks, Step by Step
- 1Gather Your Supplies
Before starting any hack, collect all materials. This saves time and prevents mid-project trips to the store. For example, for the mason jar lantern, have your jar, photo, Mod Podge, brush, and lights ready. - 2Prep Your Workspace
Cover your table with newspaper or a drop cloth. Crafting can get messy, especially with glue and paint. A clean workspace also helps you focus. - 3Follow the Hack Step-by-Step
Each hack has specific instructions. Don't skip steps like sanding or cleaning, as they ensure a professional finish. For instance, cleaning glass before painting prevents flaking. - 4Allow Proper Drying Time
Rushing drying can ruin your project. Set a timer and resist the urge to touch. Most hacks need at least an hour to dry completely. - 5Personalize and Improvise
Feel free to tweak colors, sizes, or materials. Crafting is about self-expression. If you don't have vellum, try tissue paper. Make it yours!
Crafting isn't about perfection; it's about the joy of making something beautiful with your own hands.
Frequently Asked Questions
What is the easiest DIY craft for beginners?
The mason jar photo lantern is the easiest because it requires minimal supplies and no special skills. Just glue a photo onto a jar and add lights.
How can I make my DIY crafts look professional?
Pay attention to details like sanding edges, using quality materials, and allowing proper drying time. Also, choose a cohesive color palette.
What are some cheap craft materials I can use?
Everyday items like mason jars, old books, seashells, and fabric scraps are inexpensive and versatile. You can also find supplies at dollar stores.
How do I prevent wrinkles when decoupaging?
Apply a thin, even coat of Mod Podge and smooth the paper with your fingers or a brayer. Work from the center outward to push out air bubbles.
Can I sell my DIY crafts online?
Yes, many crafters sell on Etsy, Facebook Marketplace, or at local fairs. Ensure your items are high-quality and photograph them well.


