

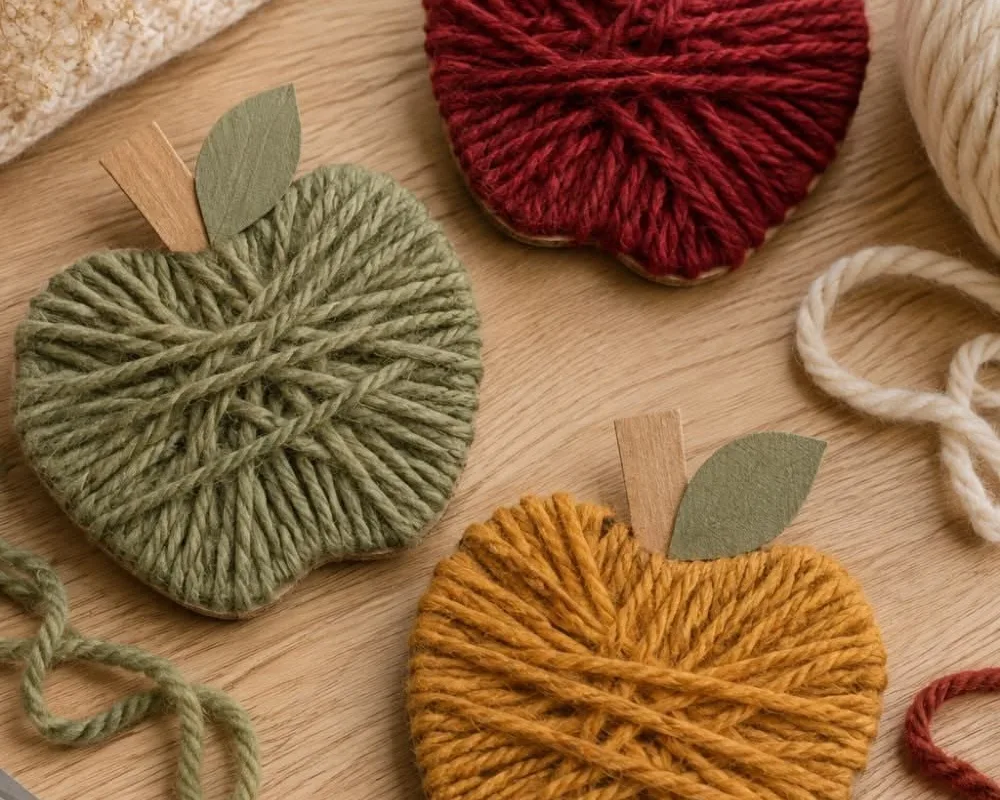
Picture this: it's 4 p.m., the light is turning that honey-gold autumn color, and you've got a kitchen table, a glue stick, and two kids who are suddenly bored. Here are 35 fall crafts that use what's already in your house or on your sidewalk — each one with a real technique, a reason it works, and the mistake I've made so you don't have to.
Advertisements1
- Fall crafts work best with free nature supplies — leaves, acorns, and pinecones cost nothing.
- A shower-curtain drop cloth and a damp cloth prevent 90% of craft-time cleanup stress.
- No-carve pumpkin projects last weeks longer and keep knives out of kids' hands.
- Sealing crafts with Mod Podge or wax paper makes them last beyond the season.
- The process matters more than the product — messy first drafts build real creativity.
Why Fall Is the Best Craft Season (and How to Set Up for It)
Fall is a free art-supply aisle. Leaves, acorns, pinecones, and pumpkin guts are all sitting outside waiting to be turned into something. I keep a shoebox by the back door labeled "fall finds" — kids dump pockets into it, and by October we have a stash of pressed leaves, twigs, and seed pods ready to go. That one habit eliminates the "we have nothing to craft with" meltdown.
Set up a low-stakes work zone. A cheap plastic shower curtain under the table catches glitter, glue, and paint splatter, and it wipes clean in ten seconds. Keep a damp washcloth within arm's reach — it's the difference between a fun afternoon and an hour of scrubbing.
Remember the golden rule of kid crafting: the process is the product. A wonky leaf owl with one eye is a success. Messy first drafts are where the real learning happens, so let them glue before they're sure.
Leaf Crafts: The Starter Pack (Hacks 1–10)
1. **Leaf rubbing garland.** Tape a leaf vein-side-up under printer paper and rub a peeled crayon sideways across it. The wax catches the ridges, revealing the leaf's skeleton — a mini science lesson and art in one. Mistake to avoid: pressing too hard, which smears the crayon instead of revealing the pattern.
2. **Pressed-leaf bookmarks.** Sandwich leaves between wax paper and iron on low (adult job) for 30 seconds. The wax seals the color and the leaf stays bright for months. Don't skip the towel between the iron and the wax paper — I learned that one with a ruined iron.
3. **Leaf-print painted trees.** Dip the back of a leaf in tempera paint and stamp it onto a brown-painted trunk. The leaf's veins make a surprisingly realistic canopy. Wash leaves between colors or you'll get muddy brown everything.
4. **Glitter-glue leaf suncatchers.** Trace a leaf on contact paper, sprinkle tissue-paper squares inside, and seal with a second sheet. Hang in a sunny window. The trick is leaving a 1-inch border of sticky contact paper so it actually seals.
5. **Leaf-animal collages.** A maple leaf becomes a fox tail, an oak leaf a hedgehog's back. Give kids googly eyes and let them invent creatures. Don't pre-draw the animal — the discovery is the fun part.
Pumpkin and Gourd Projects (Hacks 11–20)
11. **No-carve sticker pumpkins.** Wash and dry a pumpkin, then let kids cover it in stickers, washi tape, or foam shapes. Zero knives, zero mess, and it lasts weeks longer than a carved one. Mistake: crafting on a wet pumpkin — the stickers slide right off, so dry it fully first.
12. **Pumpkin volcano.** Carve a small hole, insert a plastic cup, add baking soda and vinegar with a drop of dish soap. The soap traps bubbles for a foamy eruption. Do this outside — trust me on the clean-up.
13. **Gourd creatures.** Mini gourds plus hot-glued pom-poms and pipe-cleaner legs make instant monsters. Adults handle the hot glue; kids design. Keep the glue gun out of reach between uses.
14. **Pumpkin-pie playdough.** Mix 1 cup flour, 1/2 cup salt, 2 tbsp cream of tartar, 1 tbsp oil, 1 cup water, and pumpkin-pie spice. Cook on low, stirring until it pulls from the pan. The spice makes it smell like a bakery and adds sensory value.
15. **Painted pumpkin faces.** Acrylic paint on a pumpkin lets kids design expressions, then wipe and redo. Seal with a coat of Mod Podge so rain doesn't ruin it.
Nature and Acorn Crafts (Hacks 21–28)
21. **Acorn-cap necklaces.** Glue an acorn cap to a craft ring or string. The caps are natural bowls — fill with a tiny bead and seal with clear glue for a jewel effect. Mistake: using too much glue so it oozes; a dot is plenty.
22. **Pinecone bird feeders.** Roll a pinecone in peanut butter (or sunflower butter for allergies) and coat in birdseed. Hang with twine. The fat holds the seed and gives birds real fall calories. Skip this if you have a nut allergy in the house.
23. **Twig picture frames.** Four twigs, hot glue, and a photo or drawing. The rustic look is instant and free. Let twigs dry a day first or they'll warp the frame.
24. **Seed-pod shakers.** Fill a paper cup with dried beans, tape a second cup on top, and decorate. Shake along to a song. The tape seal matters — beans everywhere is a cleanup nightmare.
25. **Nature weaving.** Stretch yarn across a cardboard frame and let kids weave in leaves, grass, and petals. It's a textile lesson disguised as play.
Paper and Recycled Crafts (Hacks 29–35)
29. **Paper-bag scarecrow puppets.** Stuff a lunch bag with newspaper, tie the middle, and add a paper-plate face. Kids can perform a harvest story. The tie creates a waist so the puppet stands up.
30. **Toilet-roll owls.** Fold the top of a tube inward for ear tufts, paint, and add paper-circle eyes. The fold is the whole trick — no cutting needed.
31. **Coffee-filter leaves.** Color a coffee filter with washable markers, spritz with water, and let the colors bleed. Cut into leaf shapes once dry. The bleed looks like real autumn gradients.
32. **Newspaper apple prints.** Cut an apple in half, dip in red paint, and stamp. The star-shaped seed pattern is a built-in design. Dry the apple half first or the paint gets watery.
33. **Cardboard-box pumpkin patch.** Paint small cardboard circles orange and add green pipe-cleaner stems. Arrange on a shelf for a reusable display.
34. **Handprint turkeys.** Trace a hand, color the fingers as feathers, and add a thumb body. It's a keepsake that doubles as a Thanksgiving card.
35. **Leaf-and-crayon resist art.** Draw leaves in crayon, then paint over with watercolor — the wax resists the paint and the leaves pop. The magic is in the contrast.
The Hacks, Step by Step
- 1Collect a fall-finds box
Keep a shoebox by the door for leaves, acorns, and twigs. This removes the 'nothing to craft with' problem and keeps supplies free. - 2Cover the table
Lay a plastic shower curtain under the work zone. It catches glue and glitter and wipes clean in seconds. - 3Pick one hack, not ten
Choose a single project per session. Kids focus better and you avoid a table covered in half-finished crafts. - 4Let them draft messy
Resist fixing their work. A lopsided owl is a success — the process teaches more than a perfect result. - 5Dry and seal
Let glue and paint fully dry, then seal with Mod Podge or wax paper so crafts survive the season.
The best fall craft is the one your kid finishes with glue on their elbows and a story about their leaf fox.
Frequently Asked Questions
What is a good fall craft for a classroom?
Leaf-print painted trees work well for groups because each child needs one leaf, paint, and paper. The stamping technique is quick and produces consistent results.


