

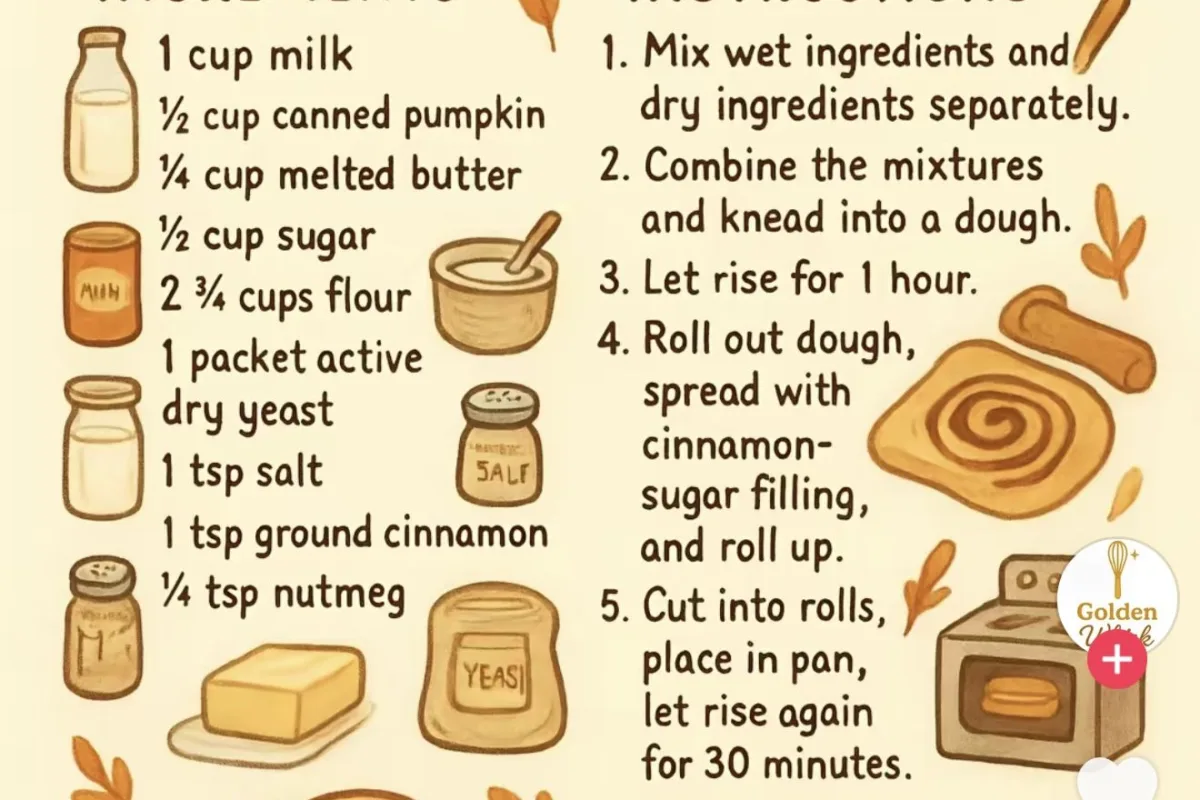
Some recipes begin with a craving, but this one began with a picture. I remember scrolling late one evening, tea going cold beside me, and stopping on a cake so beautiful I actually whispered, oh. That feeling is exactly why I created this Pinterest image cake, a dessert designed to look like the photo that made you stop scrolling and taste even better than it looks.
Advertisements1
The idea is simple: a tender vanilla sponge, a silky whipped frosting, and a topping arrangement you build one small piece at a time. There is no piping skill required and no special pan. If you can spread frosting with a butter knife and place berries in a loose circle, you can make something that genuinely looks like it belongs on a magazine cover.
Before we start, take one slow breath and notice how your shoulders feel. Cooking can be a small meditation, and this cake rewards a calm hand far more than a fast one. Let us begin gently.
Why You'll Love This Recipe
About the Ingredients
2 1/4 cups (280g) all-purpose flour
Spoon the flour into your measuring cup and level it off, because scooping straight from the bag packs it down and makes a dry cake. If you need a gluten-free version, swap in a 1-to-1 gluten-free baking blend and add 2 tablespoons of milk to the batter.
1 1/2 cups (300g) granulated sugar
Regular white sugar keeps the crumb light and the color pale, which matters for that bright Pinterest look. If you prefer a warmer flavor, replace 1/4 cup of it with light brown sugar.
3 large eggs, room temperature
Room temperature eggs whip into a smoother, taller batter, so set them on the counter 30 minutes before you start. In a pinch, rest them in a bowl of warm tap water for 5 minutes.
3/4 cup (180ml) whole milk, room temperature
Whole milk gives the richest crumb; 2% works fine, but avoid skim because the cake turns slightly dry. Warm it for 20 seconds in the microwave if it is cold from the fridge.
1/2 cup (113g) unsalted butter, melted and cooled
Melt the butter and let it sit 5 minutes so it does not cook the eggs. Salted butter works too, just reduce the added salt to 1/4 teaspoon.
2 teaspoons baking powder
Check the date on your can, because baking powder loses strength after about a year and your cake will not rise. Buy a fresh can if yours has been open a long while.
1 teaspoon vanilla extract
Real vanilla extract gives a rounder flavor than imitation; vanilla bean paste is a lovely upgrade and adds tiny flecks. Almond extract can replace half of it for a delicate, bakery-style note.
1/2 teaspoon fine salt
Fine sea salt dissolves evenly, while coarse kosher salt can leave salty pockets. If you only have kosher salt, use 3/4 teaspoon.
1 1/2 cups (360ml) heavy whipping cream, cold
Keep the cream in the coldest part of your fridge until the moment you whip it, or it will stay soupy. For a sturdier frosting, replace 1/4 cup of the cream with full-fat cream cheese.
1/3 cup (40g) powdered sugar, plus more for dusting
Sift it first so you do not get lumps in the frosting, and add a little extra if you like a sweeter finish. Cornstarch-free powdered sugar blends most smoothly.
2 cups (300g) mixed fresh berries
Strawberries, raspberries, blueberries, and blackberries all work; rinse them and pat completely dry so they do not bleed onto the frosting. Frozen berries will weep, so use them only for a compote layer instead.
1 tablespoon lemon juice
A squeeze of lemon brightens the berries and keeps sliced strawberries from browning. Bottled lemon juice is fine here, or use lime for a slightly floral twist.
Tips & Tricks
Weigh Your Flour
Scooping flour straight from the bag can add up to 20 percent extra and turn the cake dense, so spoon and level or use a scale.
Do Not Overmix
Stop stirring the moment the last streaks of flour disappear, because extra mixing develops gluten and makes the crumb tough.
Cool Completely Before Frosting
A warm cake melts the cream, so wait until the bottom of the pan feels room temperature to your palm, about 1 hour.
Dry Your Berries
Pat every berry bone dry with a towel, since water on the fruit makes the frosting slide and the decoration weep.
Pro Tips
Step-by-Step Instructions
1. Heat the oven
Preheat the oven to 350 F (175 C) and line the bottom of two 8-inch round pans with parchment, then grease the sides. Giving the oven a full 15 minutes to reach temperature means the cake rises evenly instead of setting unevenly at the start.
2. Whisk the dry
In a large bowl, whisk together the flour, sugar, baking powder, and salt until no lumps remain. This step distributes the leavener so every bite rises the same way.
3. Add the wet
Make a well in the center and pour in the eggs, milk, melted butter, and vanilla, then whisk gently just until smooth, about 30 seconds. The batter should fall from the whisk in a thick ribbon; if it looks lumpy, give it five more gentle strokes and stop.
4. Bake the layers
Divide the batter evenly between the pans and bake at 350 F (175 C) for 25 to 30 minutes, until the tops are golden brown and spring back when you press the center lightly. A toothpick inserted in the middle should come out with just a few moist crumbs, and the internal temperature should read about 205 F (96 C).
5. Cool the cakes
Let the cakes rest in the pans for 10 minutes, then run a knife around the edges and turn them onto a rack to cool completely. This short rest lets the crumb set so the layers do not tear when you move them.
6. Whip the cream
Pour the cold cream into a chilled bowl with the powdered sugar and whip on medium-high for 2 to 3 minutes, until soft peaks form that hold their shape but still curl at the tip. Stop before it looks grainy, because overwhipped cream turns to butter.
7. Fold in the lemon
Gently fold the lemon juice into the whipped cream with a spatula, just two or three turns. You will see it loosen slightly and smell fresh and bright, which balances the sweetness of the sponge.
8. Stack and frost
Place one cake layer on your serving plate, spread about 3/4 cup of the cream over it, and set the second layer on top. Spread the remaining cream over the top and sides with an offset spatula, swirling the top softly; a few visible swirls look intentional and lovely.
9. Decorate the top
Arrange the dry berries over the top in a loose spiral, starting from the outside and working inward, then dust lightly with powdered sugar. Step back and look at it from the side before you adjust anything, because the arrangement usually needs less fixing than we think.
Delicious Variations
Chocolate Berry Version
Replace 1/2 cup of the flour with cocoa powder and add 2 tablespoons of milk for a deep, rich sponge that contrasts beautifully with the white cream.
Lemon Blueberry Version
Add 1 tablespoon of lemon zest to the batter and use only blueberries on top for a fresh, summery cake with a gentle tang.
Strawberry Shortcake Style
Split the cooled layers, spoon macerated strawberries between them, and finish with extra berries on top for a rustic, picnic-ready dessert.
How to Store Pinterest image
Refrigerator
Store the frosted cake covered in the refrigerator for up to 3 days, though the cream softens slightly after the first day. Let it sit at room temperature for 20 minutes before serving so the crumb relaxes.
Freezer
Freeze the unfrosted cake layers tightly wrapped in plastic and foil for up to 2 months; thaw overnight in the refrigerator. Frosted cake does not freeze well because the whipped cream separates.
Reheating
This cake is best served at room temperature and needs no reheating. If it has been chilled, simply let it stand on the counter for 20 to 30 minutes before slicing.
Frequently Asked Questions
Q: Can I make this Pinterest image cake ahead of time?
Yes, you can bake the layers up to 2 days ahead and keep them wrapped at room temperature, or freeze them for up to 2 months. Whip the cream and decorate the cake the same day you plan to serve it for the freshest look.
Q: Why did my cake turn out dry?
Dry cake almost always comes from too much flour or too long in the oven. Spoon and level your flour rather than scooping, and pull the pans as soon as the center springs back and a toothpick shows only moist crumbs.
Q: Can I use frozen berries for the topping?
Frozen berries release juice as they thaw and will make the cream run, so fresh berries are best for decorating. If frozen is all you have, thaw and drain them well, then pat them dry and use them within an hour of serving.
Q: How do I keep whipped cream frosting from melting?
Start with very cold cream and a chilled bowl, and whip only to soft peaks. Keeping the finished cake in the refrigerator until 20 minutes before serving also helps it hold its shape beautifully.
Q: Can I make this cake gluten free?
Yes, a 1-to-1 gluten-free baking blend works well in this recipe. Add 2 extra tablespoons of milk, let the batter rest 10 minutes before baking, and check for doneness a few minutes earlier than the recipe states.
If you make this Pinterest image cake, I would love to know how it turned out and what berries you chose. Take a photo before the first slice disappears, and tell me in the comments which part of the process felt most peaceful to you. With kindness, Sofia

Pinterest image
This Pinterest image cake turns a simple sponge into a stunning, photo-worthy centerpiece that tastes as good as it looks.
🧂 Ingredients
- 2 1/4 cups (280g) all-purpose flour
- 1 1/2 cups (300g) granulated sugar
- 3 large eggs, room temperature
- 3/4 cup (180ml) whole milk, room temperature
- 1/2 cup (113g) unsalted butter, melted and cooled
- 2 teaspoons baking powder
- 1 teaspoon vanilla extract
- 1/2 teaspoon fine salt
- 1 1/2 cups (360ml) heavy whipping cream, cold
- 1/3 cup (40g) powdered sugar, plus more for dusting
- 2 cups (300g) mixed fresh berries
- 1 tablespoon lemon juice
📋 Instructions
- 1Heat the oven — Preheat the oven to 350 F (175 C) and line the bottom of two 8-inch round pans with parchment, then grease the sides. Giving the oven a full 15 minutes to reach temperature means the cake rises evenly instead of setting unevenly at the start.
- 2Whisk the dry — In a large bowl, whisk together the flour, sugar, baking powder, and salt until no lumps remain. This step distributes the leavener so every bite rises the same way.
- 3Add the wet — Make a well in the center and pour in the eggs, milk, melted butter, and vanilla, then whisk gently just until smooth, about 30 seconds. The batter should fall from the whisk in a thick ribbon; if it looks lumpy, give it five more gentle strokes and stop.
- 4Bake the layers — Divide the batter evenly between the pans and bake at 350 F (175 C) for 25 to 30 minutes, until the tops are golden brown and spring back when you press the center lightly. A toothpick inserted in the middle should come out with just a few moist crumbs, and the internal temperature should read about 205 F (96 C).
- 5Cool the cakes — Let the cakes rest in the pans for 10 minutes, then run a knife around the edges and turn them onto a rack to cool completely. This short rest lets the crumb set so the layers do not tear when you move them.
- 6Whip the cream — Pour the cold cream into a chilled bowl with the powdered sugar and whip on medium-high for 2 to 3 minutes, until soft peaks form that hold their shape but still curl at the tip. Stop before it looks grainy, because overwhipped cream turns to butter.
- 7Fold in the lemon — Gently fold the lemon juice into the whipped cream with a spatula, just two or three turns. You will see it loosen slightly and smell fresh and bright, which balances the sweetness of the sponge.
- 8Stack and frost — Place one cake layer on your serving plate, spread about 3/4 cup of the cream over it, and set the second layer on top. Spread the remaining cream over the top and sides with an offset spatula, swirling the top softly; a few visible swirls look intentional and lovely.
- 9Decorate the top — Arrange the dry berries over the top in a loose spiral, starting from the outside and working inward, then dust lightly with powdered sugar. Step back and look at it from the side before you adjust anything, because the arrangement usually needs less fixing than we think.

Sofia writes about mindful living and personal wellness, exploring habits that nurture mental and physical health. She shares gentle, realistic suggestions for creating calm in a busy world.


